TDMQ for RabbitMQ is fully compatible with the AMQP 0-9-1 protocol and all components and concepts of open-source RabbitMQ. This document mainly introduces the collection of RabbitMQ cluster connection information, such as obtaining RabbitMQ cluster access points as well as usernames and passwords for accessing the cluster, and provides demo examples and use instructions for SDKs in various languages.
SDK List
|
Spring Boot Starter | | |
Spring Cloud Stream | | |
Java | | |
Go | | |
Python | | |
PHP | | |
Client Network Environment Description
Clients can connect to and access a RabbitMQ cluster through the following three network methods:
1. Direct access within the same Virtual Private Cloud (VPC)
Clients and RabbitMQ clusters are deployed within the same VPC, and the network is interconnected by default. You can directly use the VPC access point for network access.
2. Cross-VPC communication through Cloud Connect Network (CCN)
Clients and RabbitMQ clusters are deployed in different VPC networks. Since VPC networks are logically isolated from each other, they cannot communicate directly. To enable cross-network communication, you can use CCN to achieve VPC interconnection across different regions under the same account.
3. Public network access
Clients deployed in other network environments or in different regions from the RabbitMQ clusters can establish a public network route to access the cluster through the public network access point.
Obtaining Connection Information
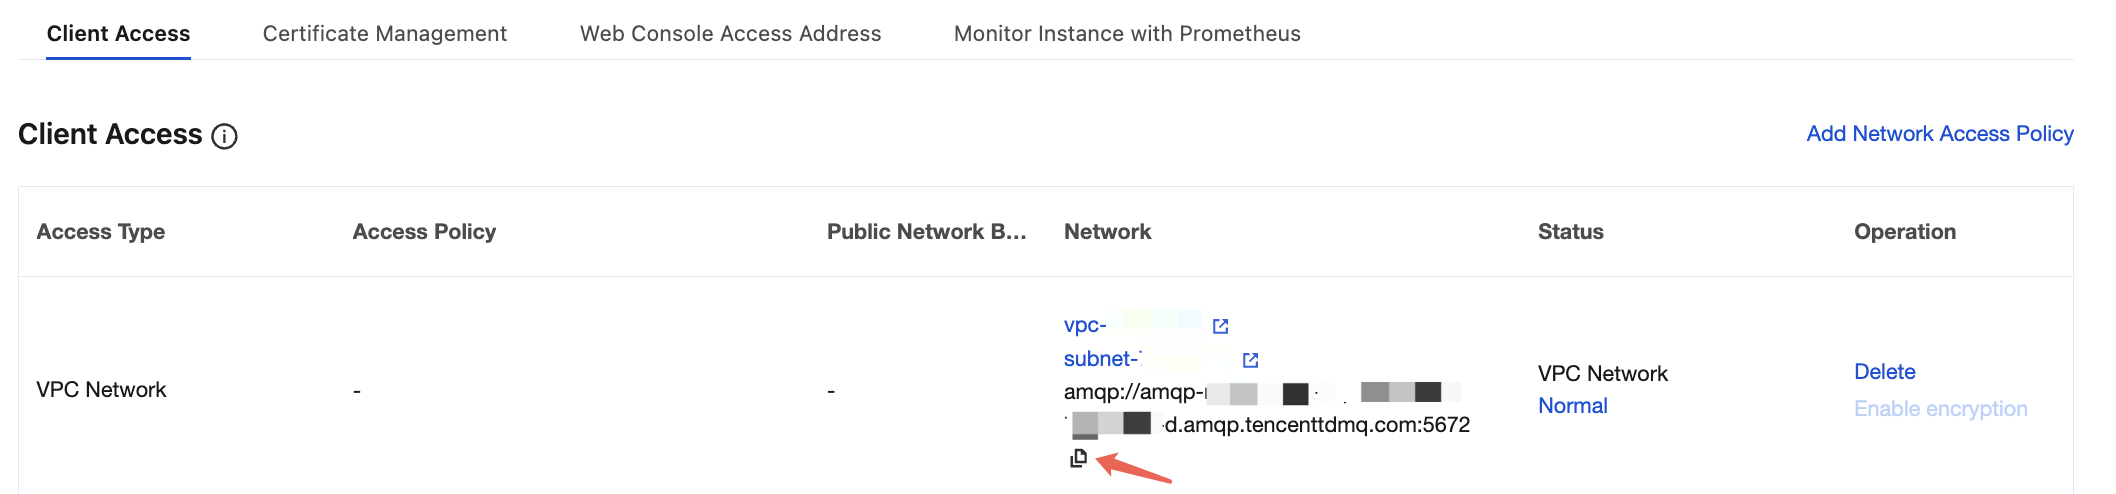
1. Cluster access point address and port information.
The cluster access point address can be obtained from the Client Access module on the basic cluster information page. Different access points can be selected based on different network types.
2. Username and password for accessing the cluster. Ensure that the user has already been granted the corresponding access permissions.
The username can be obtained from the user management page in the console, and the password is the one you set when creating the user.
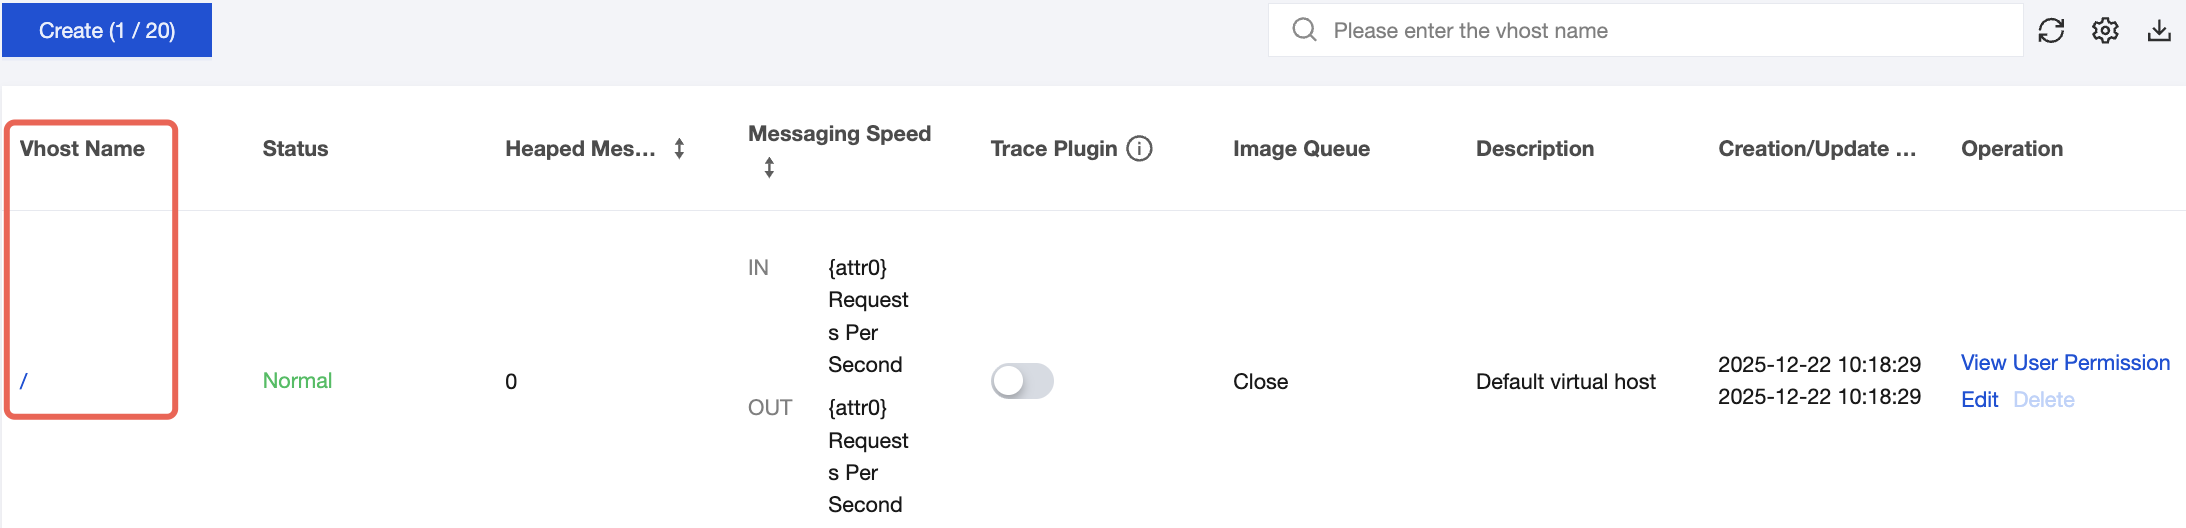
3. Vhost name.
It can be obtained from the vhost list page in the console.
4. Exchange/Queue name.
It can be obtained from the corresponding exchange and queue resource management page in the console.