Vhost is used for logical isolation, and exchanges and queues in different vhosts are isolated and do not interfere with each other. This document introduces the operation steps to create a vhost in the console and to create resources such as exchanges and queues under the vhost for subsequent message sending and receiving tests.
Prerequisites
Operation Steps
Step 1: Creating a Vhost
After RabbitMQ cluster creation, the system automatically creates a vhost named “/” under the cluster. You can directly use this vhost for subsequent steps or follow the steps below to recreate one.
2. On the cluster list page, find the created cluster and click its ID to go to the basic information page.
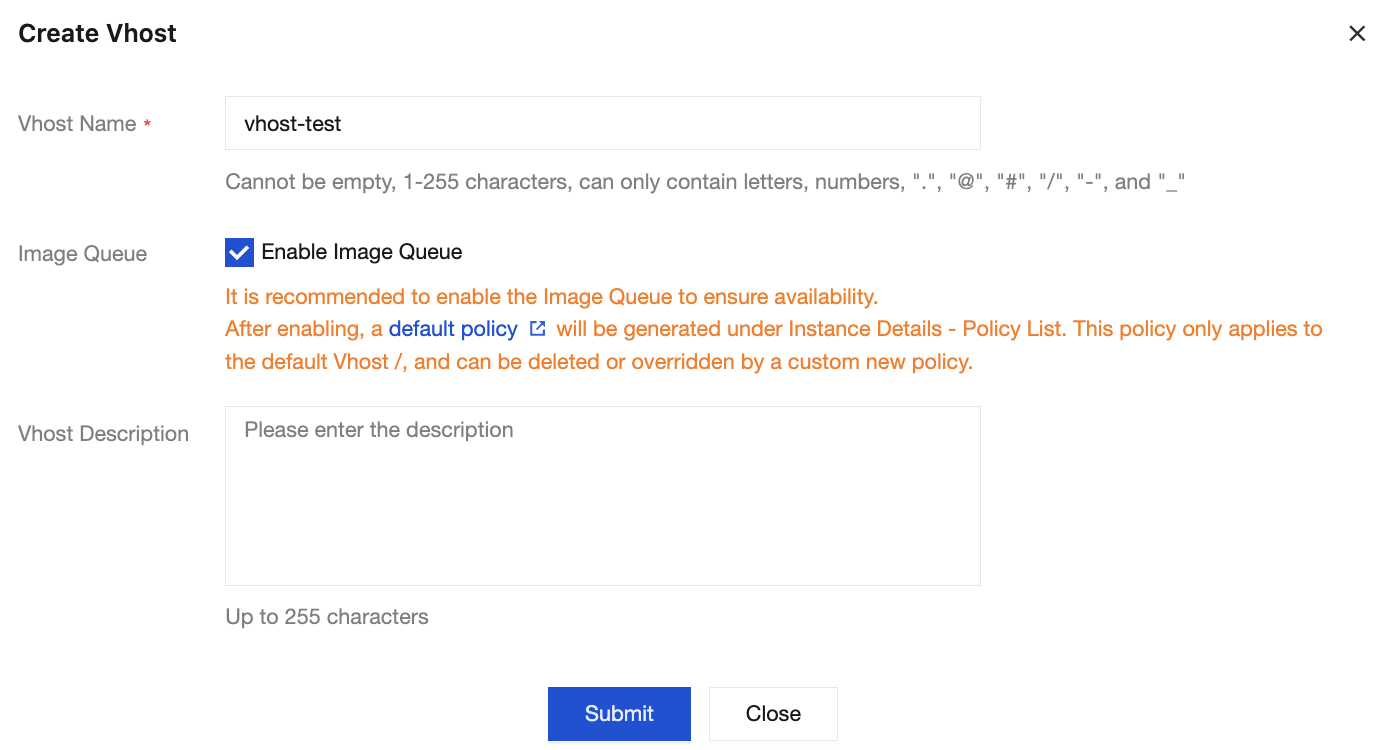
3. Select the Vhost tab at the top, and then click Create to go to the vhost creation page.
4. In the new vhost dialog box, set the vhost name and description. Keep the default values for other options.
5. Click Submit to complete the creation of the vhost under the selected cluster, and the newly created vhost will appear on the vhost list page.
Step 2: Configuring Vhost Permissions
After RabbitMQ cluster creation, the system automatically creates a user named “admin” under the cluster. You can configure permissions for the default user or follow the steps below to create a user and configure permissions.
1. On the vhost list page, select the User and Permission tab at the top. On the User Management page, click Create User.
2. On the user creation page, enter the username and password. Keep the default values for other options. Click Submit to complete the user creation.
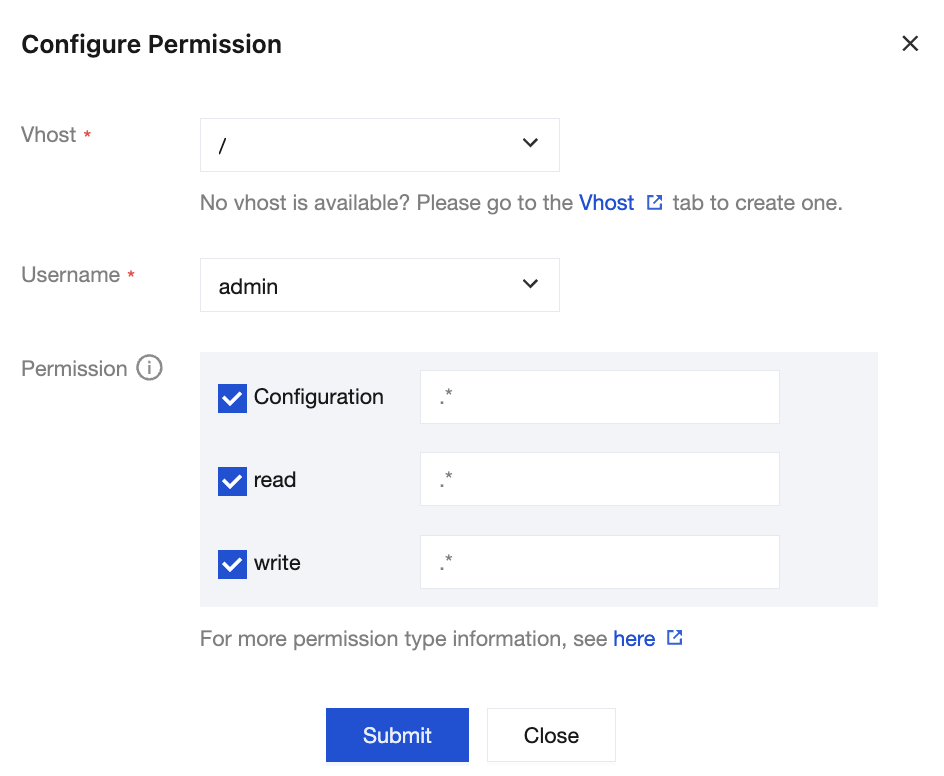
3. On the user management page, select the Permissions List tab and click Configure Permission.
4. On the permission configuration page, select the created vhost and user, and then assign permission rules for the user on that vhost.
Permissions refer to the user’s operation permissions on the exchanges and queues under the vhost, including configuration and read/write permissions.
Configuration permission: affects the declaration and deletion of exchanges and queues.
Read/Write permissions: affect reading messages from queues, sending messages to exchanges, and binding operations between queues and exchanges.
Permission rule settings support using regular expressions to match resources. For example, checking Configure and entering test.* in the input box grants the user configuration permissions of all resources whose names start with test within the current vhost.
5. Click Submit to complete the permission configuration.
Step 3: Creating an Exchange
After RabbitMQ cluster creation, the system automatically creates an exchange named "amq.default" under the cluster. You can directly use this exchange for subsequent steps or follow the steps below to recreate one.
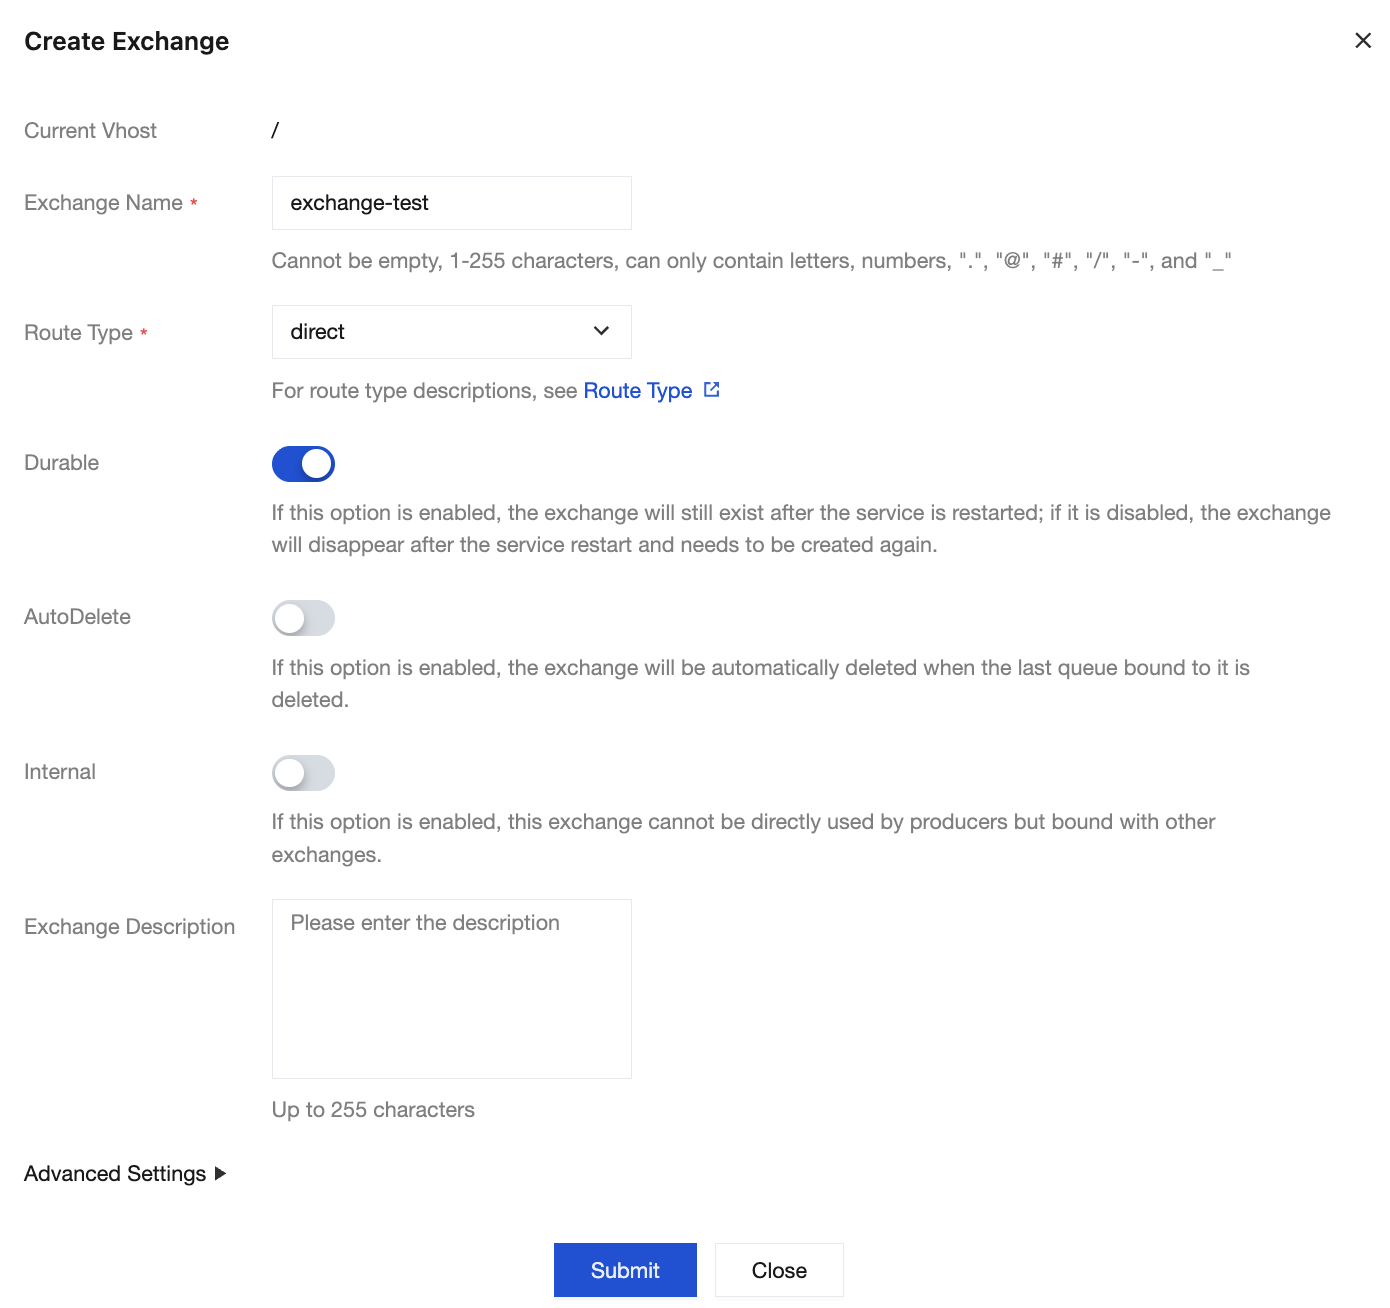
1. Choose Cluster > Exchange in the left sidebar, select the newly created cluster and vhost, and click Create.
2. Enter the exchange name, select a routing type, and keep the default values for other options.
3. Click Submit to complete the exchange creation.
Step 4: Creating a Queue
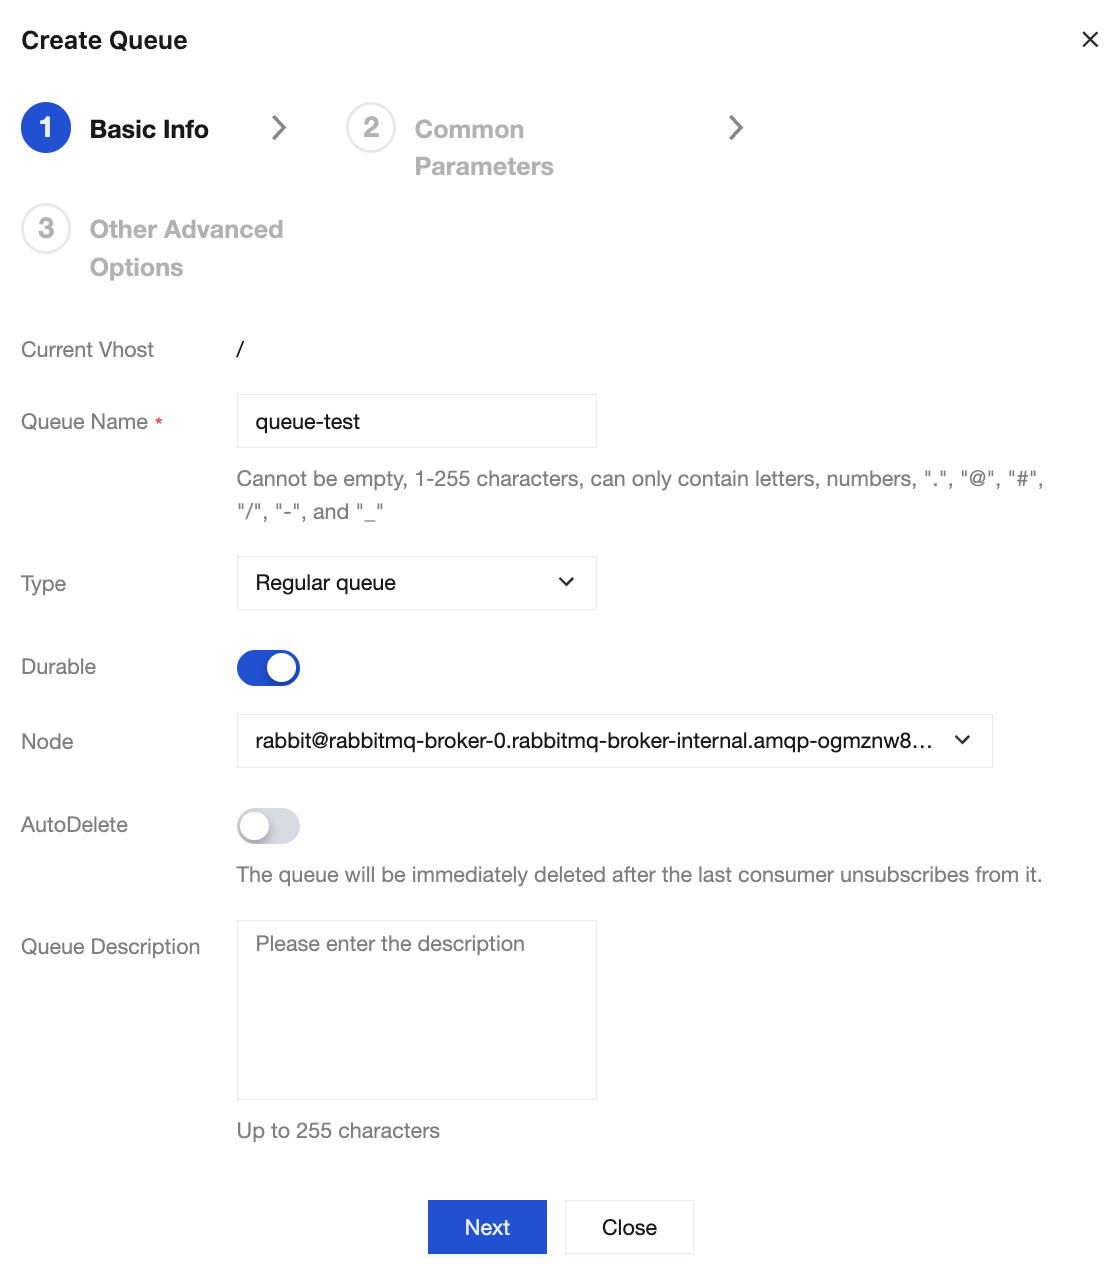
1. Choose Cluster > Queue in the left sidebar, select the newly created cluster and vhost, and click Create.
2. Enter the queue name, set the type to Normal Queue, and keep the default values for other options.
3. In the last step, click Submit to complete the queue creation.
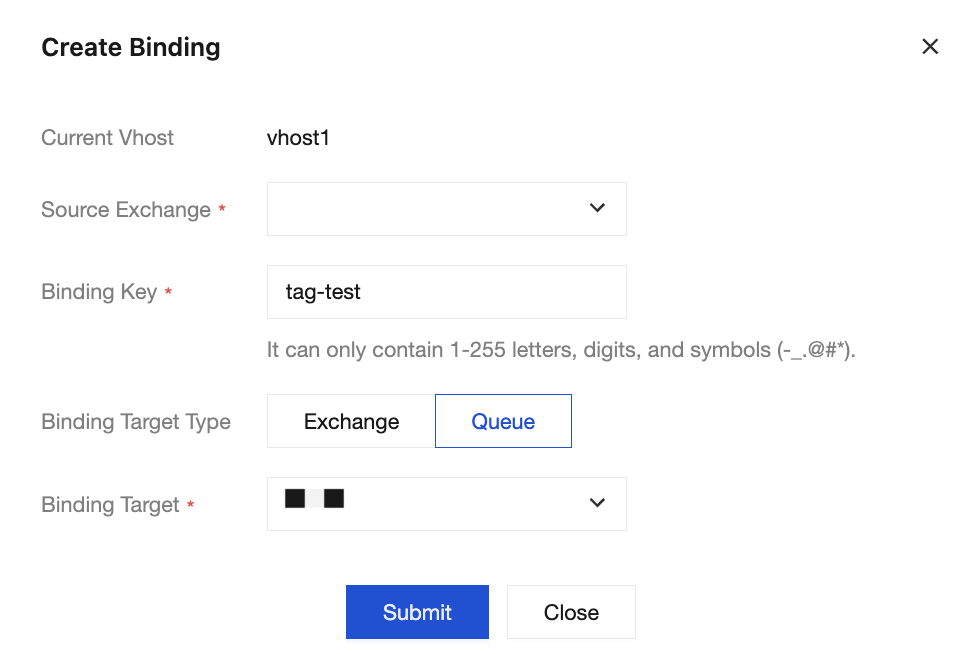
Step 5: Binding Queues to Exchanges
1. On the vhost list page, click the ID of the newly created vhost to go to the basic information page.
2. Select the Routing tab at the top of the page, and click Create.
3. Set the newly created exchange to the source exchange, enter the Binding Key, set the binding type to queue, and set the newly created queue to the binding target.
4. Click Submit to complete the binding of the routing relationship.