You can install the Tencent PTS Recorder traffic recording plugin on Chrome. The PTS Recorder will record your operations and the requests sent along with the corresponding response content from the browser, and it will automatically generate a PTS performance testing scenario.
This document introduces how to use the PTS traffic recording feature to help you quickly simulate business scenarios and initiate performance testing.
Directions
Installing Plugin
1. Download the PTS Recorder plugin to your local drive and unzip it.
2. Open the Chrome browser and type chrome://extensions/ in the address bar to enter the extensions management page. Click the button in the top-right corner of the Extensions page to switch to Developer mode.
3. Click Load unpacked in the top-left corner and select the PTS Recorder plugin that you have downloaded and unzipped.
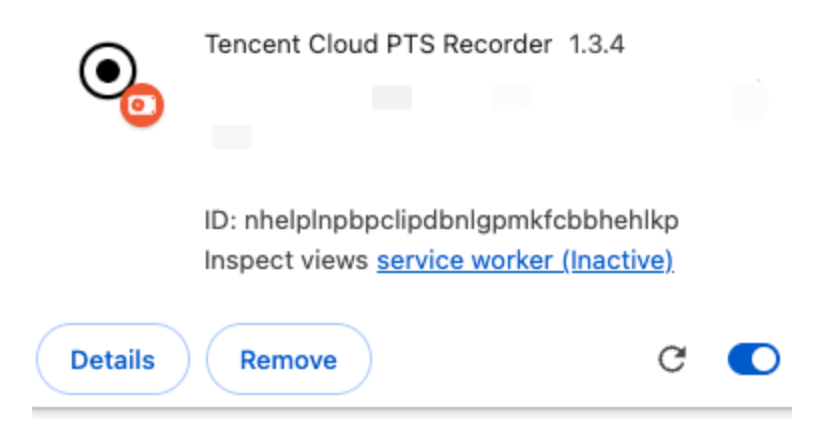
4. If Tencent Cloud PTS Recorder appears in the list of Chrome browser plugins, it indicates that the installation was successful.
5. After you successfully install the plugin, click Refresh Page, and then click Traffic Recording again.
6. After the plugin is installed, you can click
icon in the top menu bar of the Chrome browser, and then click
icon next to the PTS Recorder plugin, to pin this plugin.
Using the Plugin
1. After the plugin is installed, fill in the following information and click Start Recording.
Starting page: The page to which the recorder will navigate after it starts; this is where the recording of user operation traffic begins.
URL filtering: By using URL filtering, you can record the traffic that interests you. For example, if you are only concerned with requests sent to the domain name console.cloud.tencent.com, you may enter this domain name in the URL filtering field.
Type filtering: Select to record only the types of requests that interest you.
Note:
Recording type:
XHR: application/json, text/xml, text/plain, and application/xml
JS: application/javascript, text/javascript, and application/x-javascript
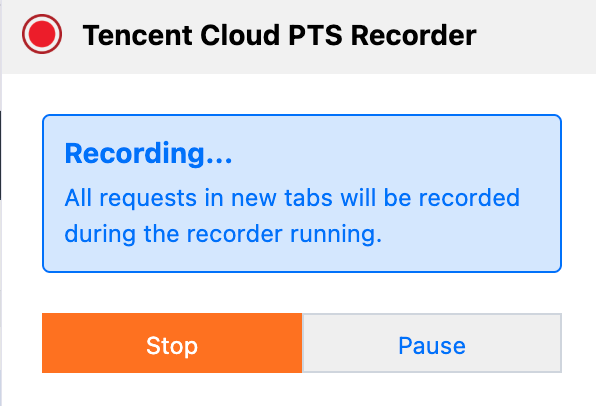
2. Perform your operations on the recording page, and PTS will automatically record your operations. You can see a prompt indicating that PTS is recording below the bottom menu bar of your browser. By clicking the PTS plugin, you can also see the prompt indicating that it is currently recording.
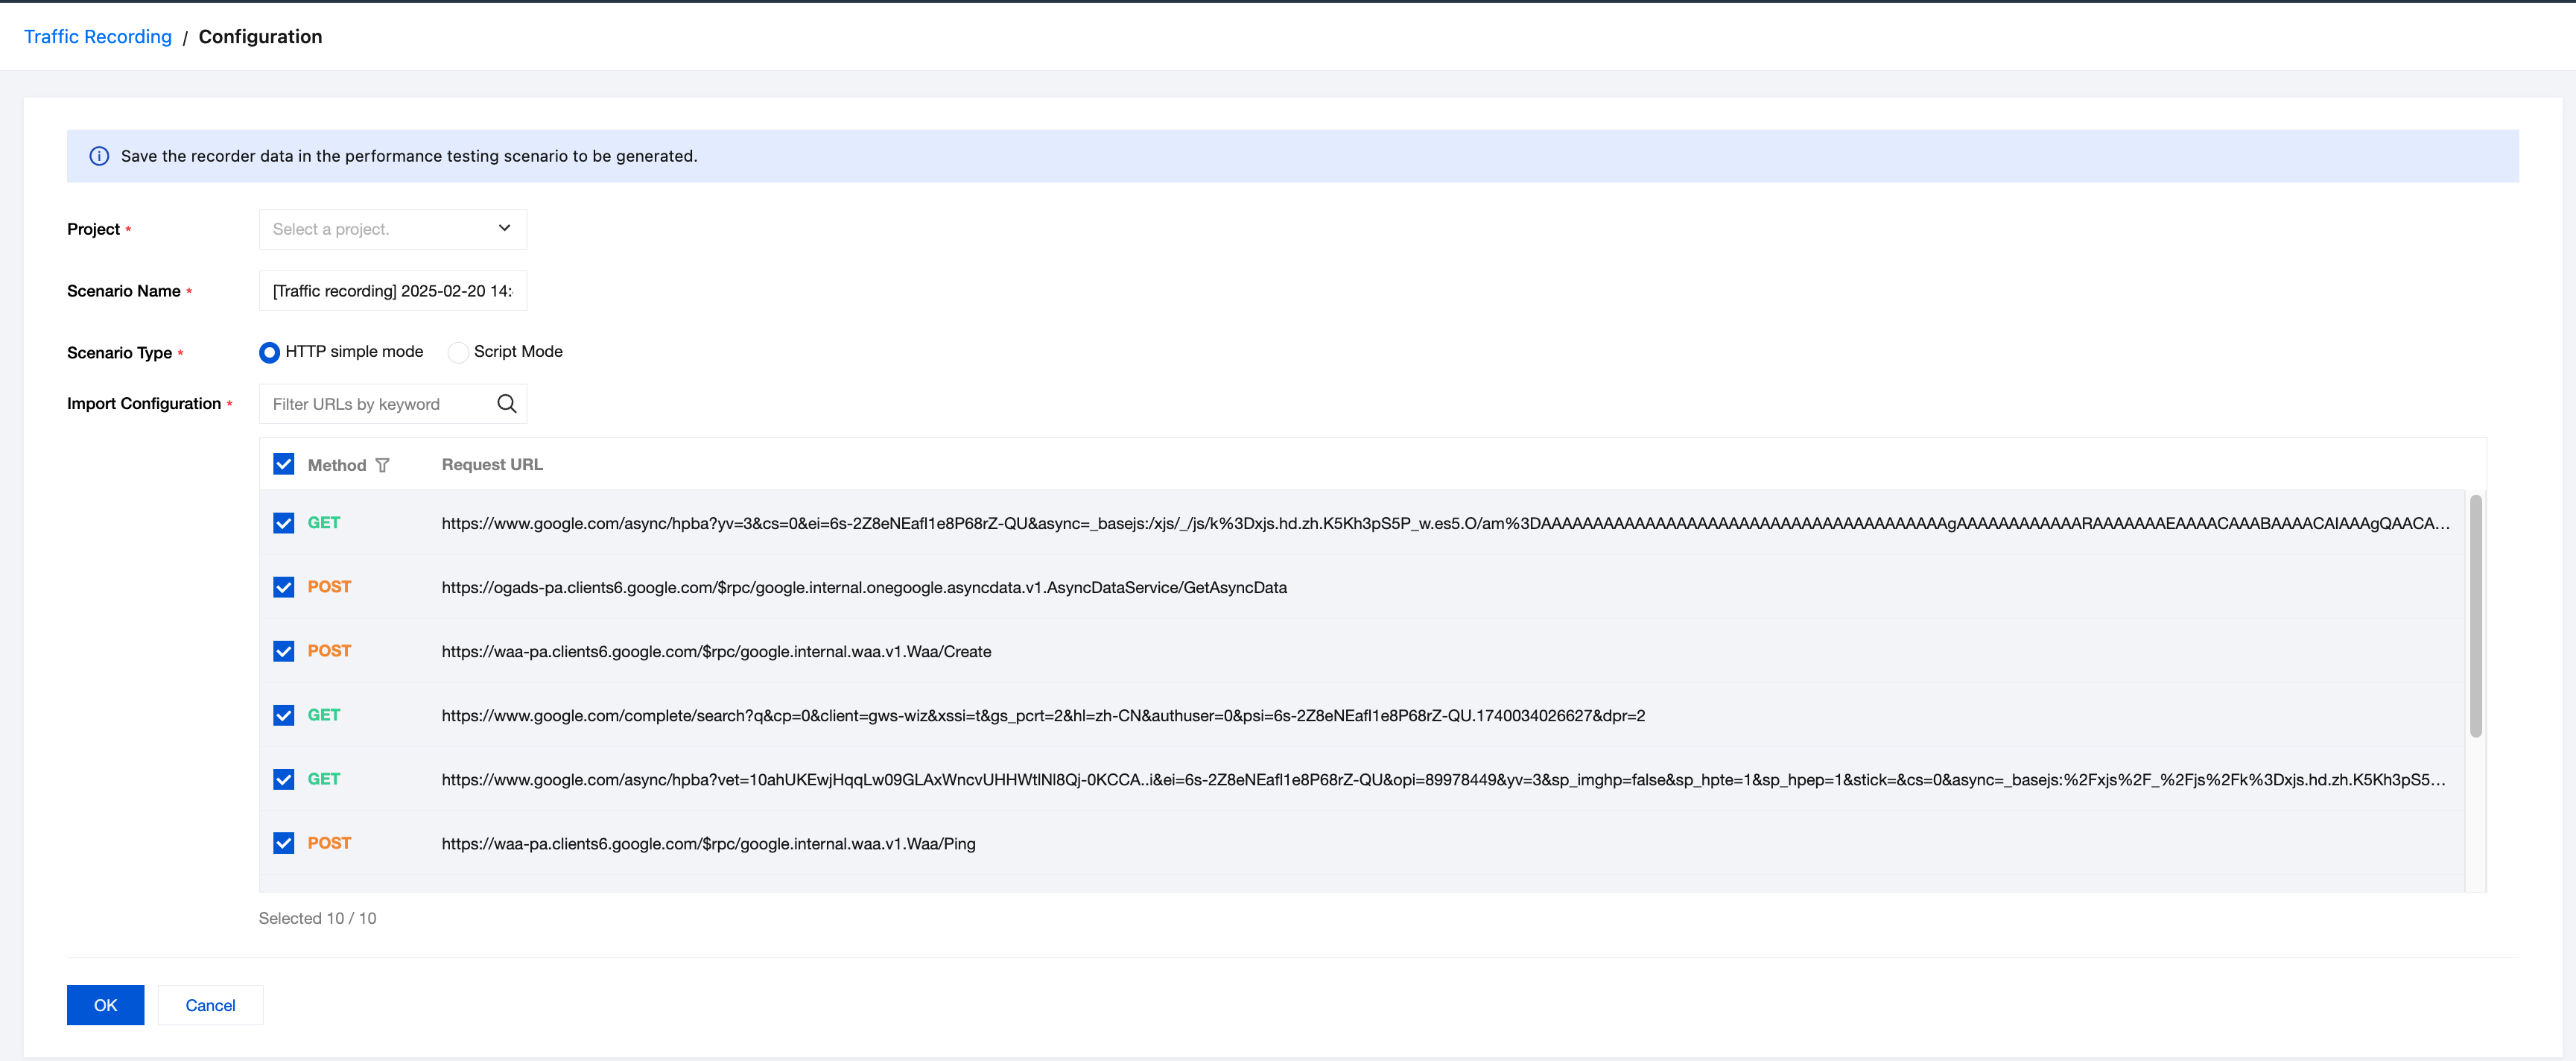
3. After performing operations, you can click Cancel in the prompt below the bottom menu bar of the browser, or click Stop Recording in the PTS plugin. On the traffic recording page, filter out the requests that interest you and generate a performance testing scenario.