tencent cloud

Elasticsearch Service

User Guide
Release Notes and Announcements
Release Notes
Product Announcements
Security Announcement
Product Introduction
Overview
Elasticsearch Version Support Notes
Features
Elastic Stack (X-Pack)
Strengths
Scenarios
Capabilities and Restrictions
Related Concepts
Purchase Guide
Billing Overview
Pricing
Elasticsearch Service Serverless Pricing
Notes on Arrears
ES Kernel Enhancement
Kernel Release Notes
Targeted Routing Optimization
Compression Algorithm Optimization
FST Off-Heap Memory Optimization
Getting Started
Evaluation of Cluster Specification and Capacity Configuration
Creating Clusters
Accessing Clusters
ES Serverless Guide
Service Overview
Basic Concepts
5-Minute Quick Experience
Quick Start
Access Control
Writing Data
Data Query
Index Management
Alarm Management
ES API References
Related Issues
Data Application Guide
Data Application Overview
Data Management
Elasticsearch Guide
Managing Clusters
Access Control
Multi-AZ Cluster Deployment
Cluster Scaling
Cluster Configuration
Plugin Configuration
Monitoring and Alarming
Log Query
Data Backup
Upgrade
Practical Tutorial
Data Migration and Sync
Use Case Construction
Index Configuration
SQL Support
Receiving Watcher Alerts via WeCom Bot
API Documentation
History
Introduction
API Category
Instance APIs
Making API Requests
Data Types
Error Codes
FAQs
Product
ES Cluster
Service Level Agreement
Glossary
New Version Introduction
Elasticsearch Service July 2020 Release
Elasticsearch Service February 2020 Release
Elasticsearch Service December 2019 Release

Access Control

PDF
Modo Foco
Tamanho da Fonte
Última atualização: 2024-12-04 16:21:56
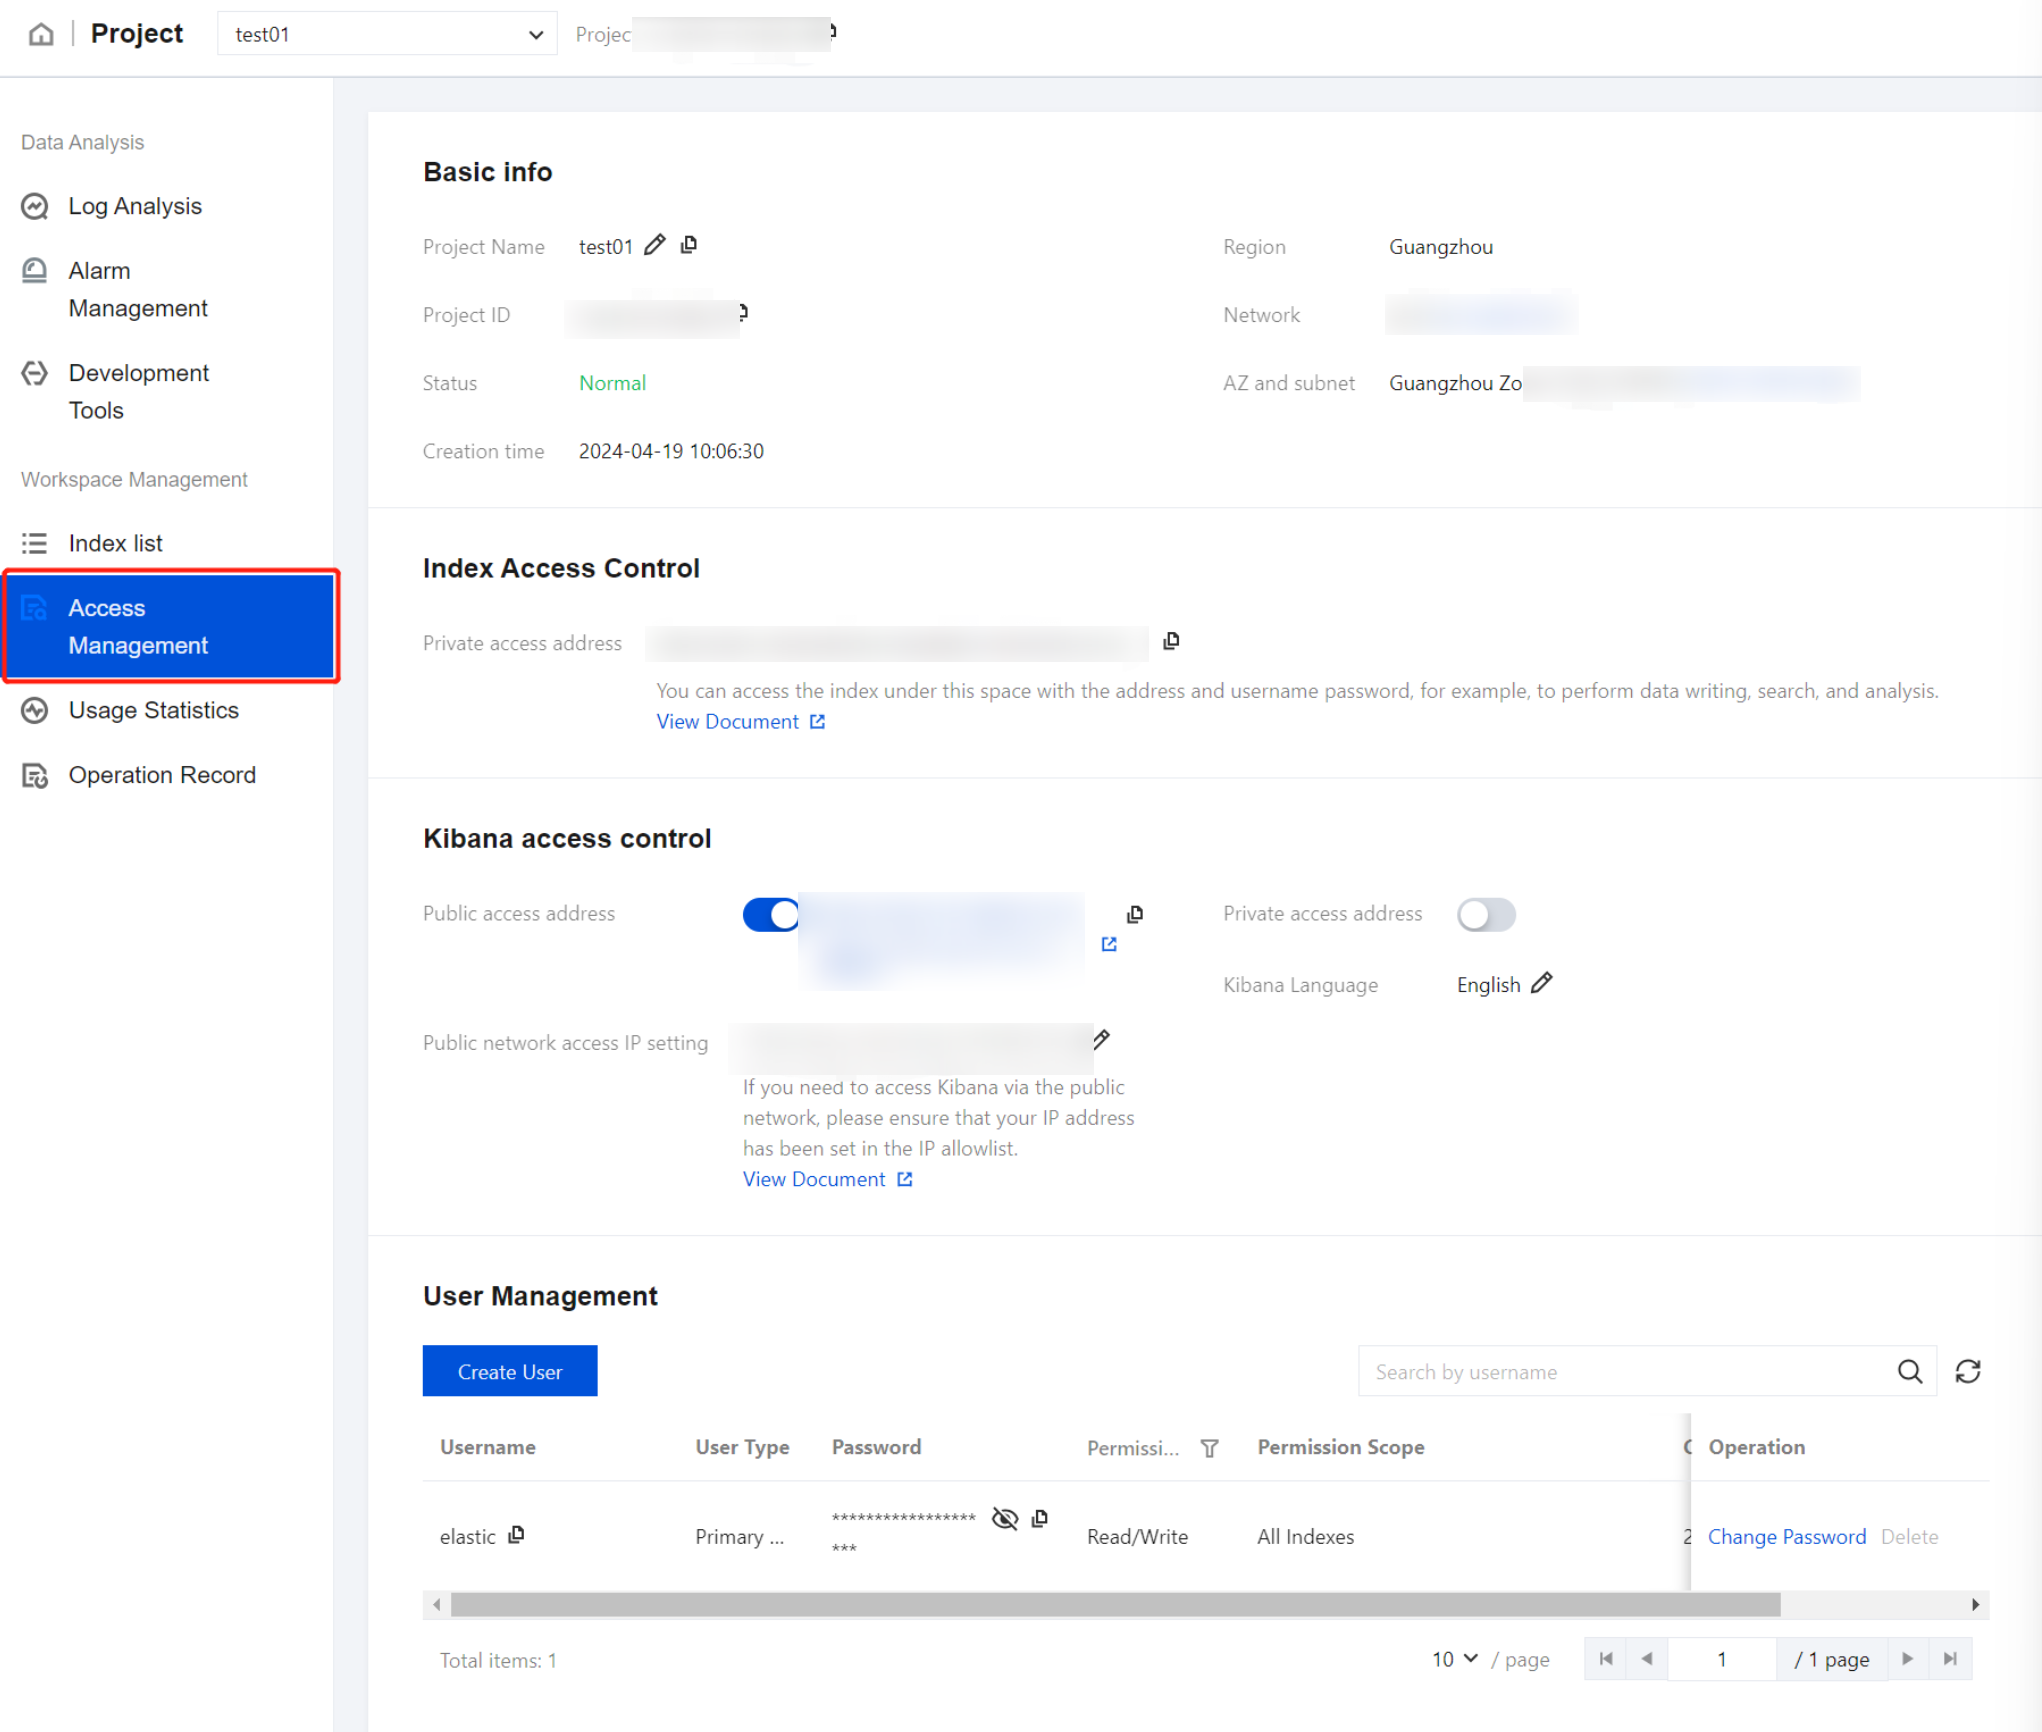
1. In the Project list, click the project name/ID to enter the Basic Info page.

2. Then, click Access Management to enter the Access Control page.

3. In the Access Control module, you can perform the following operations:
View the project space's private network access address, which can be used for data writing or querying.
Enable or disable Kibana private network access or public network access.
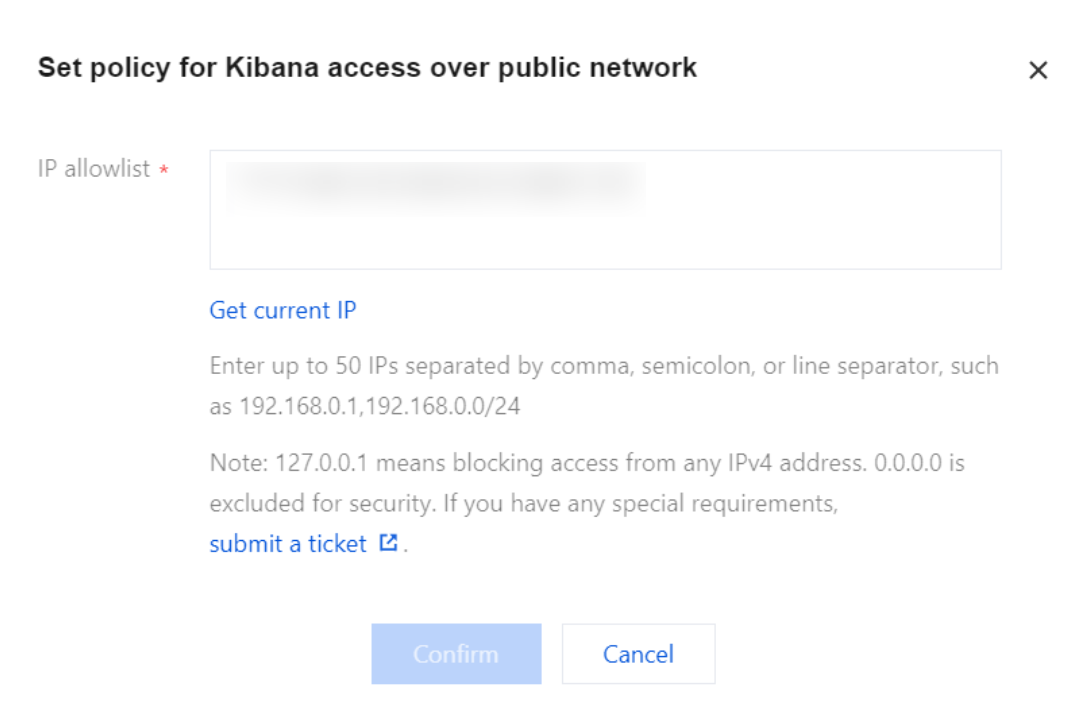
Modify the allowlist of Kibana public network access addresses. Multiple IP addresses are supported, and are separated by commas, semicolons, or line breaks, in format such as 192.168.0.1,192.168.0.0/24, with a maximum of 50 entries. If you are not aware of the current IP address, click Click to automatically access the current IP address to obtain and enter it automatically.
Note
Setting 127.0.0.1 means blocking access for all IPv4 addresses. For security, setting the IP allowlist to 0.0.0.0 is not permitted. If you have special requirements, submit a ticket for assistance.

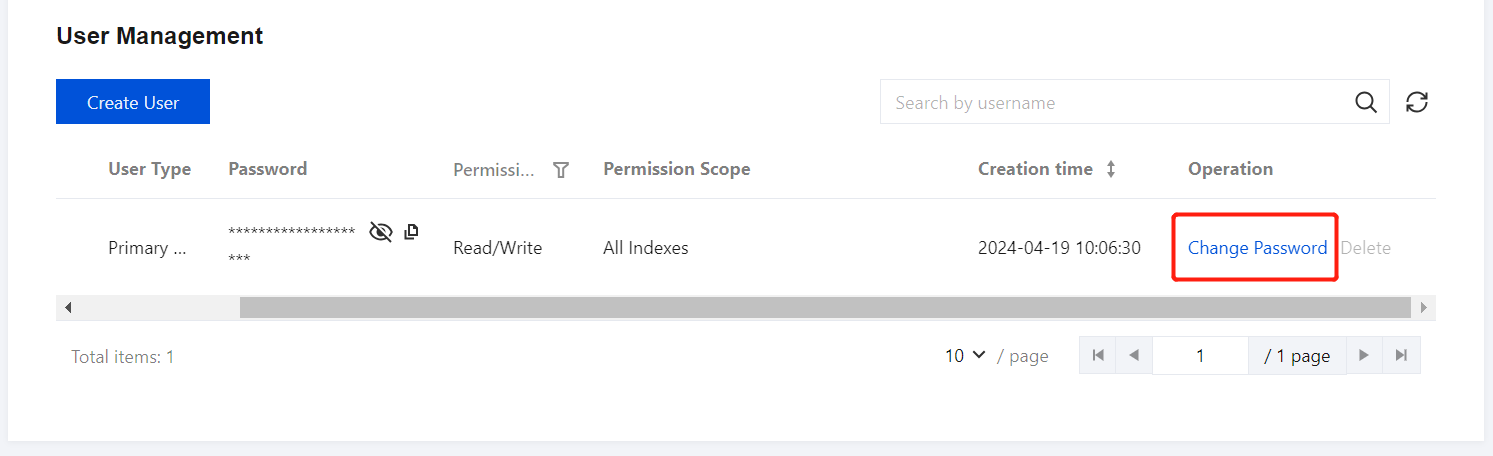
Modify root/sub-user password: On the user management page, click Change Password to modify the index access password.

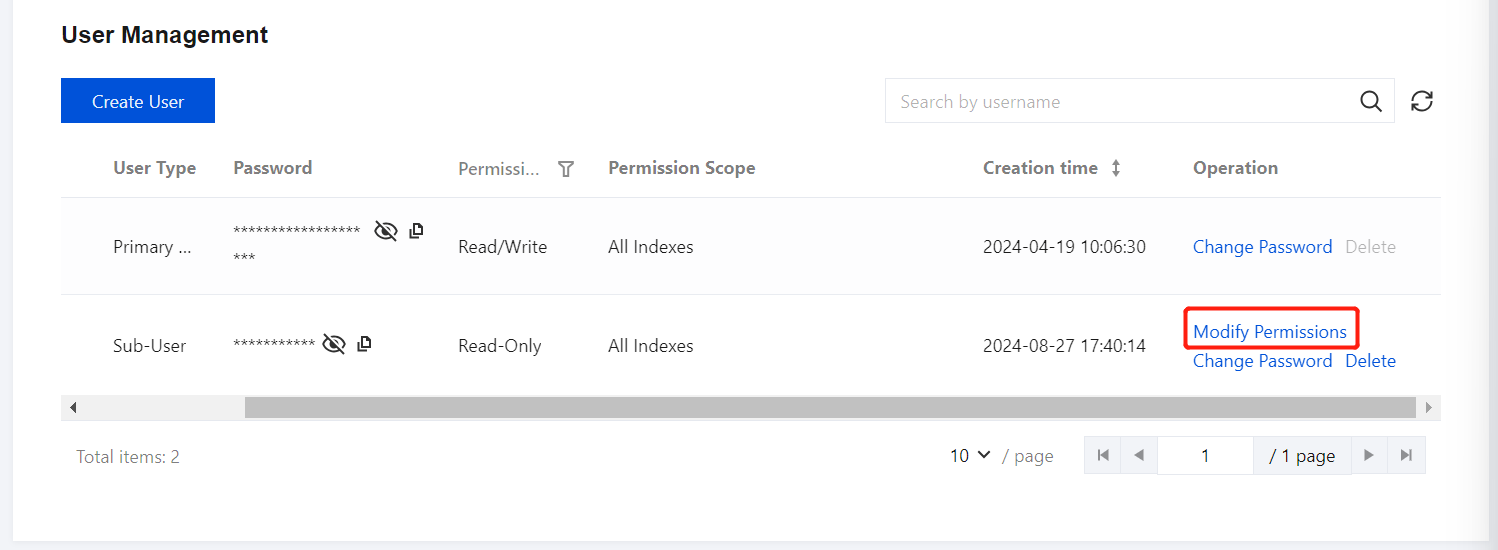
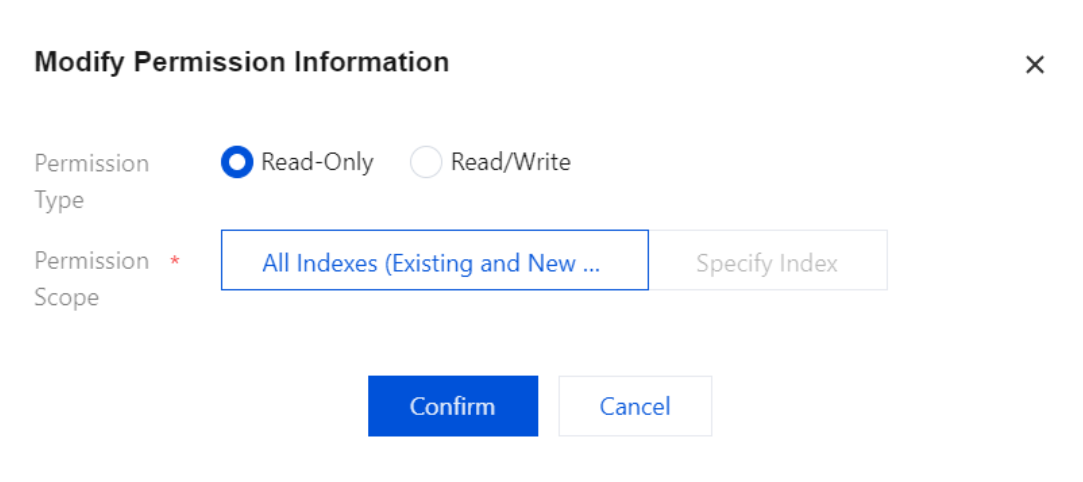
Modify sub-user permissions: On the user management page, click Modify Permissions, then select the permission type and scope. Supported permission types include read-only and read-write, and you can select from all indexes within this space via a dropdown menu.


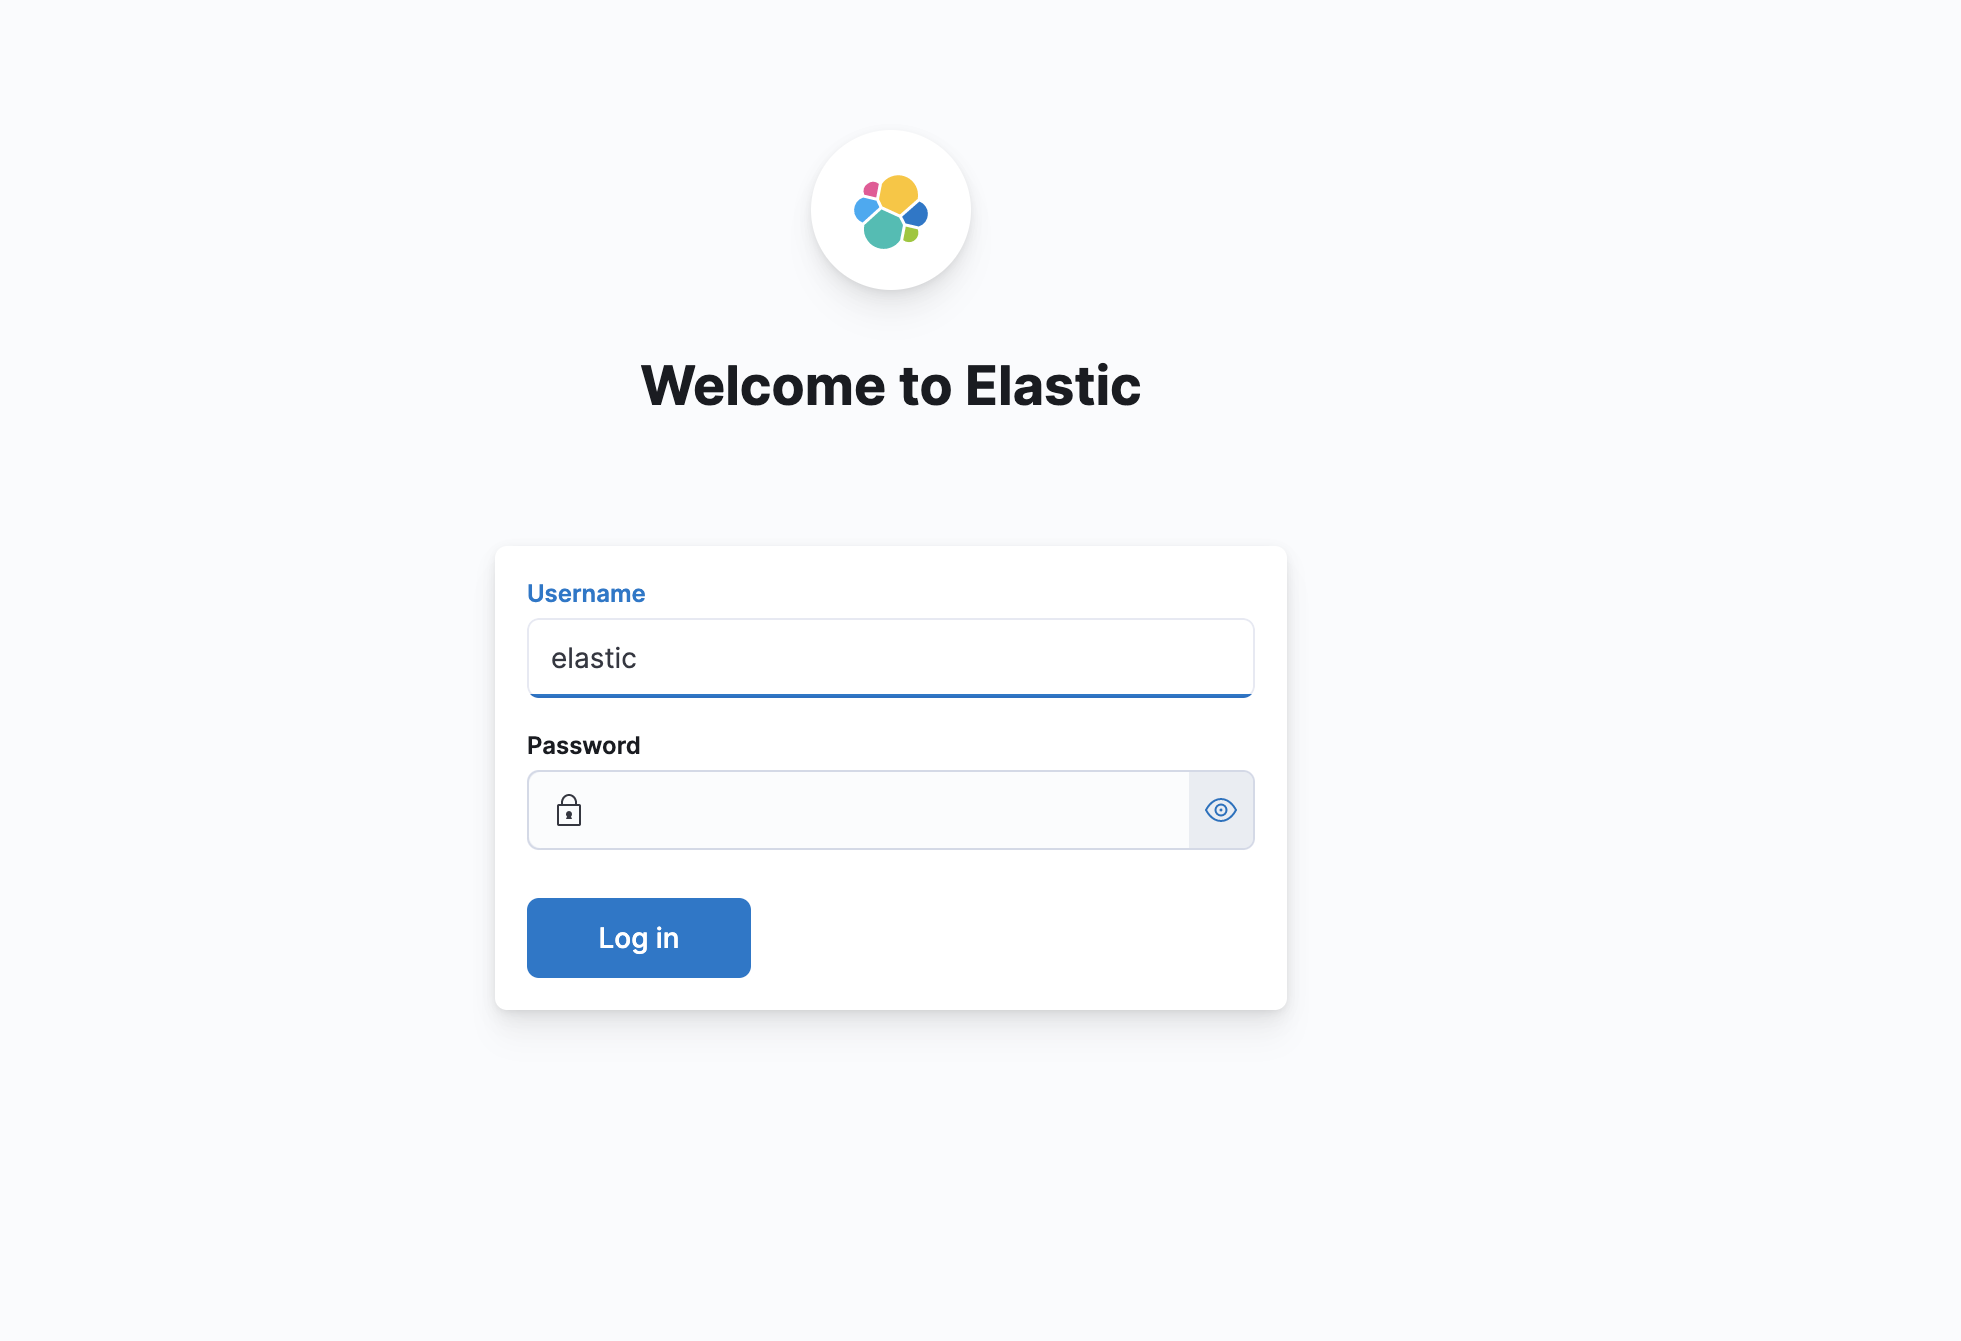
4. Log in to Kibana:
After enabling Kibana public network access and configuring the IP allowlist, click the Kibana public access address to open the Kibana login page. Enter the sub-user's username and password for this space, then click Log in to access Kibana.


Ajuda e Suporte

Esta página foi útil?

comentários