Adjusting Network Configuration
Baixar
Modo Foco
Tamanho da Fonte
The bandwidth or billing mode of Elastic IPs (EIPs) can be adjusted as needed, and adjustments take effect in real time.
Restrictions
You can only adjust the bandwidth or billing mode in the public IP address console for the Standard Account Type. For the Traditional Account Type, adjust the bandwidth on the corresponding CVM or NAT Gateway. If you cannot confirm your account type, see Determining the Account Type.
Use Cases
Adjusting the bandwidth
When the service traffic is low, the bandwidth limit needs to be lowered to avoid increasing public network costs due to excessively high bandwidth limits.
When the service traffic is large, the bandwidth limit needs to be increased to avoid access delays caused by bandwidth speed limits.
Adjusting the billing mode
After considering the cost, you need to adjust the billing mode.
Adjusting Bandwidth
1. Log in to the public IP address console.
2. At the top of the public IP address page, select the region of the EIP you want to adjust the bandwidth for. In the Operate column on the right of the target EIP instance, click Adjust Network.
3. In the pop-up Adjust bandwidth dialog box, set the target bandwidth value and click Next.
Note:
If the cloud resource bound to the EIP is a NAT Gateway, the bandwidth of the EIP cannot be less than that of the NAT Gateway. Otherwise, there will be packet loss. It is recommended that you log in to the NAT Gateway console to check the outbound bandwidth limit before adjusting the bandwidth.
To adjust the network for a common public IP address, you can see Adjusting Network Configuration.
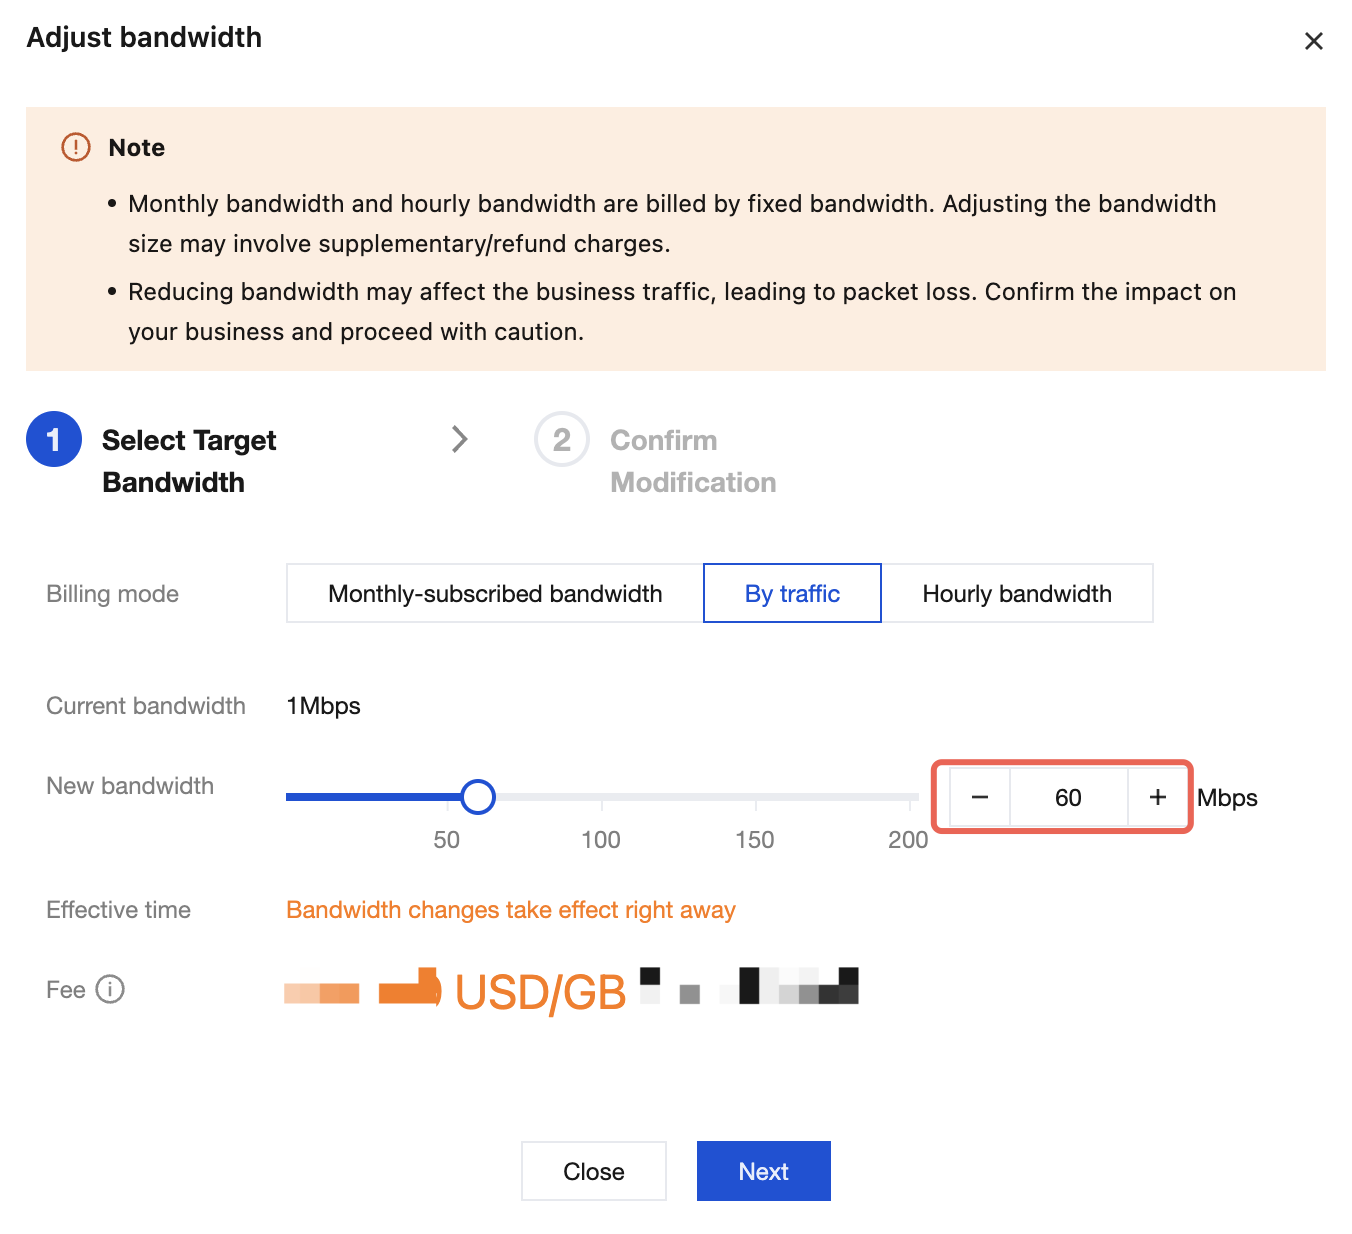
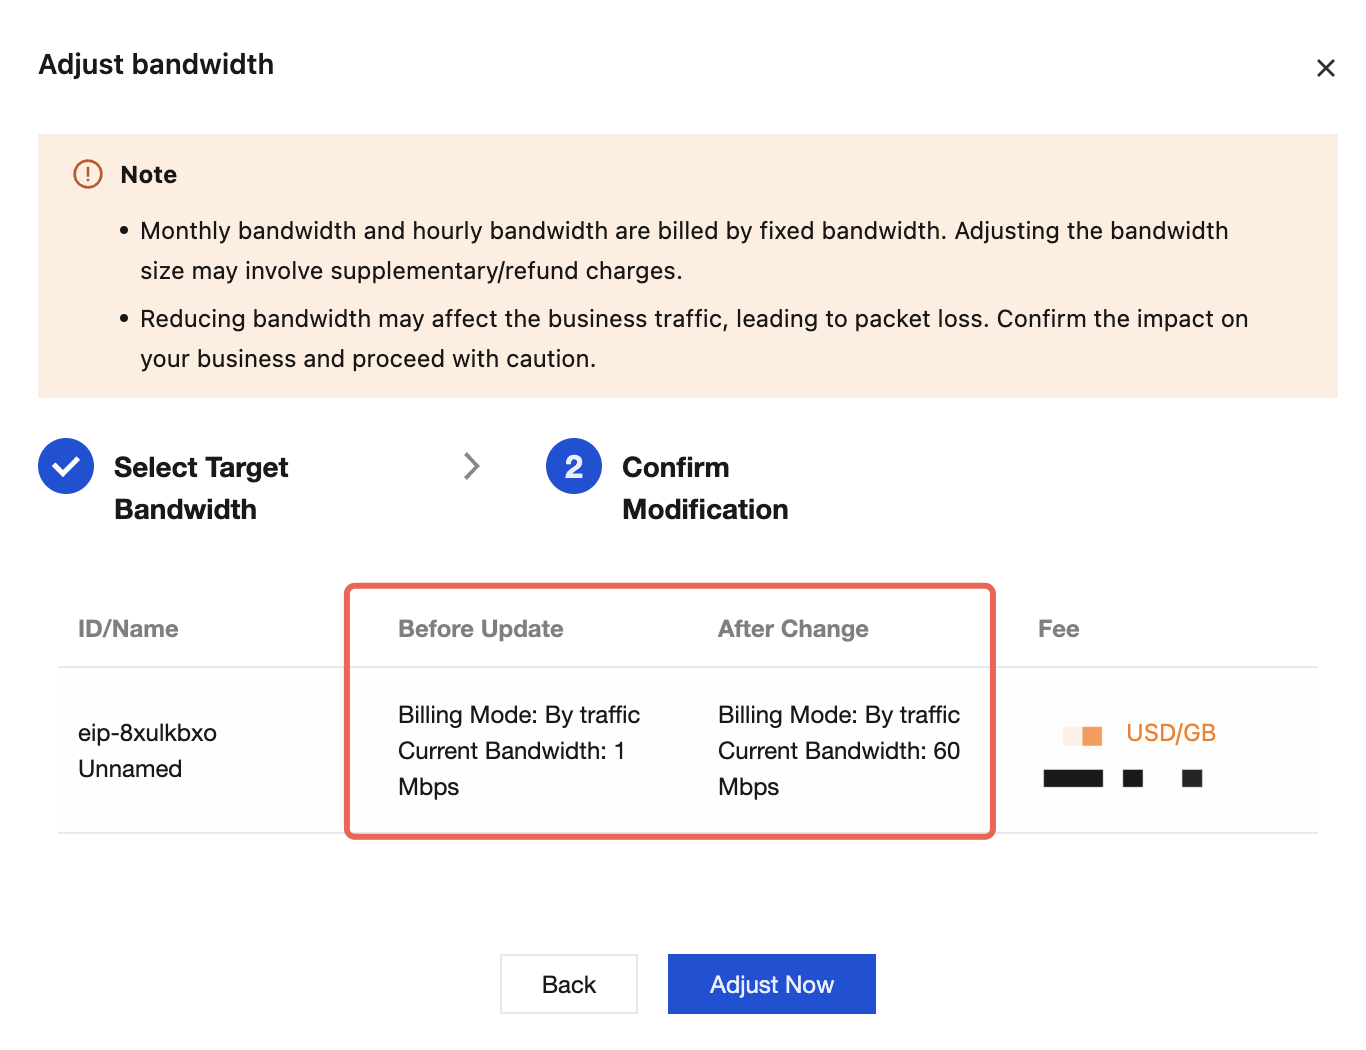
4. Confirm the bandwidth values before and after the change. After confirming that everything is correct, click Adjust Now.
Adjusting the Billing Mode
1. Log in to the public IP address console.
2. At the top of the public IP address page, select the region of the EIP you want to adjust the bandwidth for. In the Operate column on the right of the target EIP instance, click Adjust Network.
3. In the pop-up Adjust bandwidth dialog box, select the target billing mode to be changed, and click Next.
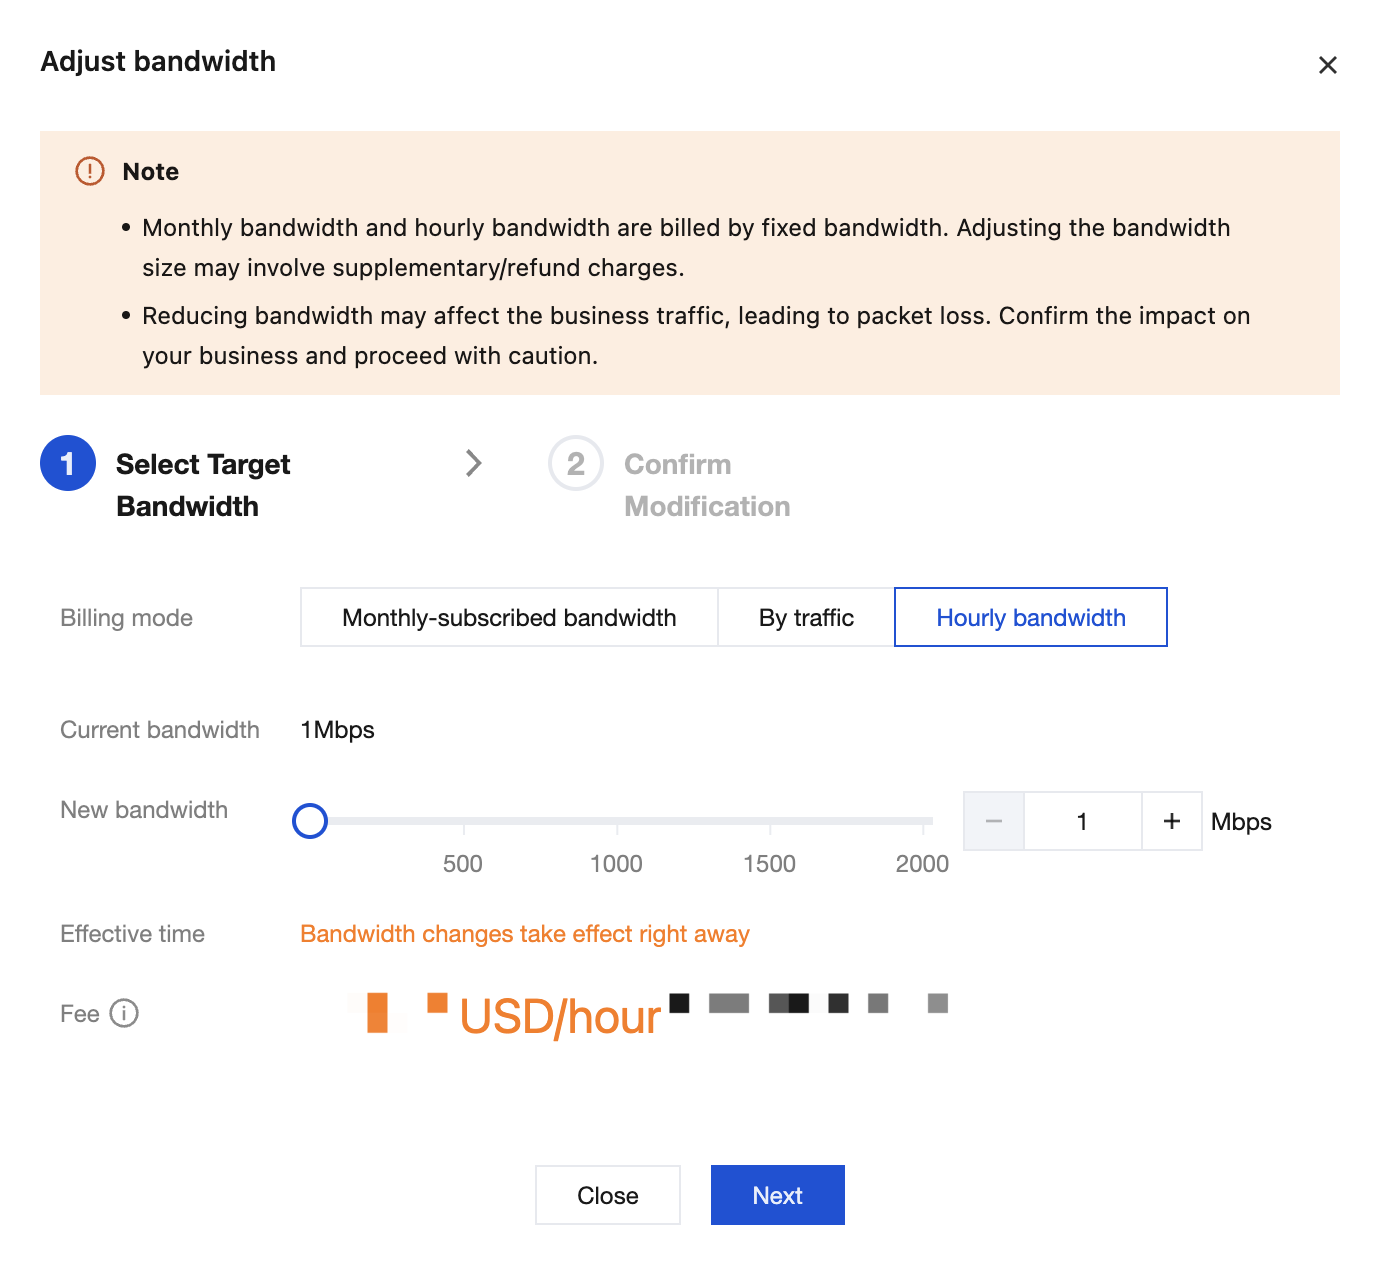
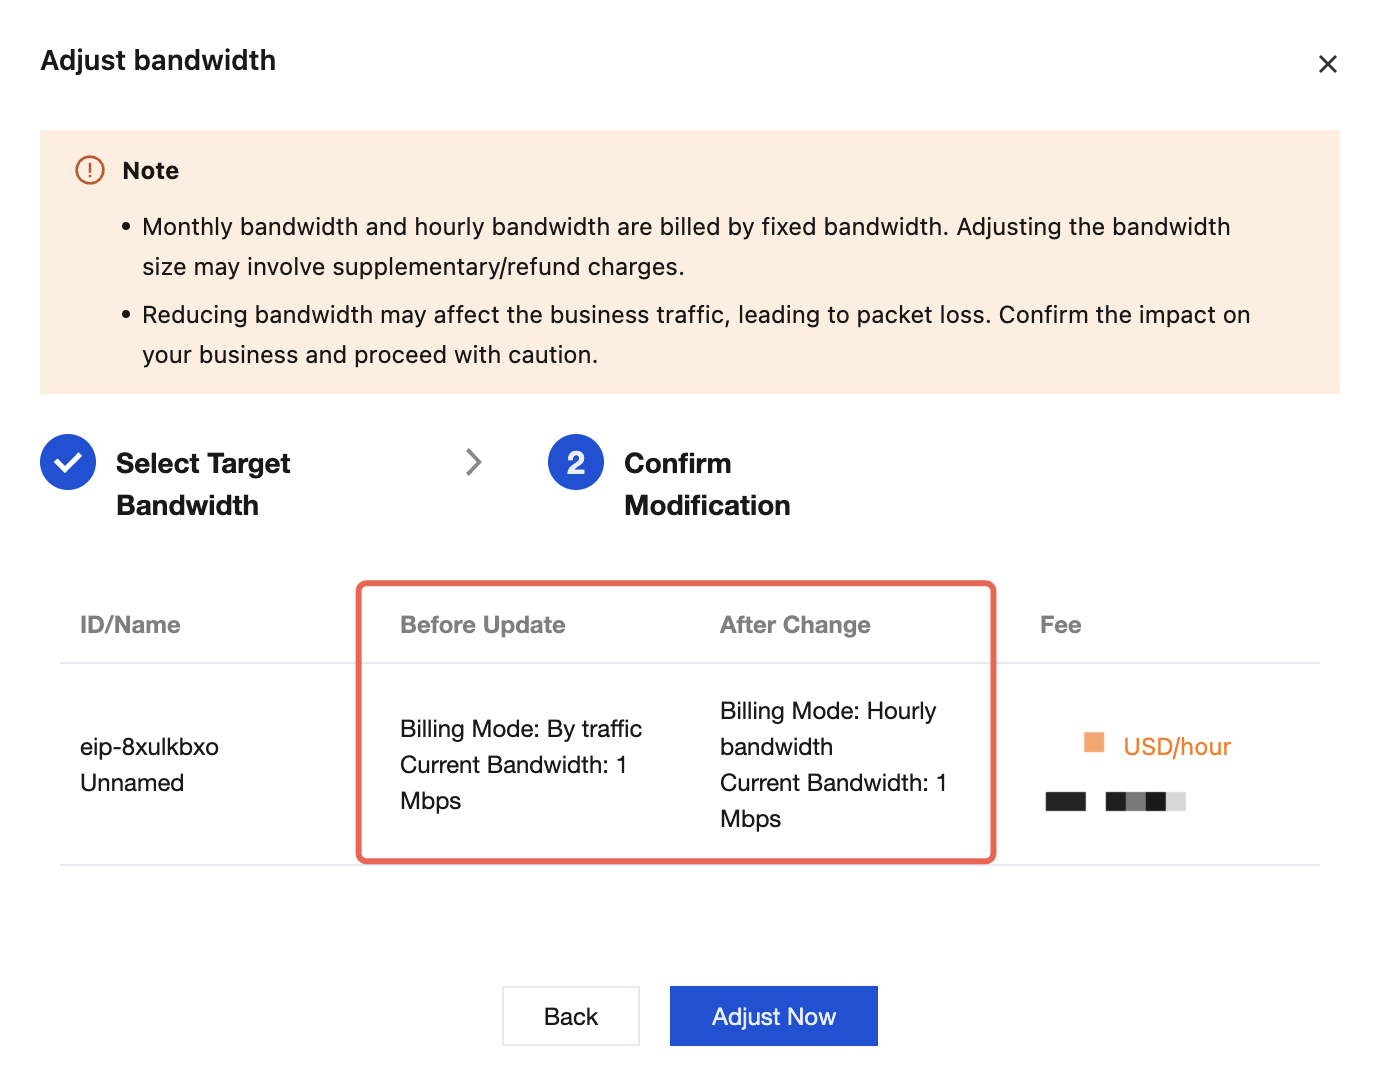
4. Confirm the billing mode before and after the change. After confirming that everything is correct, click Adjust Now.
Ajuda e Suporte
Esta página foi útil?
Você também pode entrar em contato com a Equipe de vendas ou Enviar um tíquete em caso de ajuda.
comentários