Modifying Domain Name Resolution
다운로드
포커스 모드
폰트 크기
Scenarios
This task guides you through modifying DNS resolution records in the Lighthouse console. Generally, you can directly modify your resolution records when they need to be changed.
Must-Knows
If you have not purchased the Professional edition or a higher edition of the DNS plan, you can add up to 10 load balancing records for each hostname. A hostname supports up to 5 levels. For details, see DNS Pricing Overview.
If the modified domain resolution has reached the load balancing quota, it cannot be added successfully.
Note:
Load balancing refers to the maximum number of instances that can be resolved for a single hostname. For detailed instructions on the load balancing quota, see DNS Plan Service.
Prerequisites
Operation Steps
You can modify a domain resolution from the domain page or the instance page.
Modifying Domain Name Resolution on the Domain Name Page
1. Log in to the Lighthouse console and select Domain in the left sidebar.
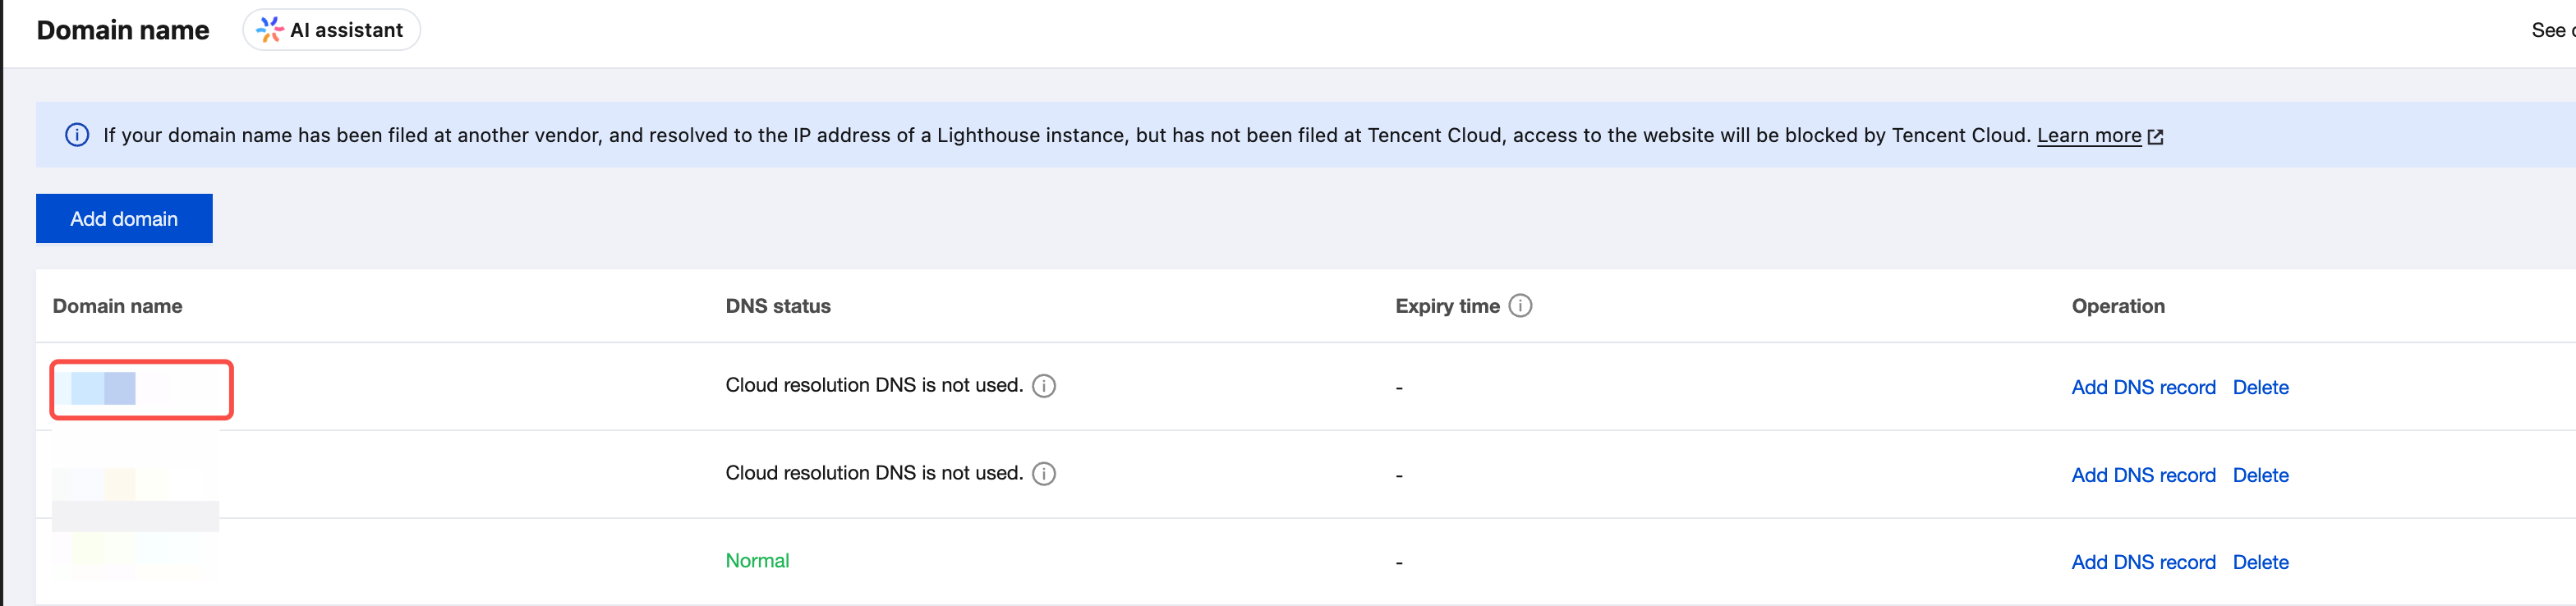
2. In the domain list, click the target domain name to go to the domain details page.
3. In the operation column of the target domain resolution, click Modify DNS record.

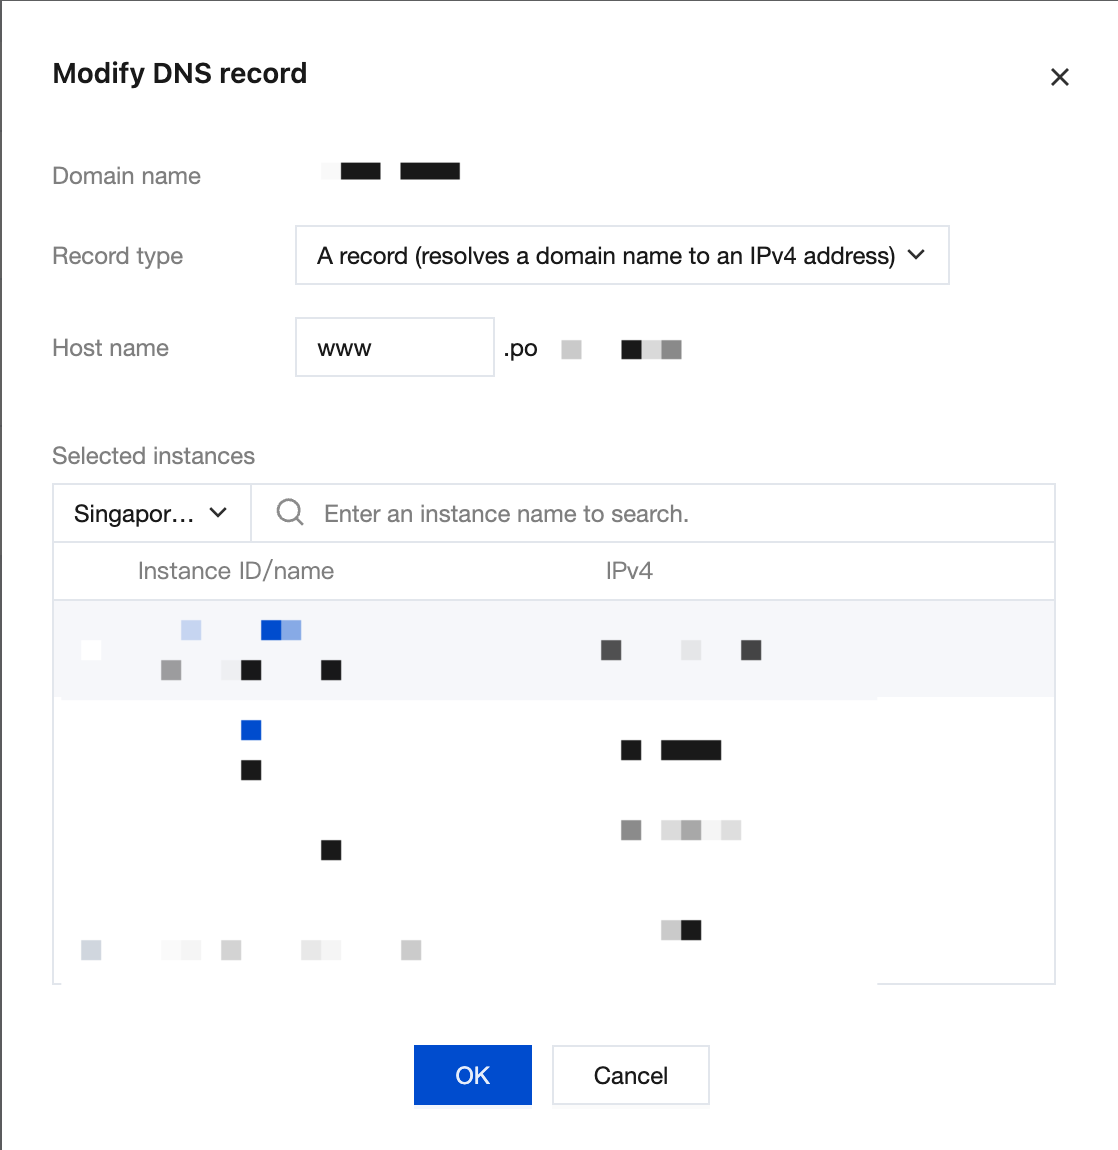
4. In the Modify DNS record pop-up, enter a new hostname.
5. Click OK to complete the modification.
Modifying Domain Name Resolution on the Instance Details Page
1. Log in to the Lighthouse console and select Servers in the left sidebar.
2. In the instance list, select the target instance and go to the instance details page.
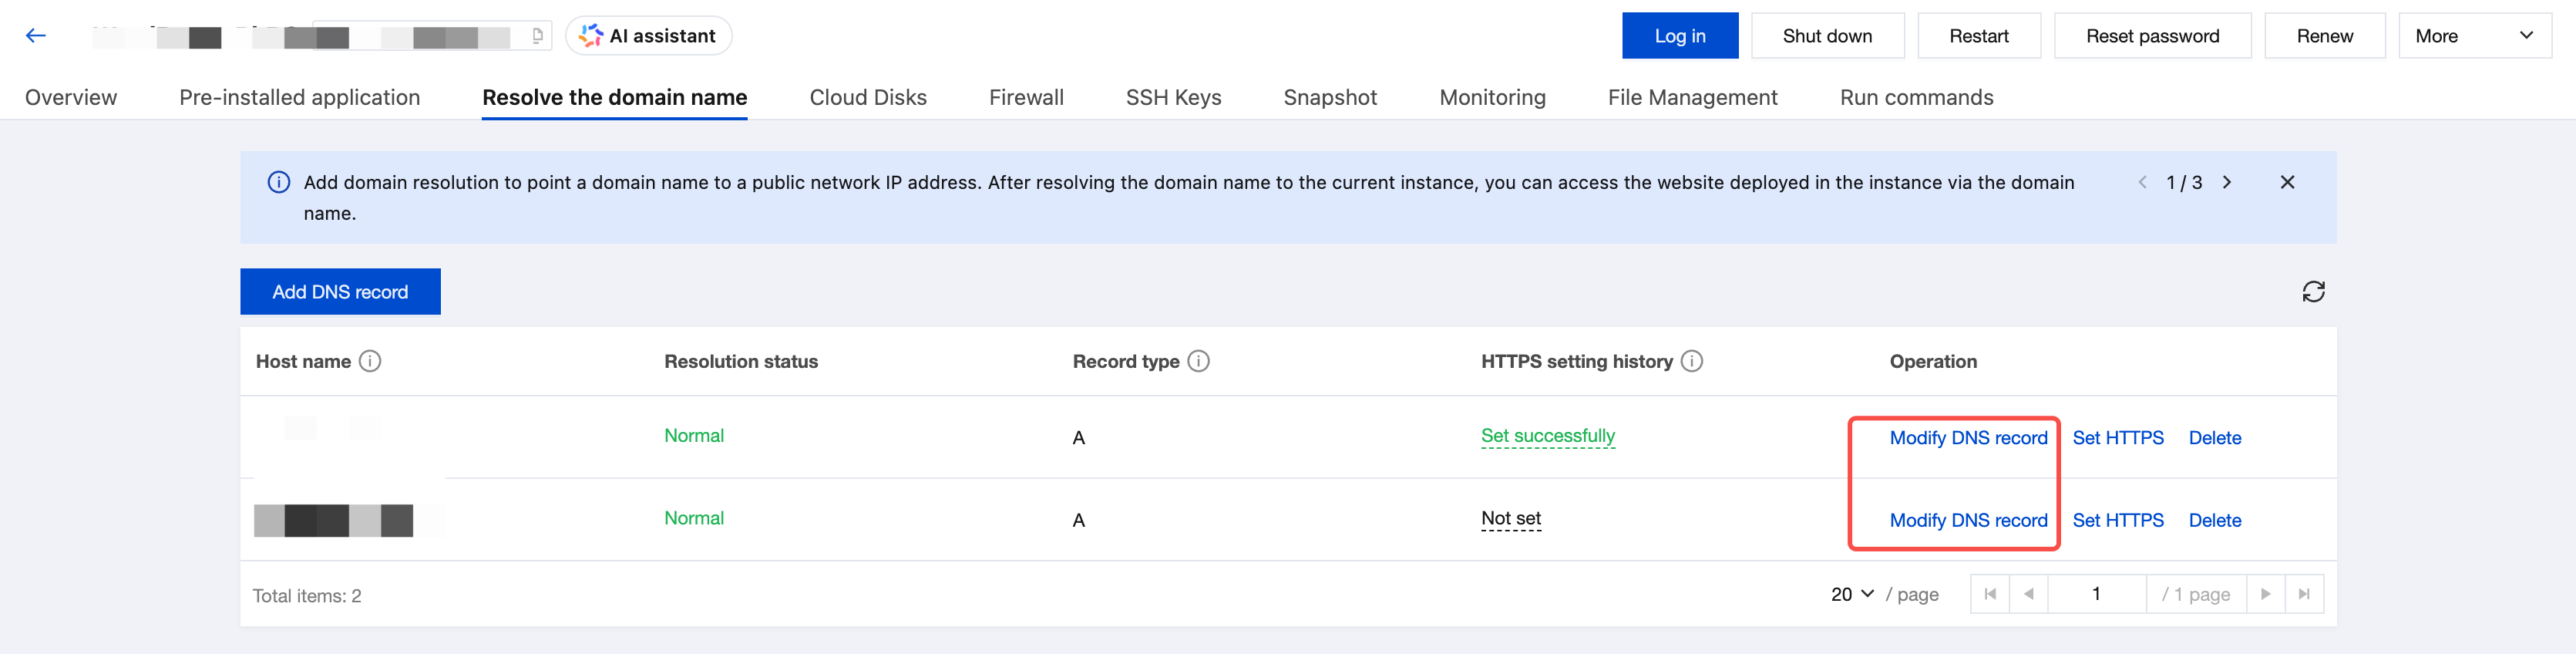
3. On the instance details page, select the Resolve the domain name tab. In the operation column of the target domain resolution, click Modify DNS record.
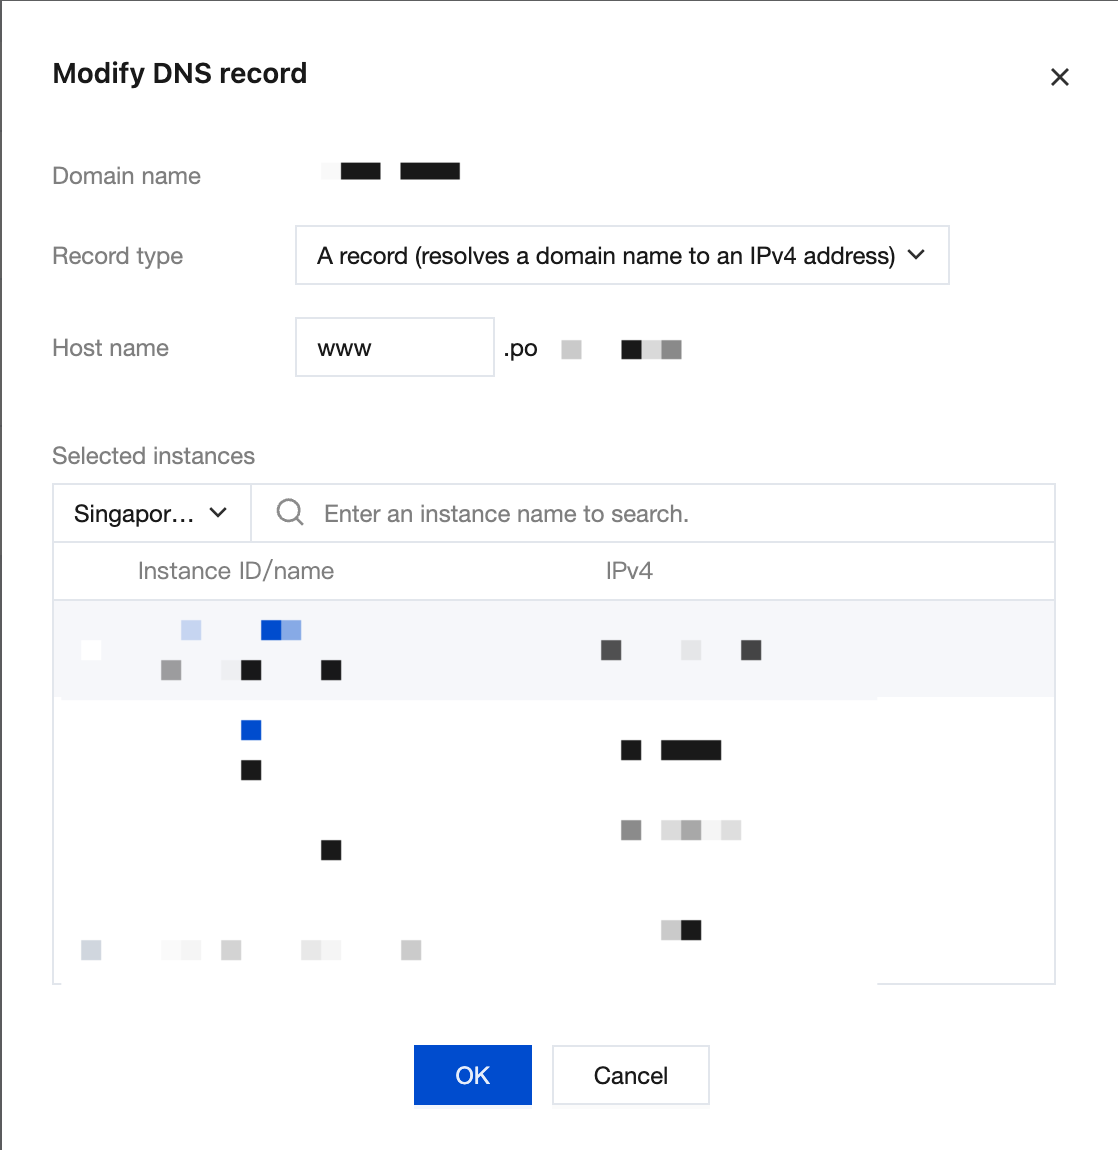
4. In the Modify Domain Resolution pop-up, enter a new hostname.
5. Click OK to complete the modification.
피드백