Scenarios
By default, TDMQ for RabbitMQ uses the private network for transmission to achieve lower network latency, higher transmission bandwidth, and enhanced security isolation. When your consumers or producers reside in self-built data centers or other cloud services and cannot communicate directly with the RabbitMQ cluster, you can enable public network routing to achieve cross-network production and consumption. If public network access is enabled, it is recommended to configure secure access policies to strictly restrict the access IP addresses and ensure data security.
This document introduces how to enable public network routing, adjust public network bandwidth configurations, and delete public network bandwidth in the TDMQ for RabbitMQ console.
Constraints and Limitations
Serverless Edition clusters do not currently support public network access. Only Managed Edition clusters support it.
Managed Edition clusters in the Shanghai Autonomous Driving Zone do not support public network access.
Managed Edition clusters provide 3 Mbps public network bandwidth for free by default. For higher bandwidth, you can purchase it at an additional cost. For specific prices, see Billing Overview. A Managed Edition cluster only supports creating one public network route.
Operation Steps
Enabling the Public Network and Configuring a Security Policy
2. In the left sidebar, choose Cluster, select a region, and click the ID of the target cluster to go to the basic cluster information page.
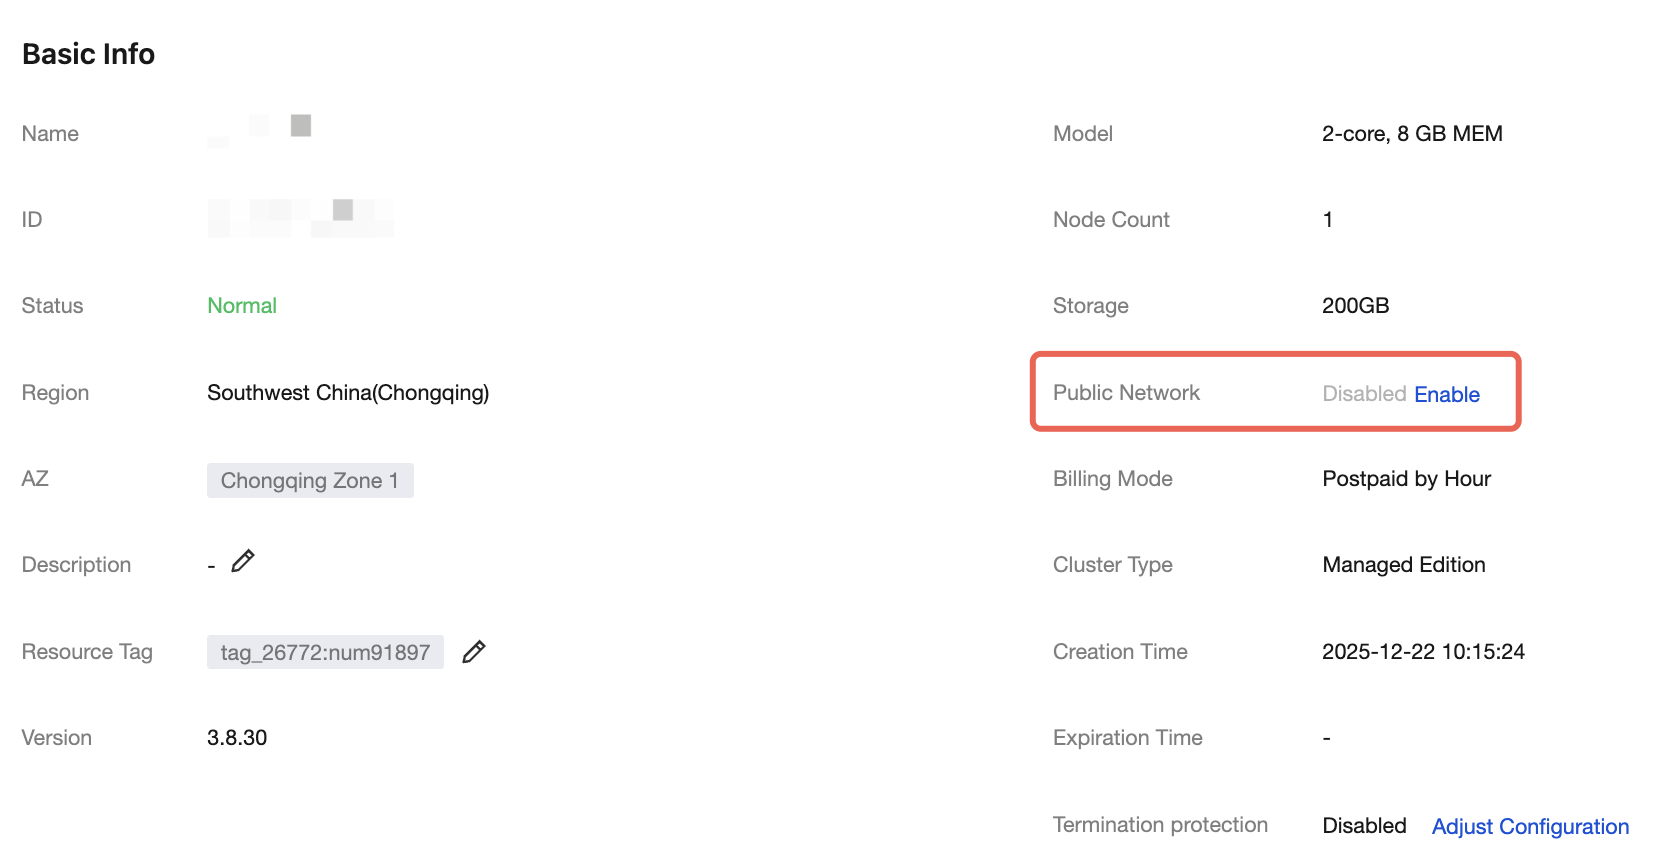
3. If you have enabled the public network, you can view the specific public network bandwidth in the Basic Info module. If you have not enabled the public network, see step 4.
4. In the Basic Info module, click Enable next to Public Network.
5. In the pop-up window, select the required public network bandwidth, click OK, and after payment, return to the console. The public network status will show Enabling. Wait for the public network to be enabled.
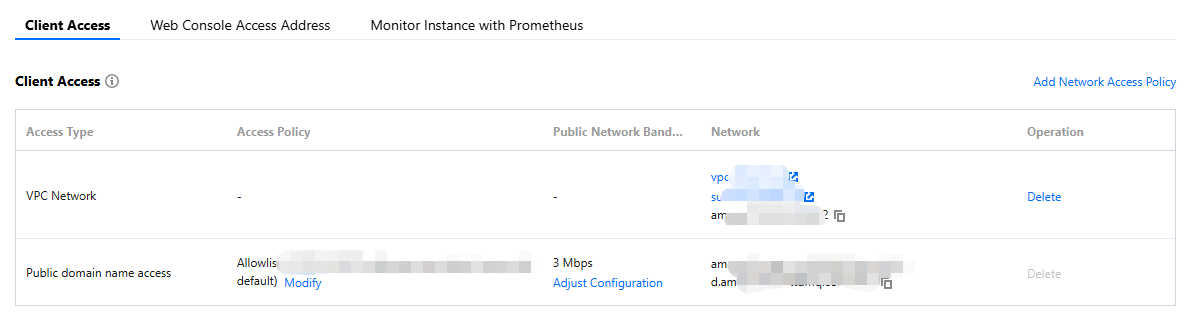
6. After enabling is completed, in the Client Access module, you can see that the Public Domain Name Access row displays information such as the public network bandwidth and the IP address.
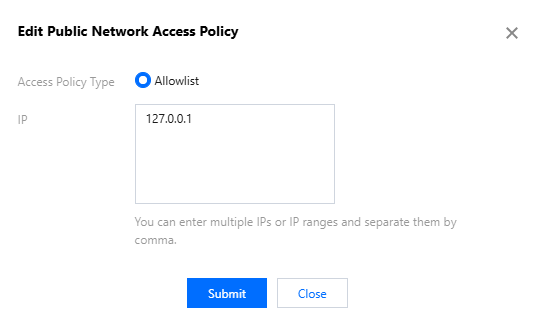
7. You can click Modify under the Access Policy property of Public Network Domain Access to edit the IP addresses in the public network access policy.
Note:
The policy supports multiple IP addresses. Separate IP addresses with commas. You can enter IP addresses and IP ranges.
IP range configuration currently only supports subnet masks from /24 to /32.
Leaving the IP address field blank or entering 0.0.0.0 is not allowed.
Adjusting Public Network Bandwidth Configurations
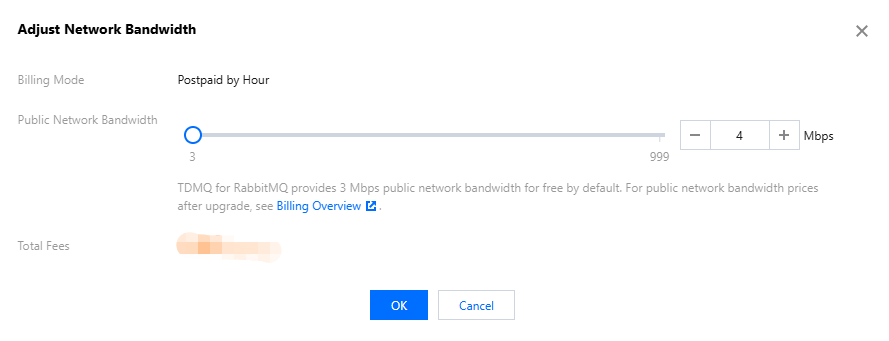
1. On the Basic Cluster Information page, click Adjust Configuration next to Public Network Bandwidth in the Basic Information module.
2. In the pop-up window, modify the public network bandwidth and click Confirm to complete the adjustment of the public network bandwidth configuration.
Disabling the Public Network (Deleting the Public Network Route)
Note:
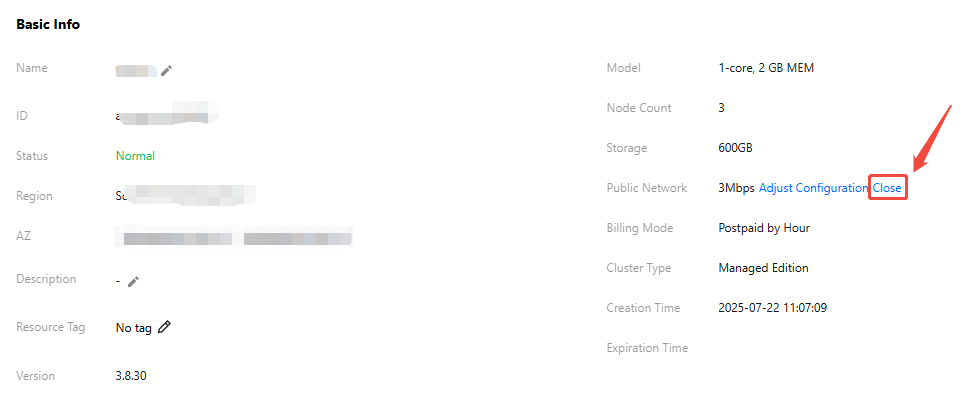
Only when the public network bandwidth is 3 Mbps (without additional purchase of public network bandwidth) can the public network be disabled. The public network route will also be deleted.
1. Go to the Basic Cluster Information page. In the Basic Info or Client Access module, click Adjust Configuration next to Public Network Bandwidth to first adjust the public network bandwidth to 3 Mbps.
2. After adjusting the public network bandwidth to 3 Mbps, in the Basic Info module, click Disable next to Public Network Bandwidth to disable the public network.