Release Notes
Announcements
Parameter | Description |
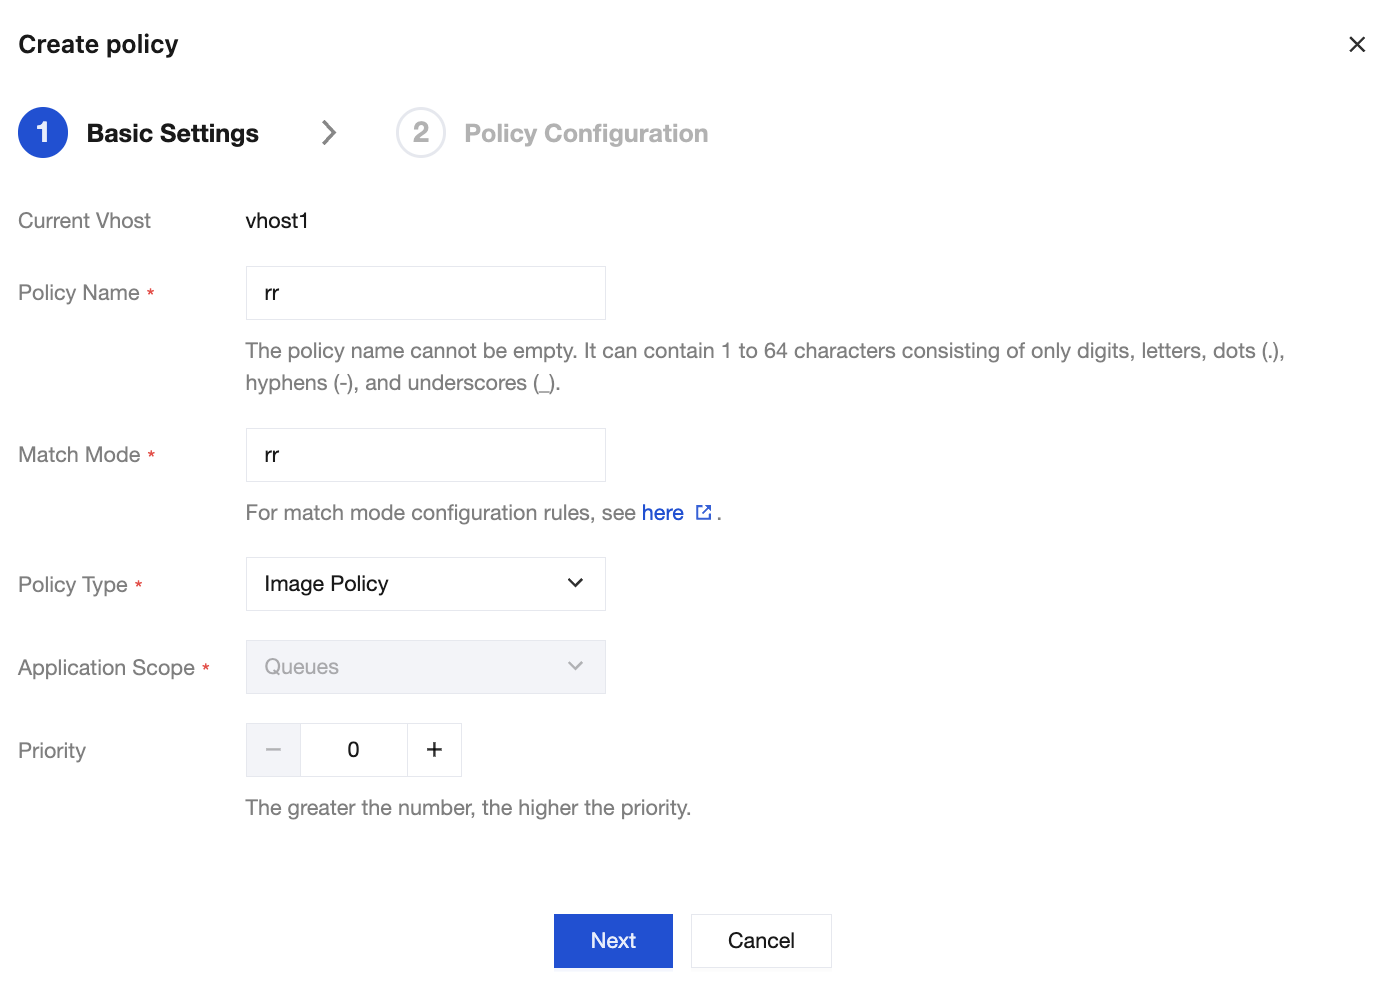
Current Vhost | Indicates which vhost the mirroring policy is being created for. |
Policy Name | Enter a policy name. It must be 1 to 64 characters in length and can only contain digits, letters, periods (.), hyphens (-), and underscores (_). |
Match Mode | A regular expression used to match relevant queues or exchanges. For common regular expressions of match modes, see: .*: Match all queues or exchanges under this vhost. ^test.*: Match all queues or exchanges under this vhost whose names start with "test". .*test.*: Match all queues or exchanges under this vhost whose names contain "test". .*test$: Match all queues or exchanges under this vhost whose names end with "test". |
Policy Type | Select Custom Policy. |
Application Scope | Used to specify the effective scope of the current policy. Exchanges and queues: indicate that the current policy applies to all queues or exchanges matching the mode. Queues: indicate that the current policy applies to all queues matching the mode. Exchanges: indicate that the current policy applies to all exchanges matching the mode. |
Priority | Defines the policy priority, which ranges from 0 to 255. If multiple policies apply to the same queue or exchange, only the policy with the largest priority number takes effect. |
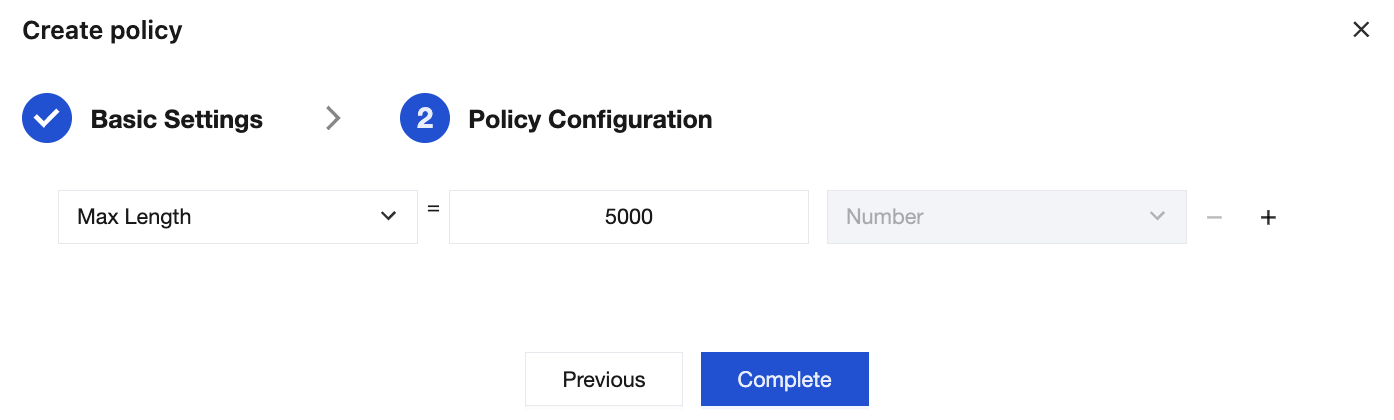
Field Classification | Field Name | Description | Data Type Restriction |
Queues (All Types) | Max Length | Maximum number of messages allowed in the queue. When the number of messages in the queue reaches this limit, old messages will be deleted, or new messages will be rejected according to the Overflow Behaviour settings. | Number |
| Max Length Bytes | Maximum total bytes of messages allowed in the queue. When the total bytes of messages in the queue reaches this limit, old messages will be deleted, or new messages will be rejected according to the Overflow Behaviour settings. | Number |
| Overflow Behaviour | Handling method when the queue reaches the maximum length or maximum bytes. Valid values: drop-head: Delete old messages at the head of the queue. reject-publish: Reject newly published messages. reject-publish-dlx: Reject newly published messages, and route the rejected messages to the dead letter exchange configured for the queue. | String |
| Auto Expire | Auto-expiration time of the queue. The unit is milliseconds. When the queue is not accessed (for example, no messages are published or consumed, or the queue status is not checked) within this time, the queue will be deleted. | Number |
| Dead letter exchange | Dead letter exchange. When messages are deleted due to exceeding the time to live (TTL), reaching the maximum queue length, or being rejected by consumers, they will be sent to the specified dead letter exchange. | String |
| Dead letter routing key | Dead letter Routing Key. This Routing Key can be used for routing when a message is sent to the dead letter exchange. | String |
Queues [Classic] | Message TTL | Message TTL. The unit is milliseconds. This value defines the maximum duration a message can stay alive in the queue. A message will be deleted when its TTL in the queue exceeds this value. If the message is consumed (and confirmed) by the consumer or re-published to other queues, the timer will be reset. | Number |
| Lazy mode | Lazy mode. When this mode is enabled, RabbitMQ will store messages in the queue on the disk as much as possible to reduce memory usage. | String ("lazy") |
Queues [Quorum] | Max in memory length | Maximum number of unacknowledged messages each consumer is allowed to consume before confirmation. | Number |
| Max in memory bytes | Maximum total memory bytes allowed in the queue. When the total memory bytes occupied by messages in the queue reach this limit, RabbitMQ will attempt to write the messages exceeding the limit to the disk to reduce memory usage. Note that this setting may not apply to queues with lazy mode enabled, because in the lazy mode, RabbitMQ stores messages to the disk as much as possible by default. | Number |
| Delivery limit | Maximum number of unacknowledged messages each consumer is allowed to consume before confirmation. | Number |
Exchanges | Alternate exchange | Secondary exchange. When a message cannot be routed to any queue (for example, there is no matching Routing Key or queue), it will be sent to the specified secondary exchange. | String |
Apakah halaman ini membantu?
Anda juga dapat Menghubungi Penjualan atau Mengirimkan Tiket untuk meminta bantuan.
masukan