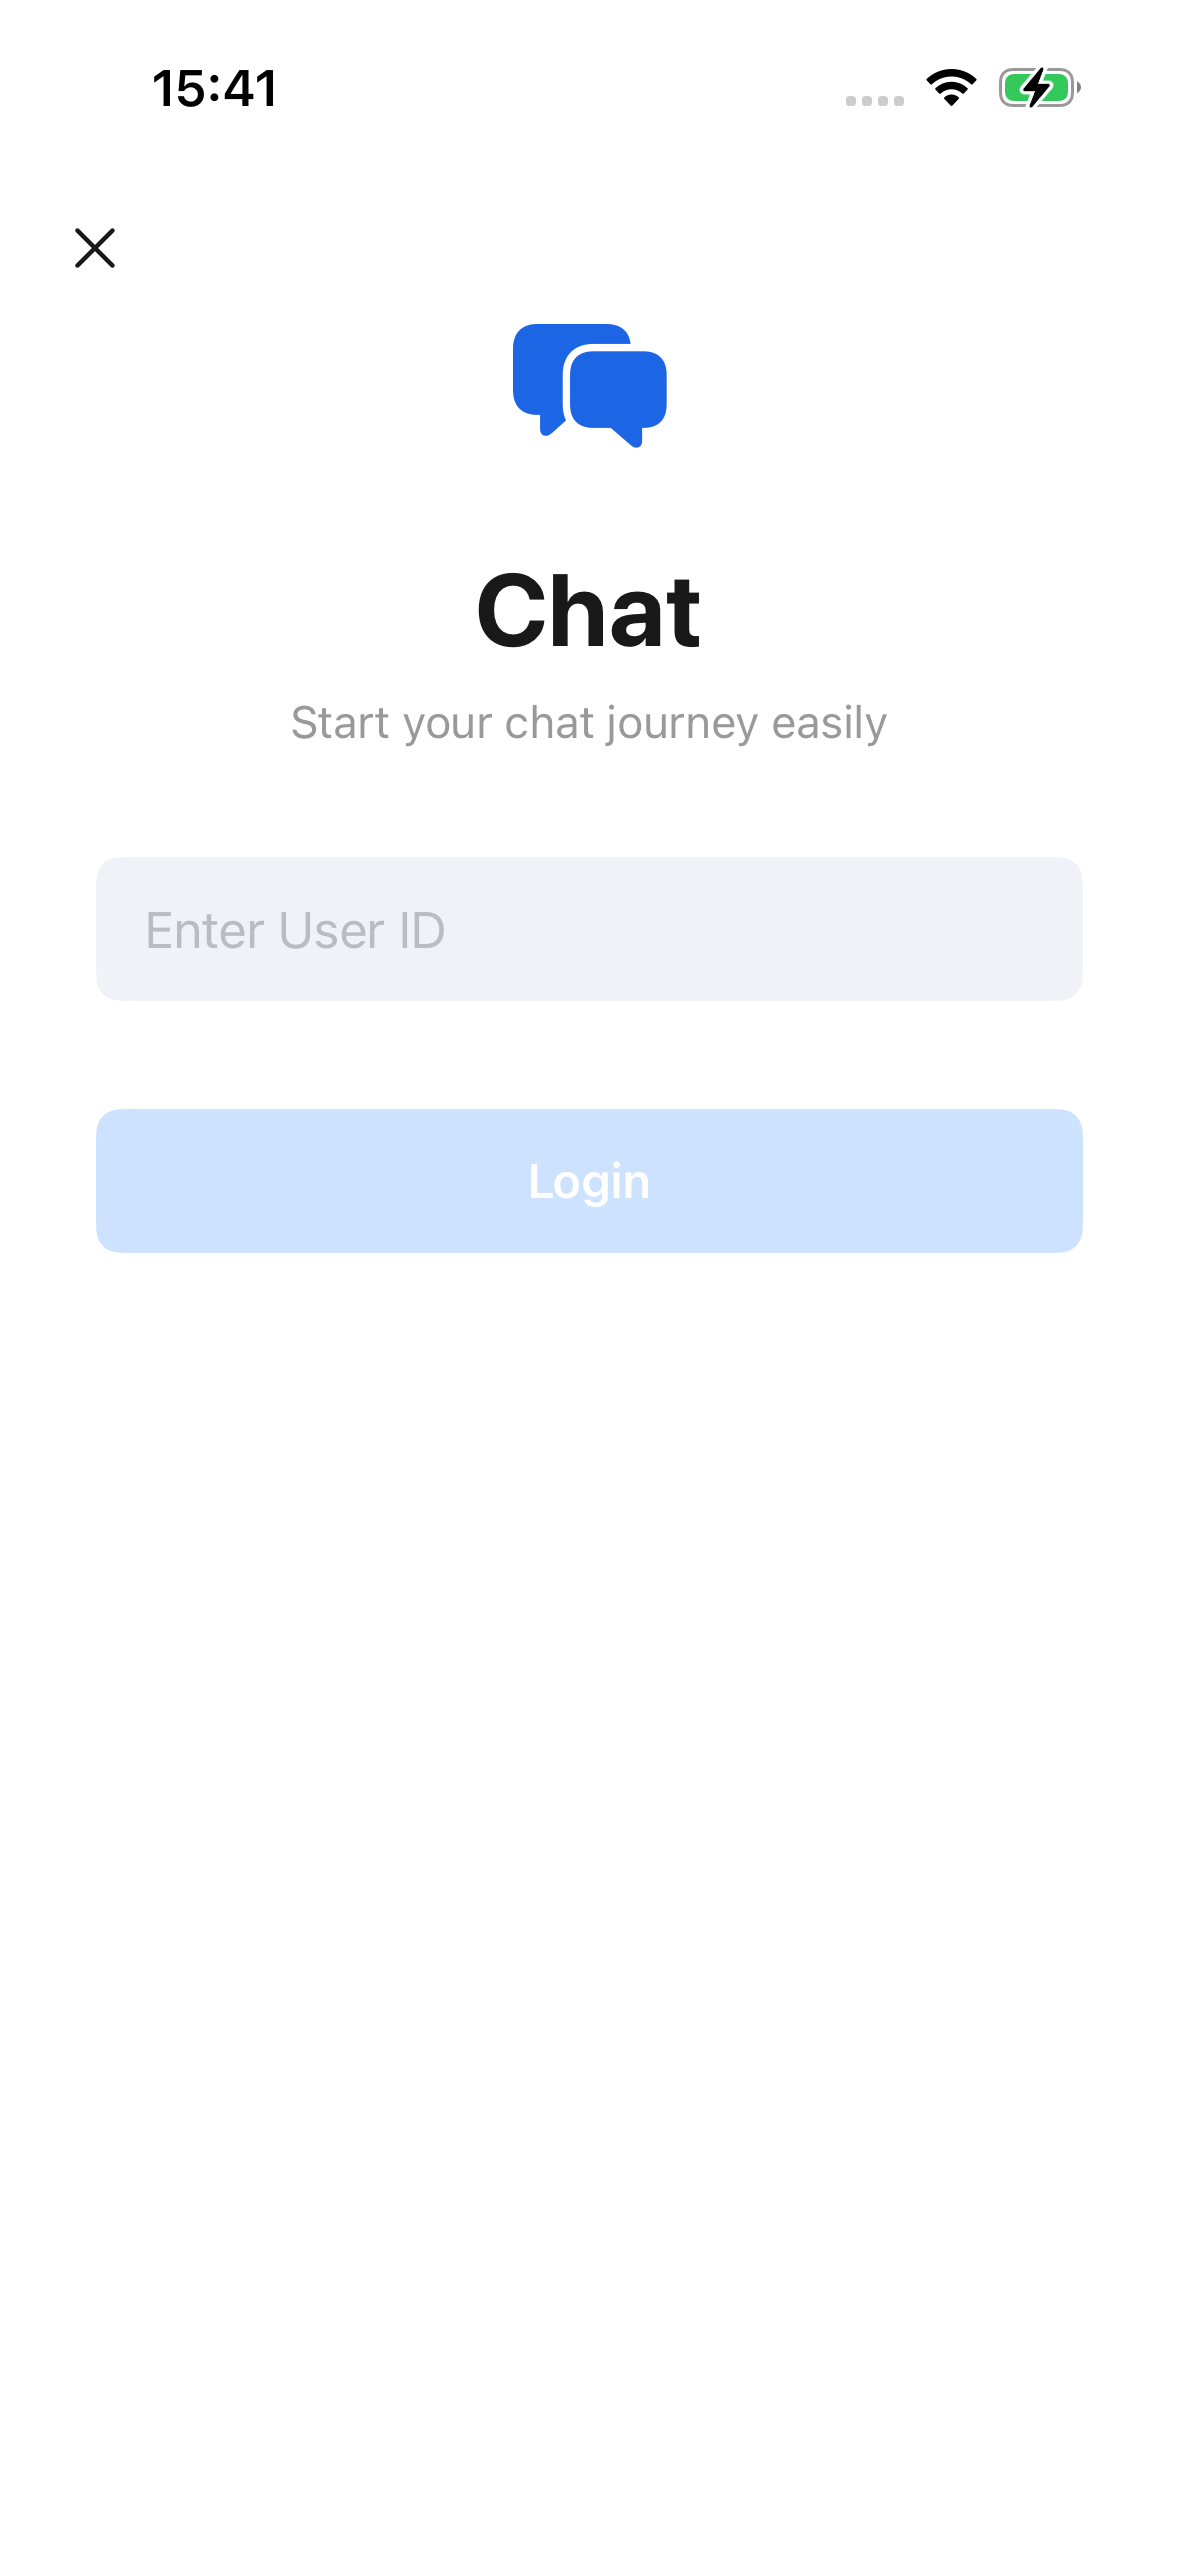
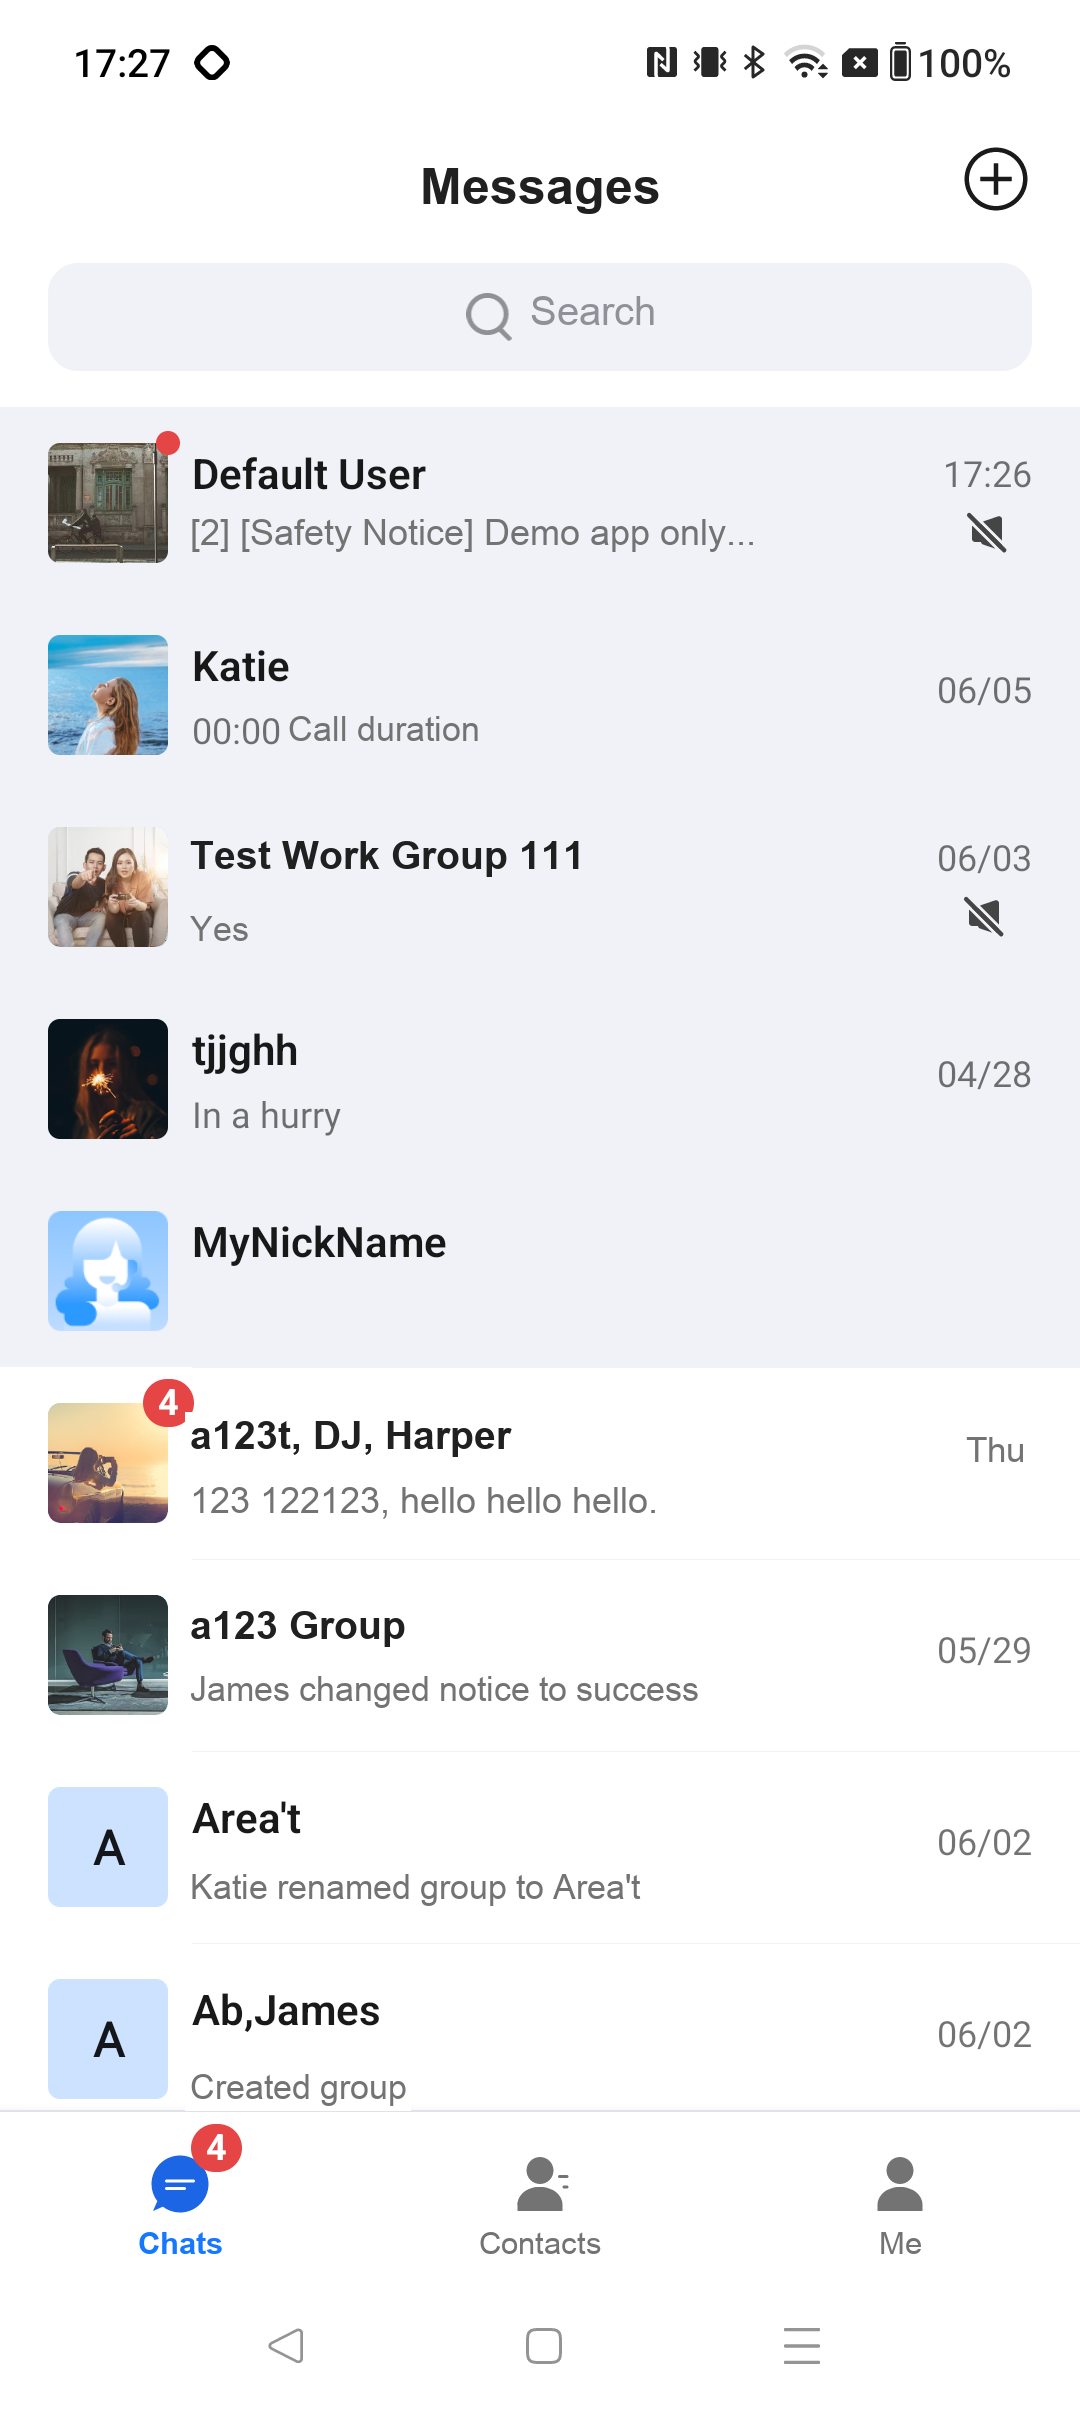
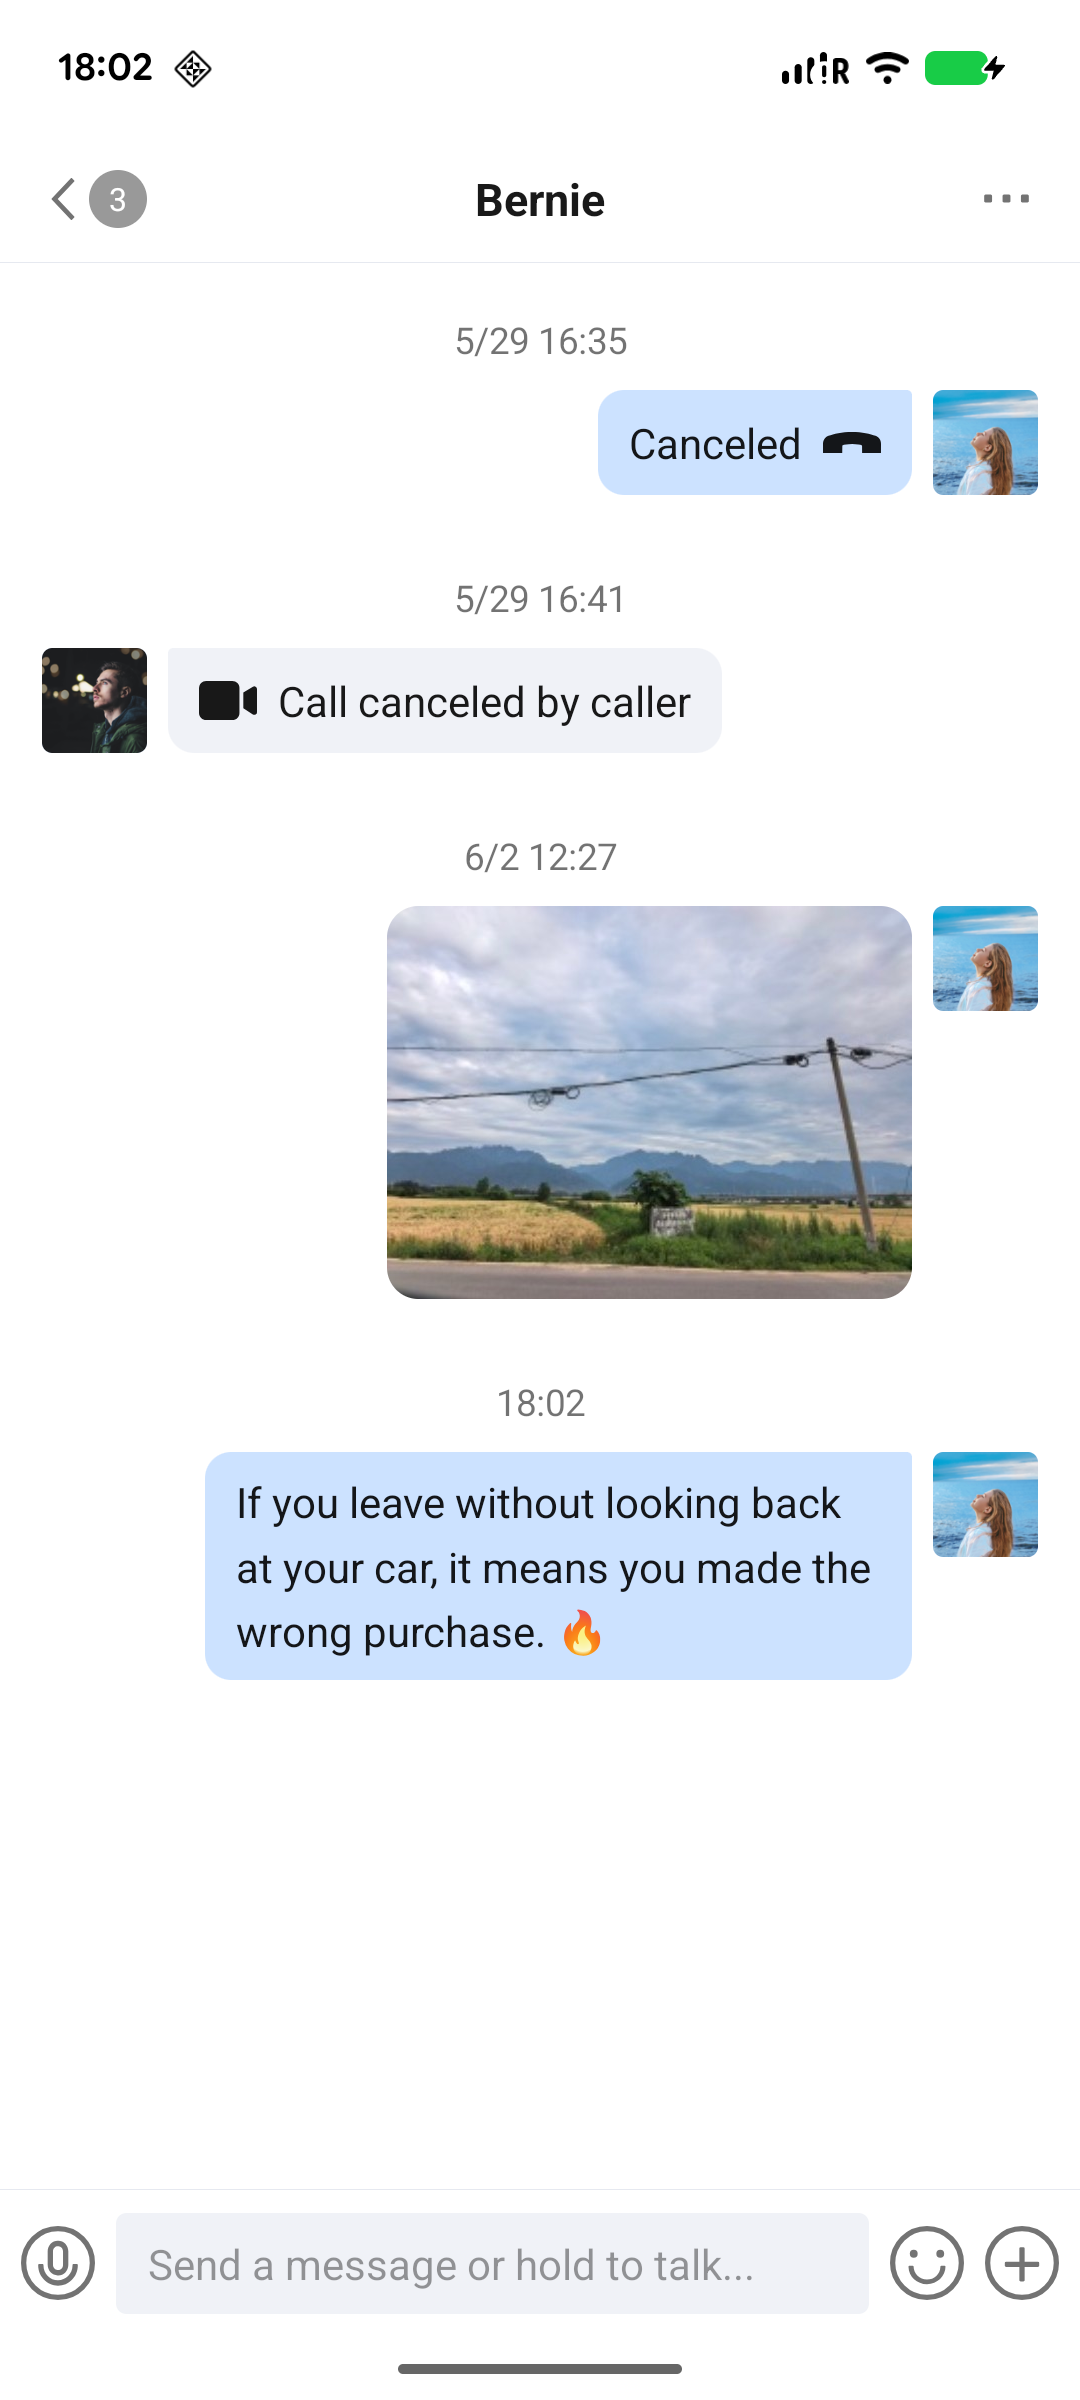
This document describes how to quickly run the Chat Demo and try message sending features such as text, voice, and video. After the Demo is running, it appears as shown below:
Login Page
Conversation List Page
Chat Page
Quick Experience
You can scan the QR code on the following page to download the iOS app and try detailed instant messaging features: Try Demo.
Prerequisites
Enable the Service
1. Log in to the Console. If you already have an application, note down its SDKAppID and SDKSecretKey, then proceed to the next section.
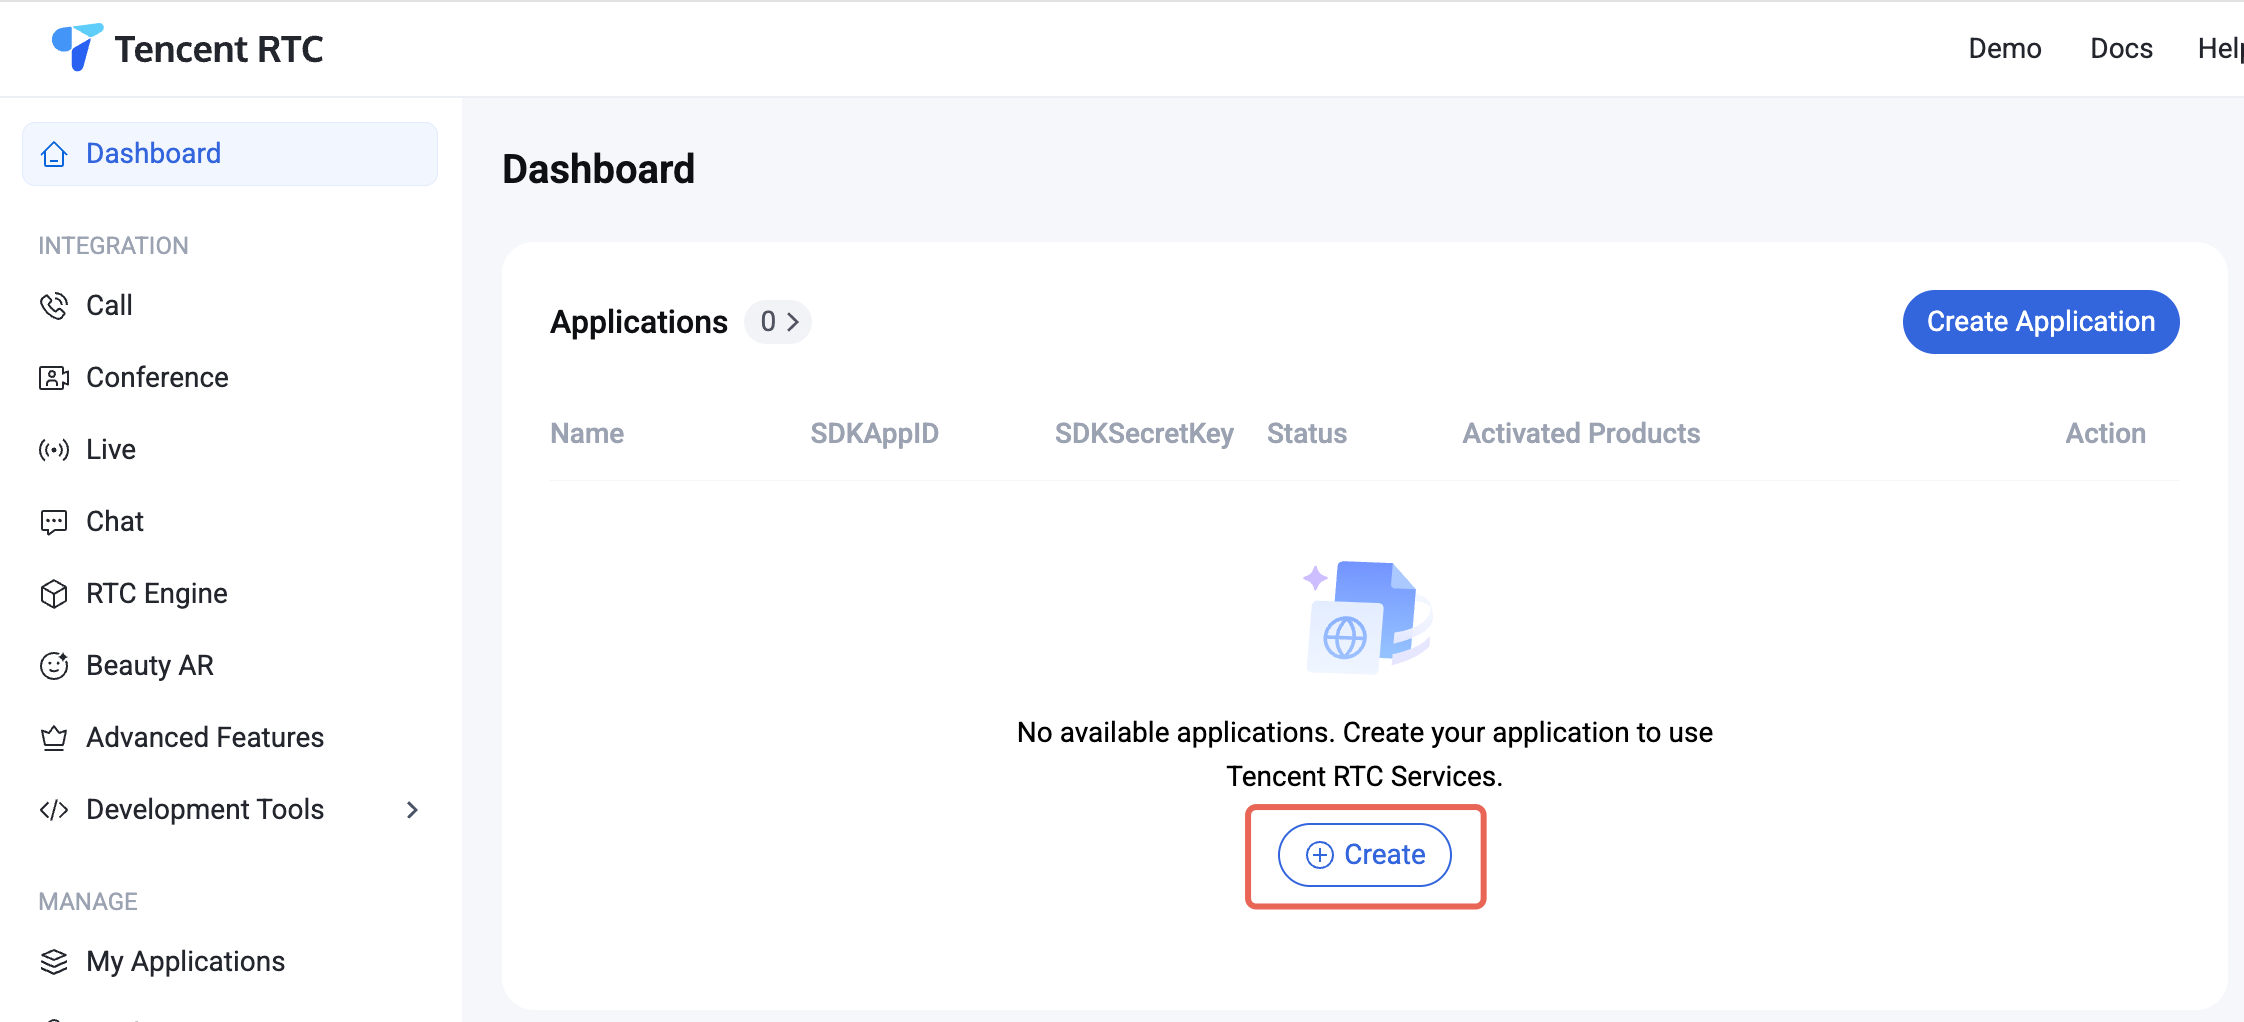
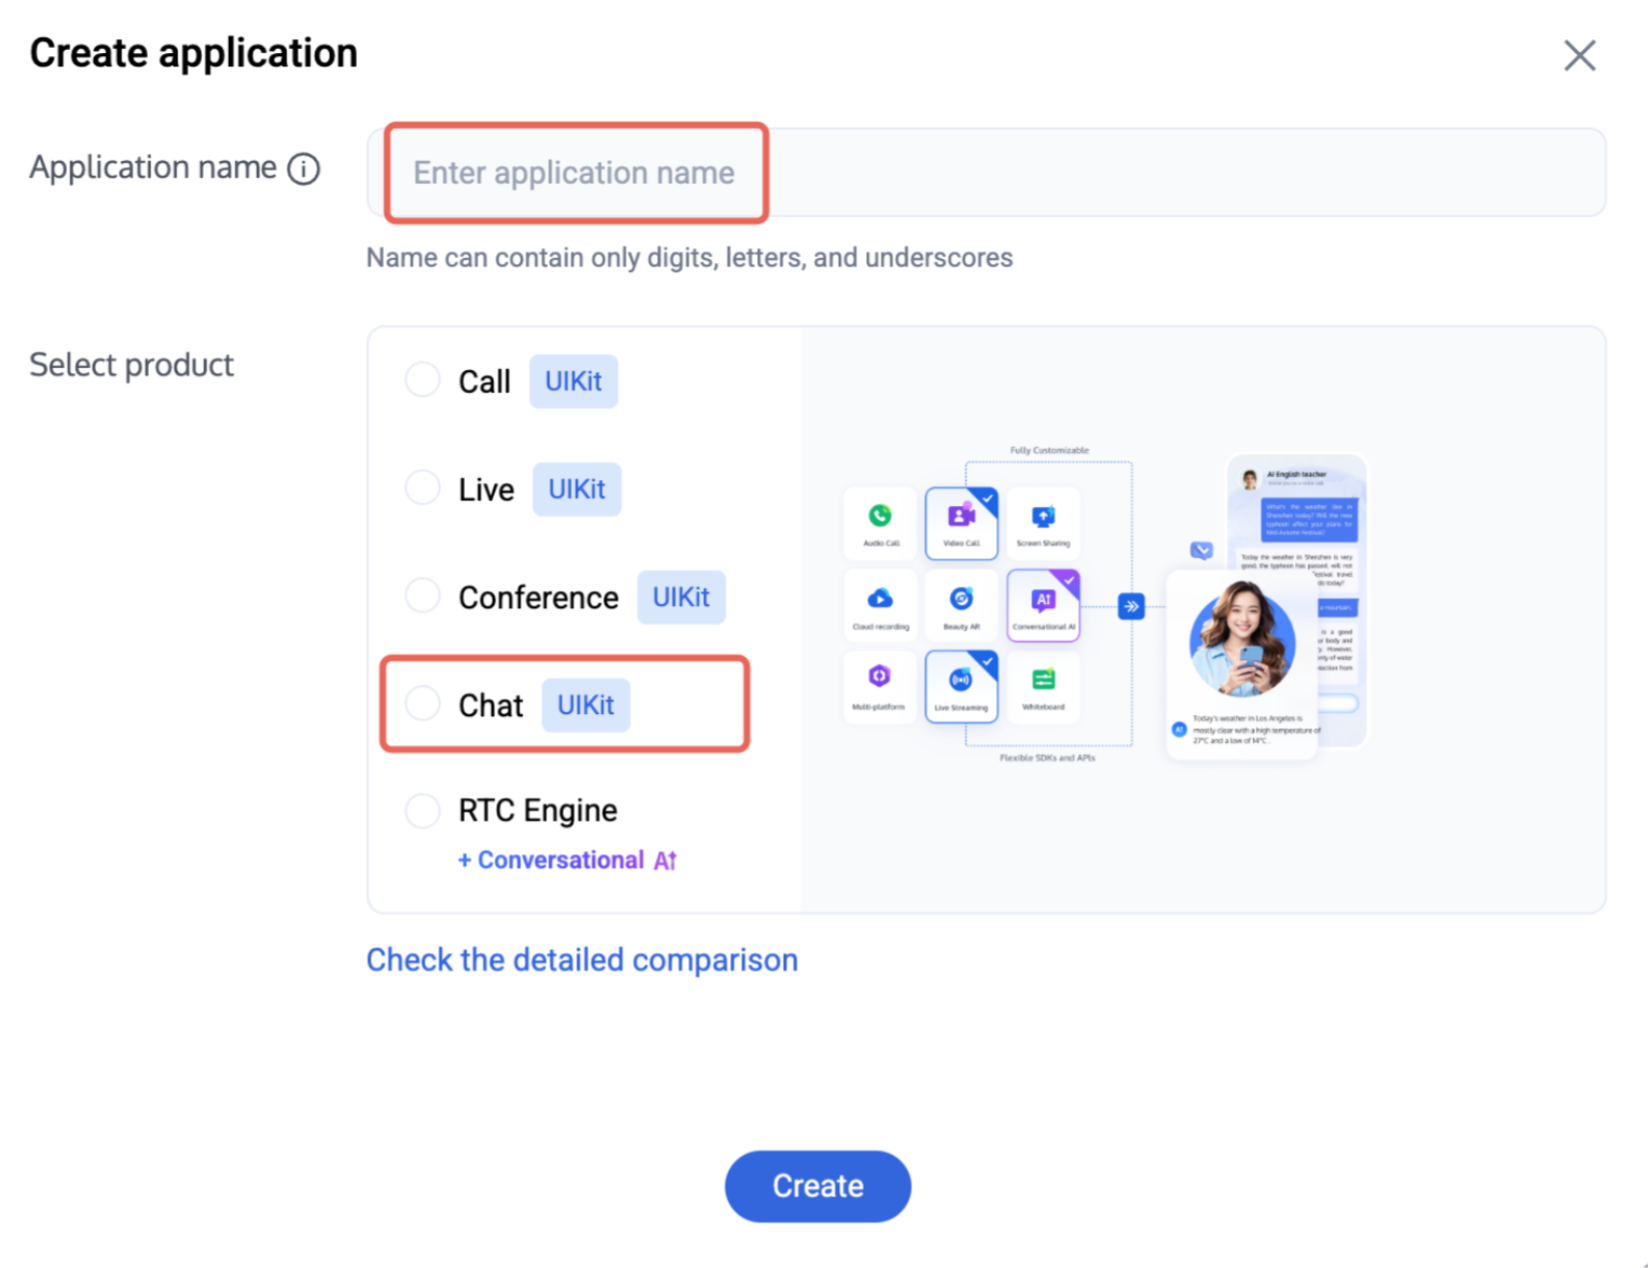
2. Click Create in the overview panel to start a new application.
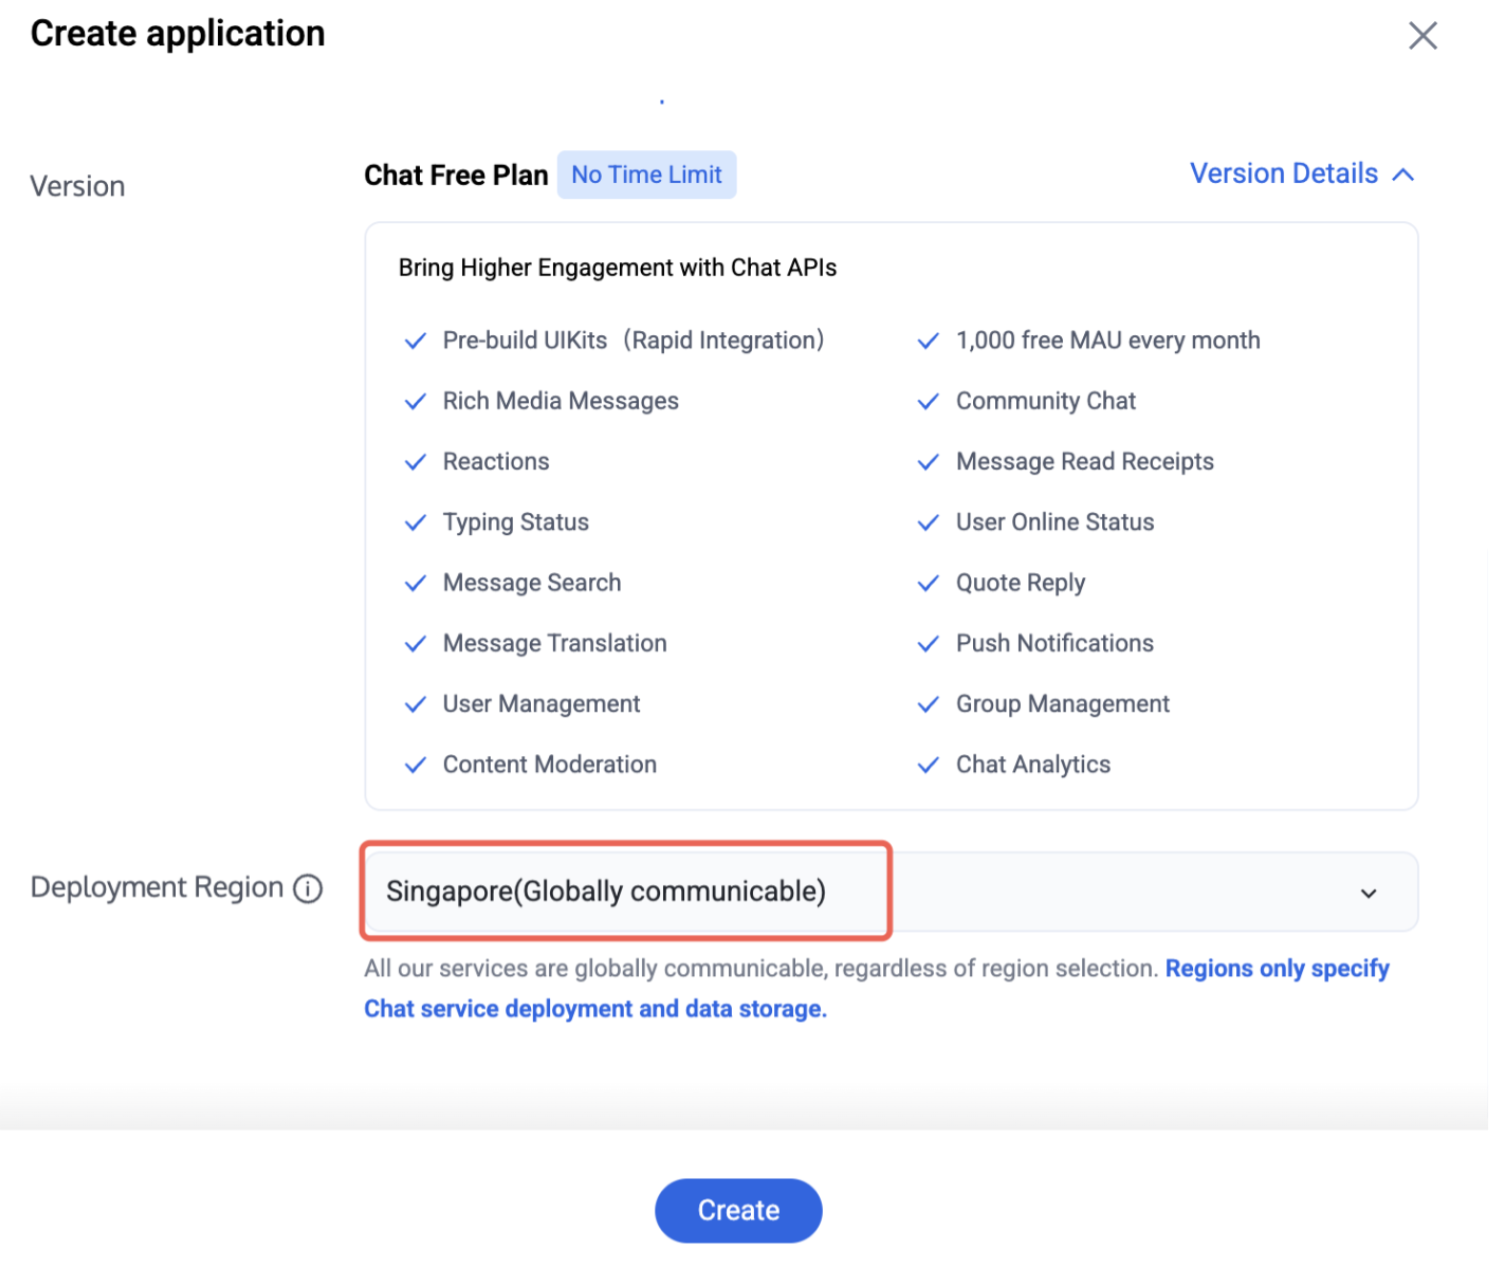
3. In the application creation dialog, enter the Application Name and select Chat as the product.
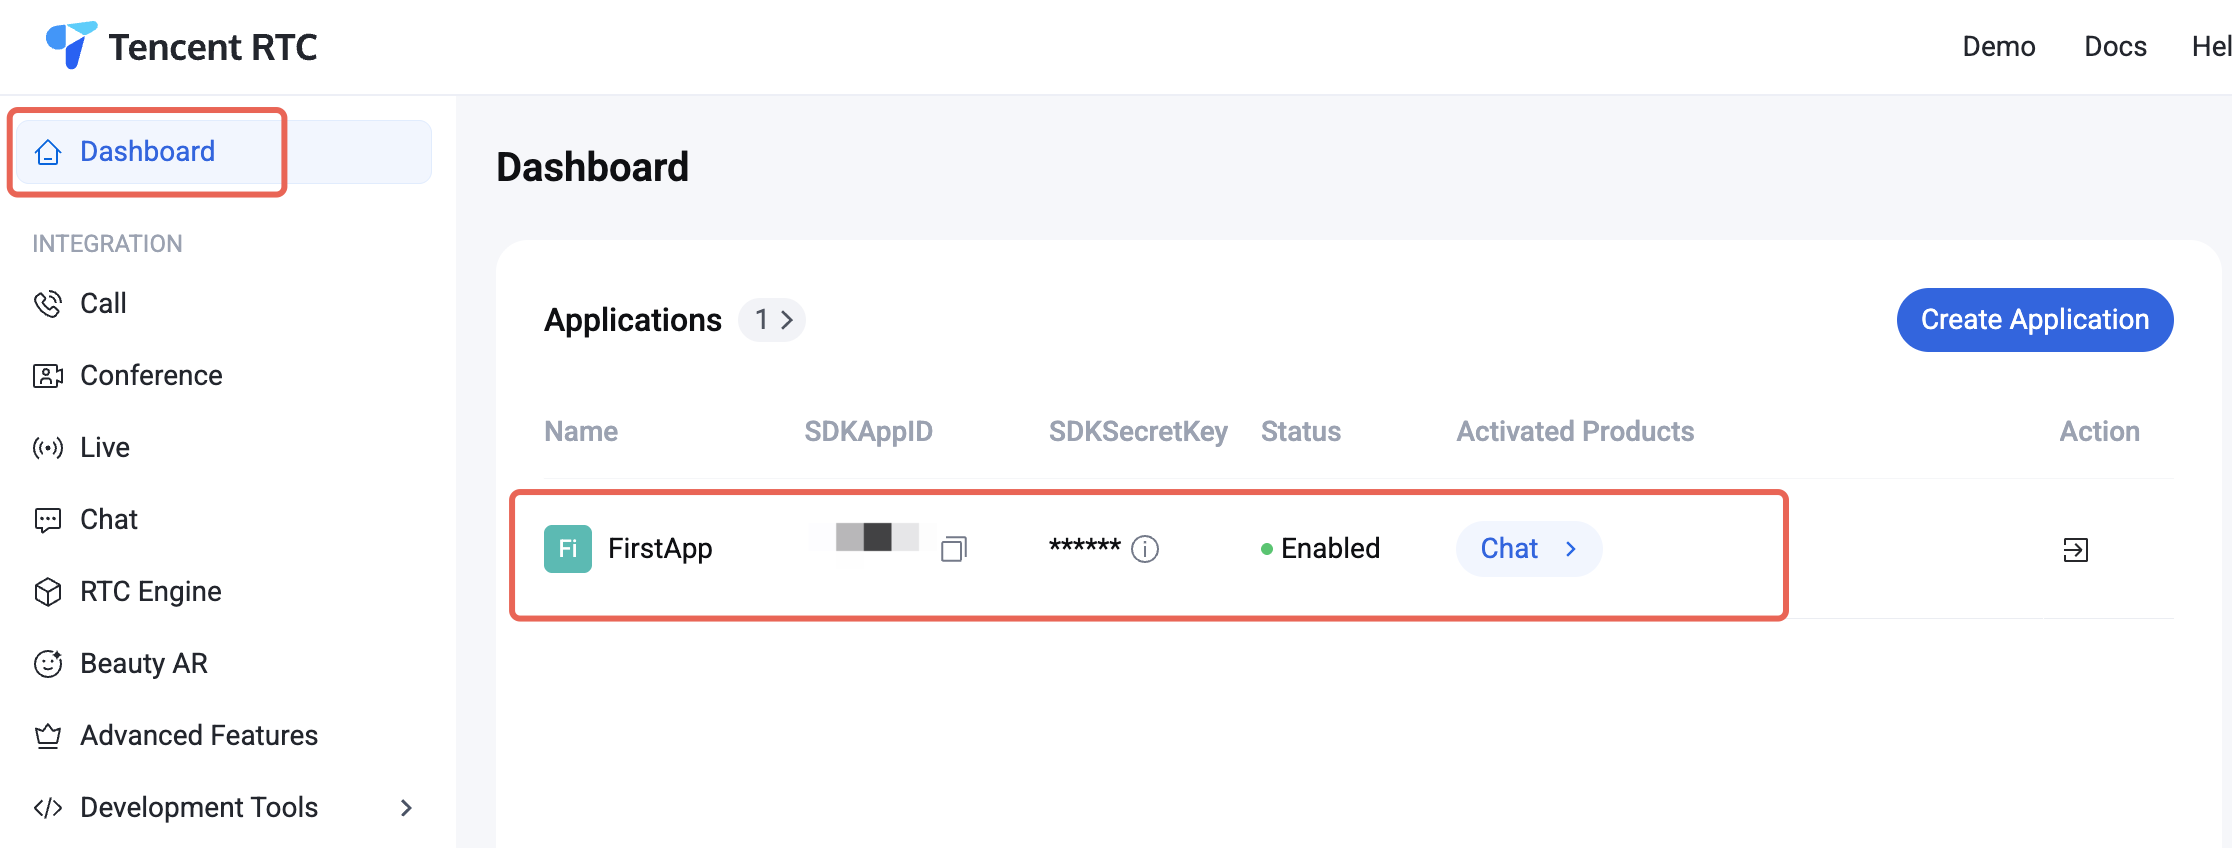
4. On the Application Management page, obtain the SDKAppID and SDKSecretKey in the SDKAppID column.
5. After the application is created, locate the SDKAppID and SDKSecretKey in the console overview panel. You will need both to run the Demo.
Prohibited:
Keep your SDKSecretKey secure, do not disclose it!
Environment Preparation
Before you begin, make sure you meet the following requirements:
Xcode: 16.0 or later (Xcode 16.x recommended).
iOS: A physical device running iOS 14.0 or later (simulators are not supported currently).
CocoaPods: 1.12.0 or later (1.16.x recommended). If it is not installed, see CocoaPods Getting Started to install it.
A valid Chat application. See the "Enable the Service" section above to obtain or create one.
Instructions
This Demo is built on TUIKit and provides a complete experience including login, conversations, chat, and contacts. Complete "Enable the Service" and "Environment Preparation" in Prerequisites above, then follow the steps below.
Get and Configure the Demo
1. Clone the TUIKit open-source project from GitHub.
The Chat Demo is located in the repository's chat directory and depends on the call/TUICallKit_Swift component in the repository root. The demo project already references this module by relative path in its Podfile, so you do not need to configure dependency paths after cloning. The overall structure is as follows:
TUIKit_iOS/
├── call/
│ └── TUICallKit_Swift.podspec # Audio/video call component (required by Chat)
└── chat/
├── demo/ # Chat View Demo project (open and run this)
2. Double-click chat/demo/ChatDemo.xcworkspace to open the Demo's Xcode project file.
3. Locate the GenerateTestUserSig.swift file (path: chat/demo/ChatDemo/GenerateTestUserSig.swift), and set the following parameters:
SDKAPPID: Set this to the actual application SDKAppID obtained in the "Enable the Service" section above.
SECRETKEY: Set this to the actual secret key obtained above.
Forbidden:
1. In this Demo, authentication is performed by configuring SECRETKEY in client code. However, SECRETKEY can be easily extracted through reverse engineering. If the key is leaked, attackers can misuse your Tencent Cloud traffic. This method is suitable only for running the Demo locally and debugging features.
2. In a production environment, we recommend generating UserSig on your server. When your app needs a UserSig, request a dynamic UserSig from your business server for authentication. For details, see Generating UserSig on the Server.
Build and Run the Demo
1. Run the following commands in Terminal to install the dependency libraries.
cd chat/demo
pod install
Description:
If the installation fails, run the pod repo update command to update the local CocoaPods repository list.
2. Double-click ChatDemo.xcworkspace in the Demo directory and run the project.
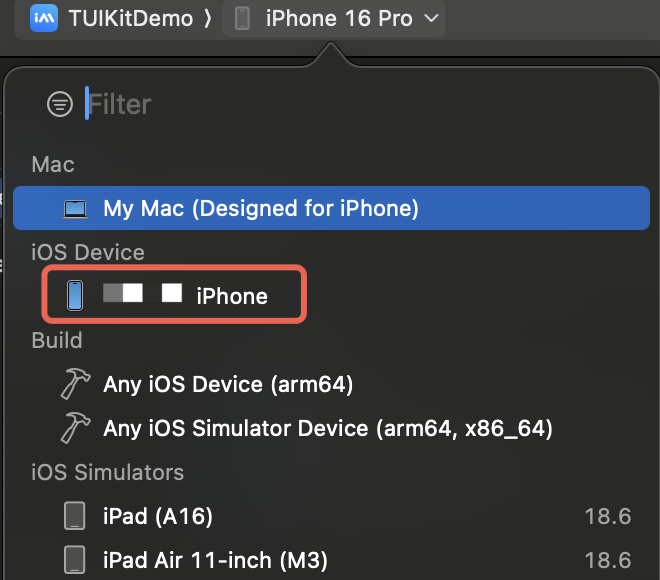
3. Connect your iOS device to the computer. On the device, go to Settings > Privacy & Security > Developer Mode and enable Developer Mode. Select the iOS device you want to test with from the iOS Device option at the top of the Xcode window.
Note:
The Demo integrates audio/video call features by default. Because the dependent audio/video SDK does not support simulators, use a physical device to debug or run the Demo.
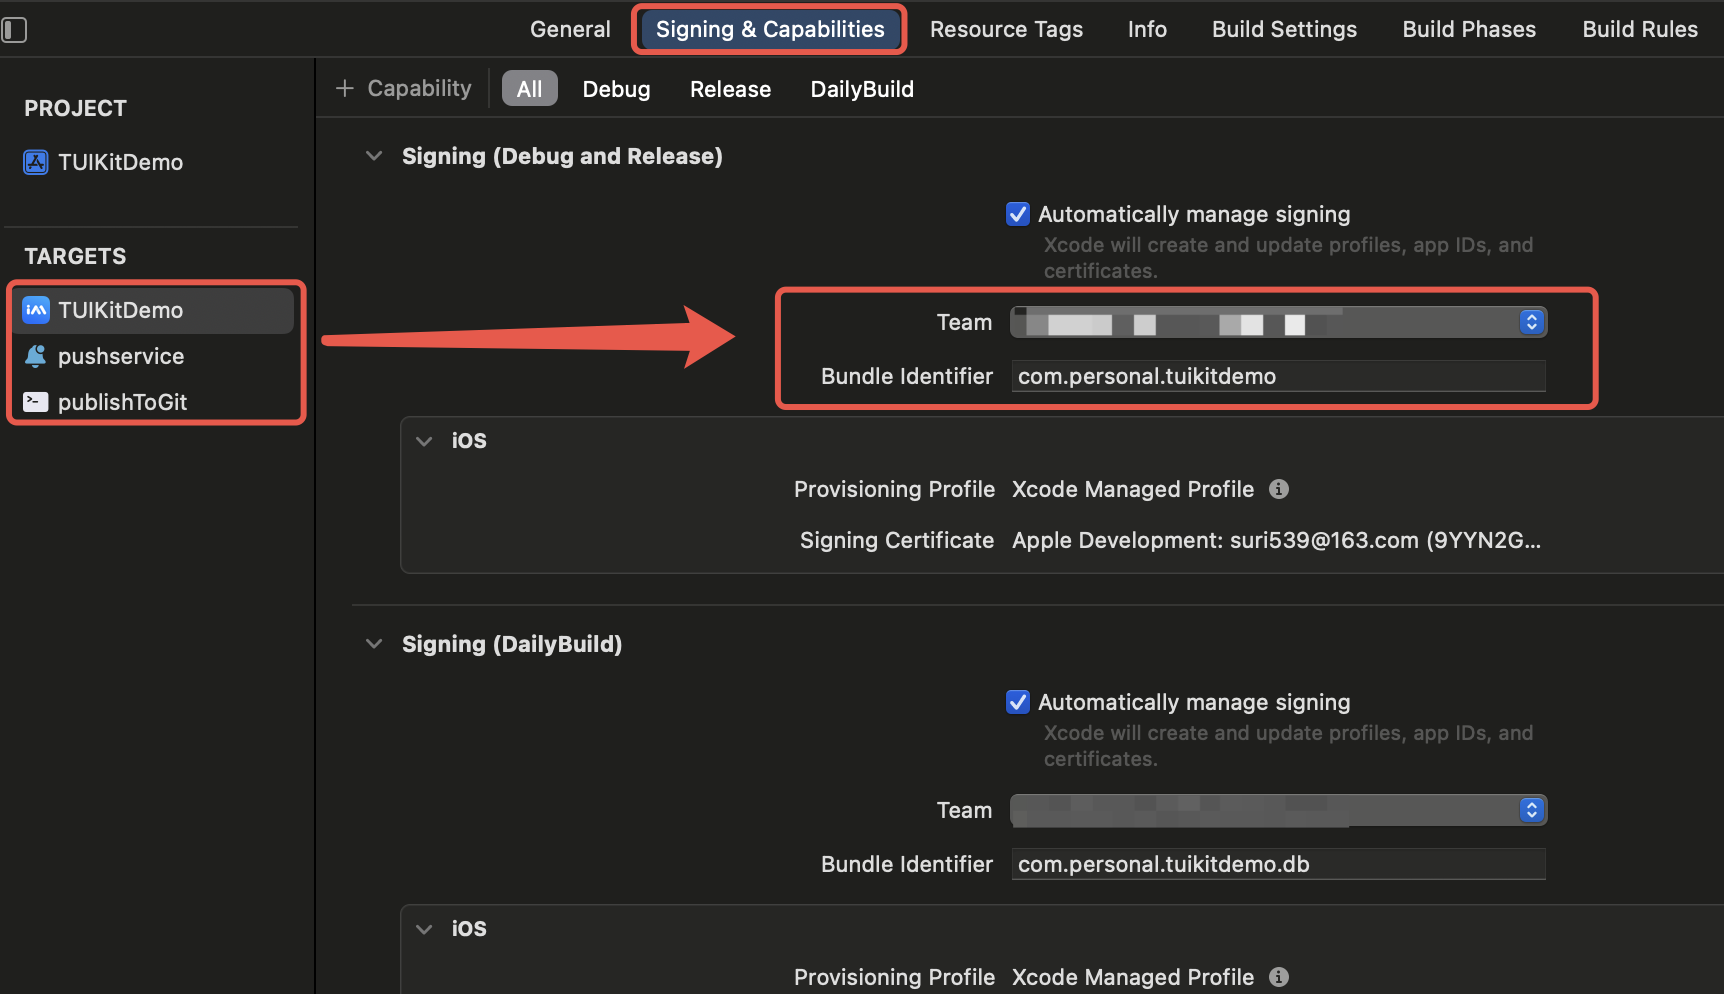
4. In the Signing & Capabilities panel of the project TARGETS, check Automatically manage signing, then configure your Apple Developer account and Bundle Identifier for each target. If you have not logged in to an Apple ID in Xcode, add your developer account or Apple ID in Xcode > Preferences > Accounts first.
5. Click the Run button to start building. After the build succeeds, the Tencent Cloud IM app is automatically installed on your device.
6. Open the app and enter any UserID to create and log in to a user account.
7. To test messaging between users, log in with two different UserIDs and add each other as friends. To add a friend:
Switch to the Contacts tab at the bottom.
Click the plus button in the upper-right corner and select Add Friend from the menu.
Enter the other party's UserID to finish adding. Both parties can then send messages to each other.
FAQs
If pod install reports that a pod does not exist or the pod version is earlier than 1.7.5, run the following commands to install the latest pod.
# 1. Replace the gem source
gem sources --remove https://rubygems.org/
gem sources --add https://gems.ruby-china.com/
# 2. Install pod
sudo gem install cocoapods -n /usr/local/bin
# If multiple Xcode versions are installed, run the following command to select one (usually the latest).
If you debug on a physical device and an "Untrusted Developer" prompt appears on the iOS device after the build succeeds, tap Cancel to close the prompt, then go to Settings > General > VPN & Device Management on the iOS device, select to trust the developer under Developer App, and open the Demo app again to try it.
Using Emoji Packs
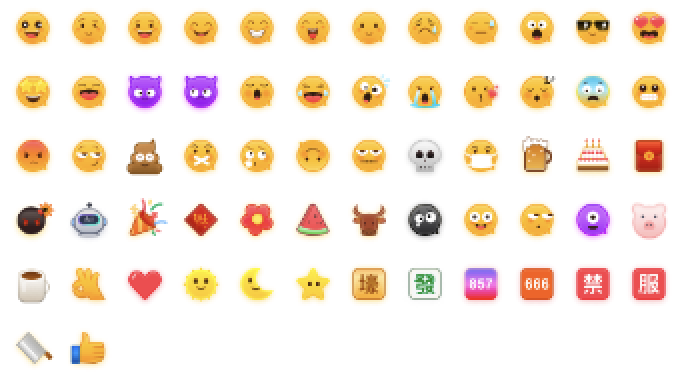
To respect emoji design copyrights, replace the large emoji image assets included in the Chat Demo project with emoji packs designed by you or otherwise licensed to you before commercial release. Note that the default smiley emoji pack shown below is copyrighted by Tencent Cloud, and you can use it for free by upgrading to Chat Pro Plus or Enterprise Edition.
Contact Us
If you have any questions or suggestions during integration or usage, contact us to submit feedback.