Overview
By locking your domain, you can prevent it and its records from being tampered with so as to enhance data security.
Directions
Locking domain
2. In Authoritative Resolution page, select the domain to be locked, click More > domain lock, as shown below:
Note:
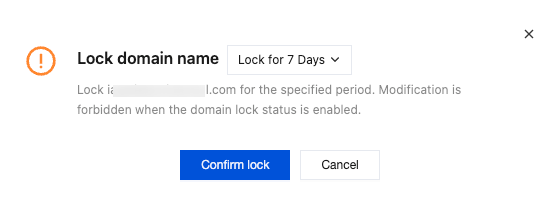
If you want to lock your domain, please first make sure that it has been resolved. For more information on how to add a record, please see Adding Record. 3. In the Lock Domain window that pops up, set the number of days for domain lock, and click Confirm Lock.
Note:
No changes can be made to the DNS records of a locked domain, thus securing the DNS service for your domain.
After a domain is locked, its records will become locked, and the records page will display "Unable to modify record as the domain is locked".
Unlocking domain
2. In Authoritative Resolution page, select the domain to be unlocked, click More > Domain unlock as shown below:
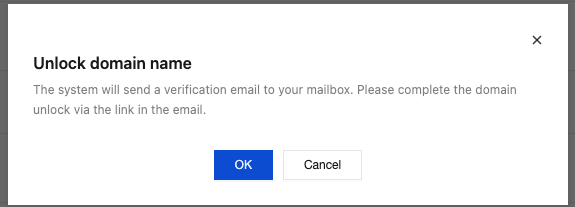
3. In the Unlock domain name window that pops up, click OK. An email for confirming domain unlock will be sent to the email address of the root account as shown below:
4. Click the confirmation link in the email or Click here to unlock to enter the DNS record setting page, where you can add, delete, change, or query records.
Note:
If you are a collaborator, please ask the root account to confirm the email and unlock the domain.