Cloud Application Rendering (CAR) supports four types of applications: cloud 3D, cloud XR, cloud Web, and cloud APK. This document describes in detail how to configure and use a cloud browser (cloud Web).
Directions
1. Obtaining a Cloud Browser
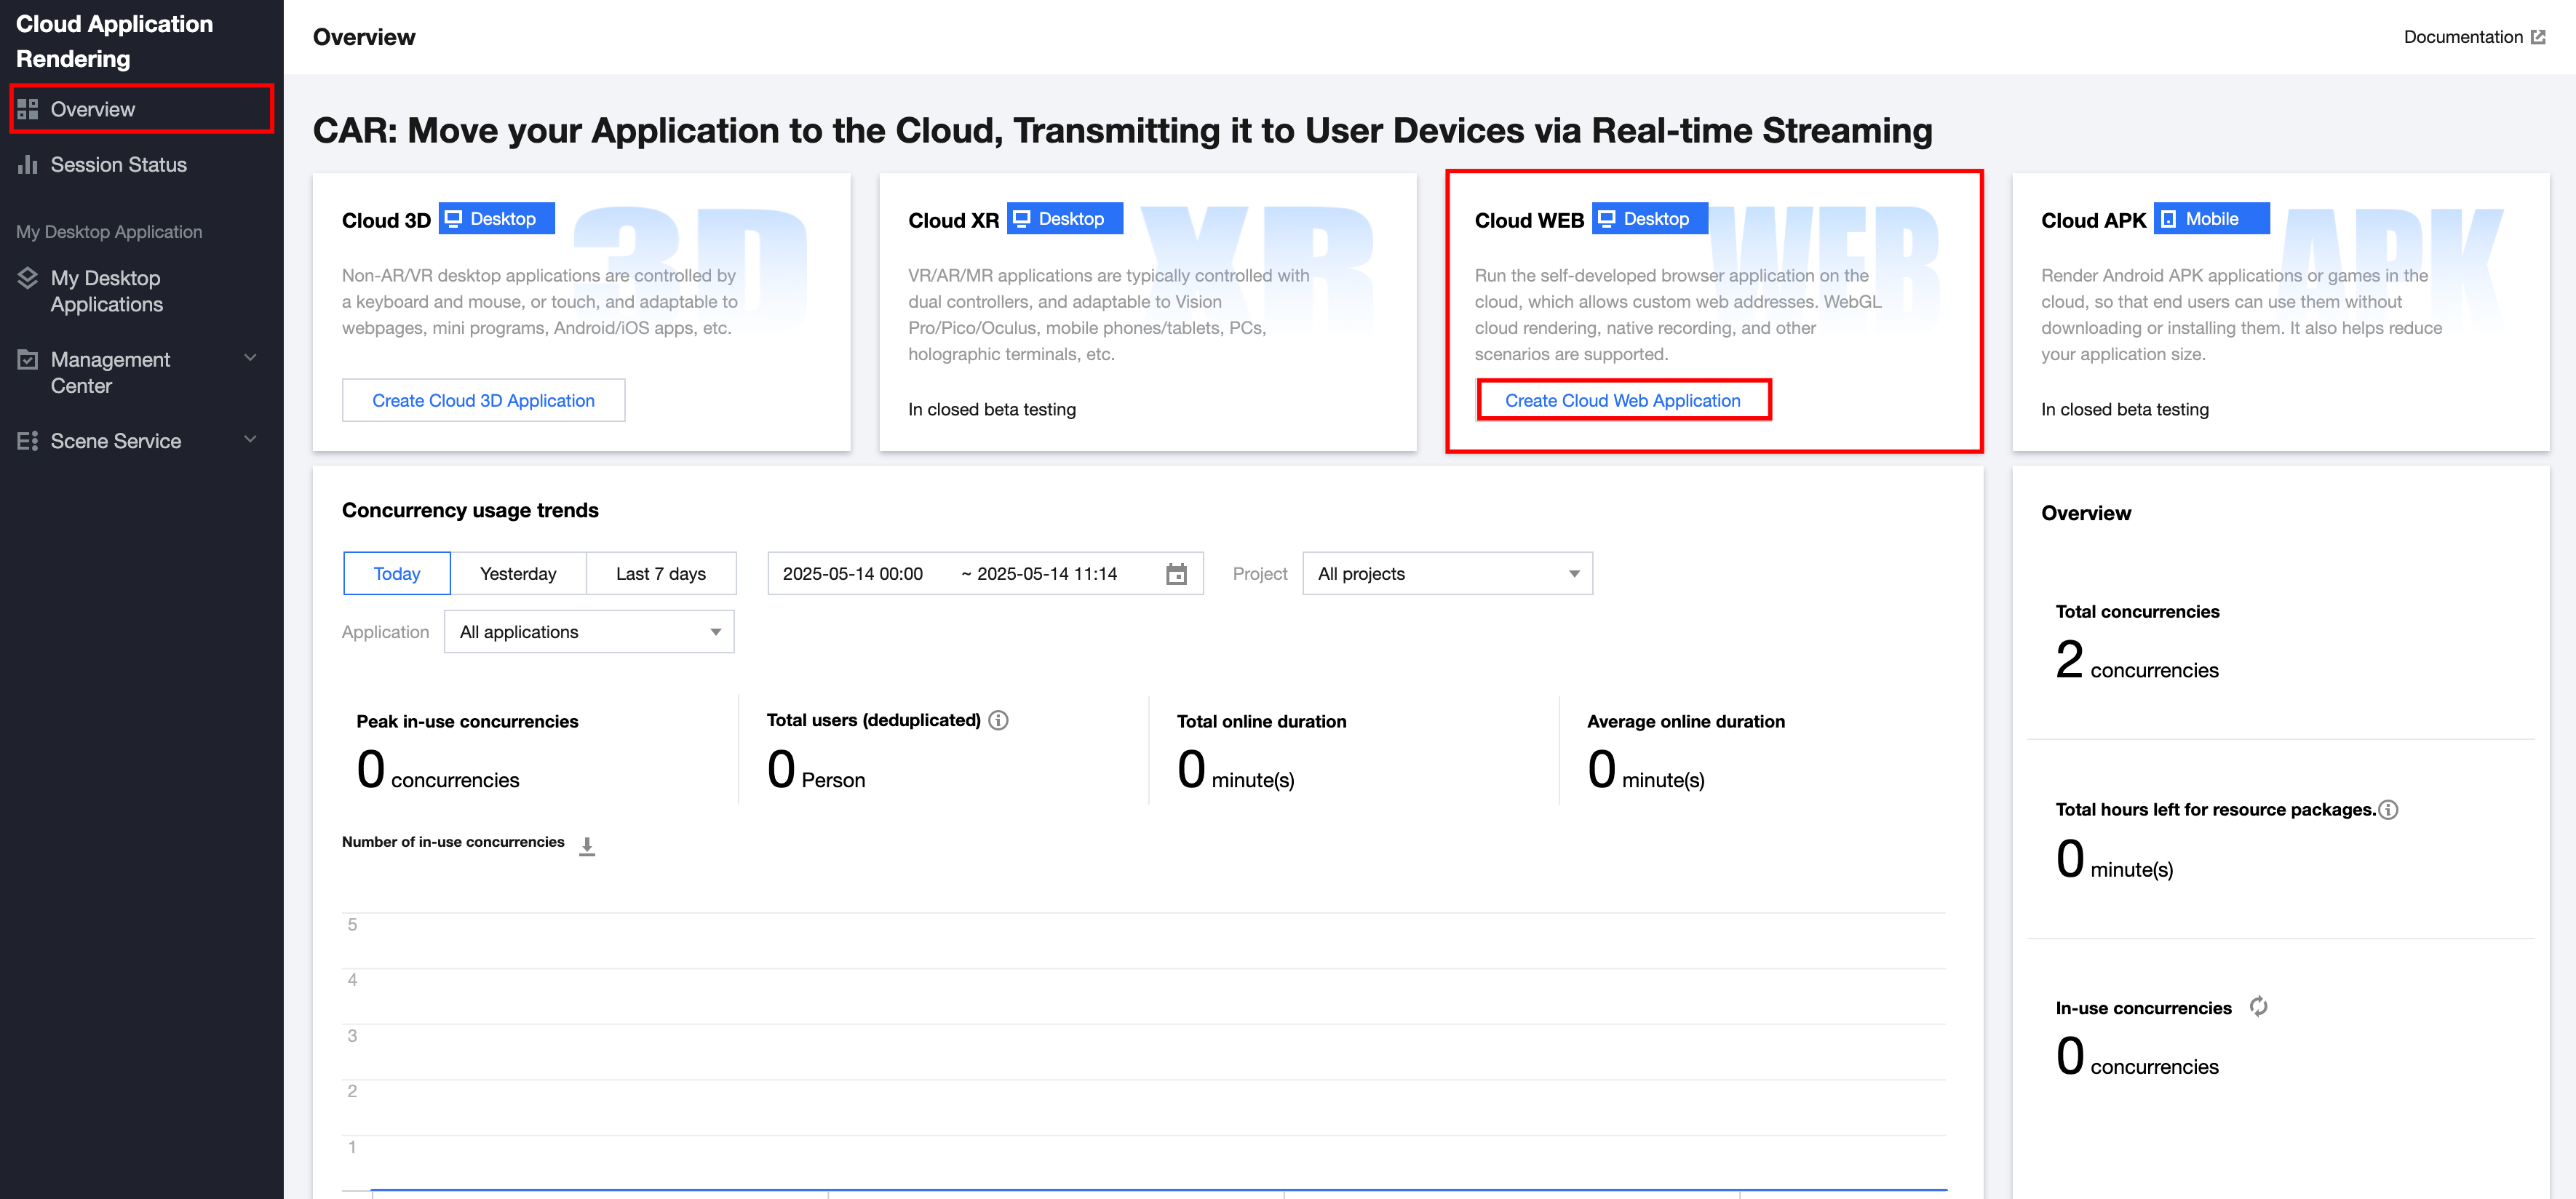
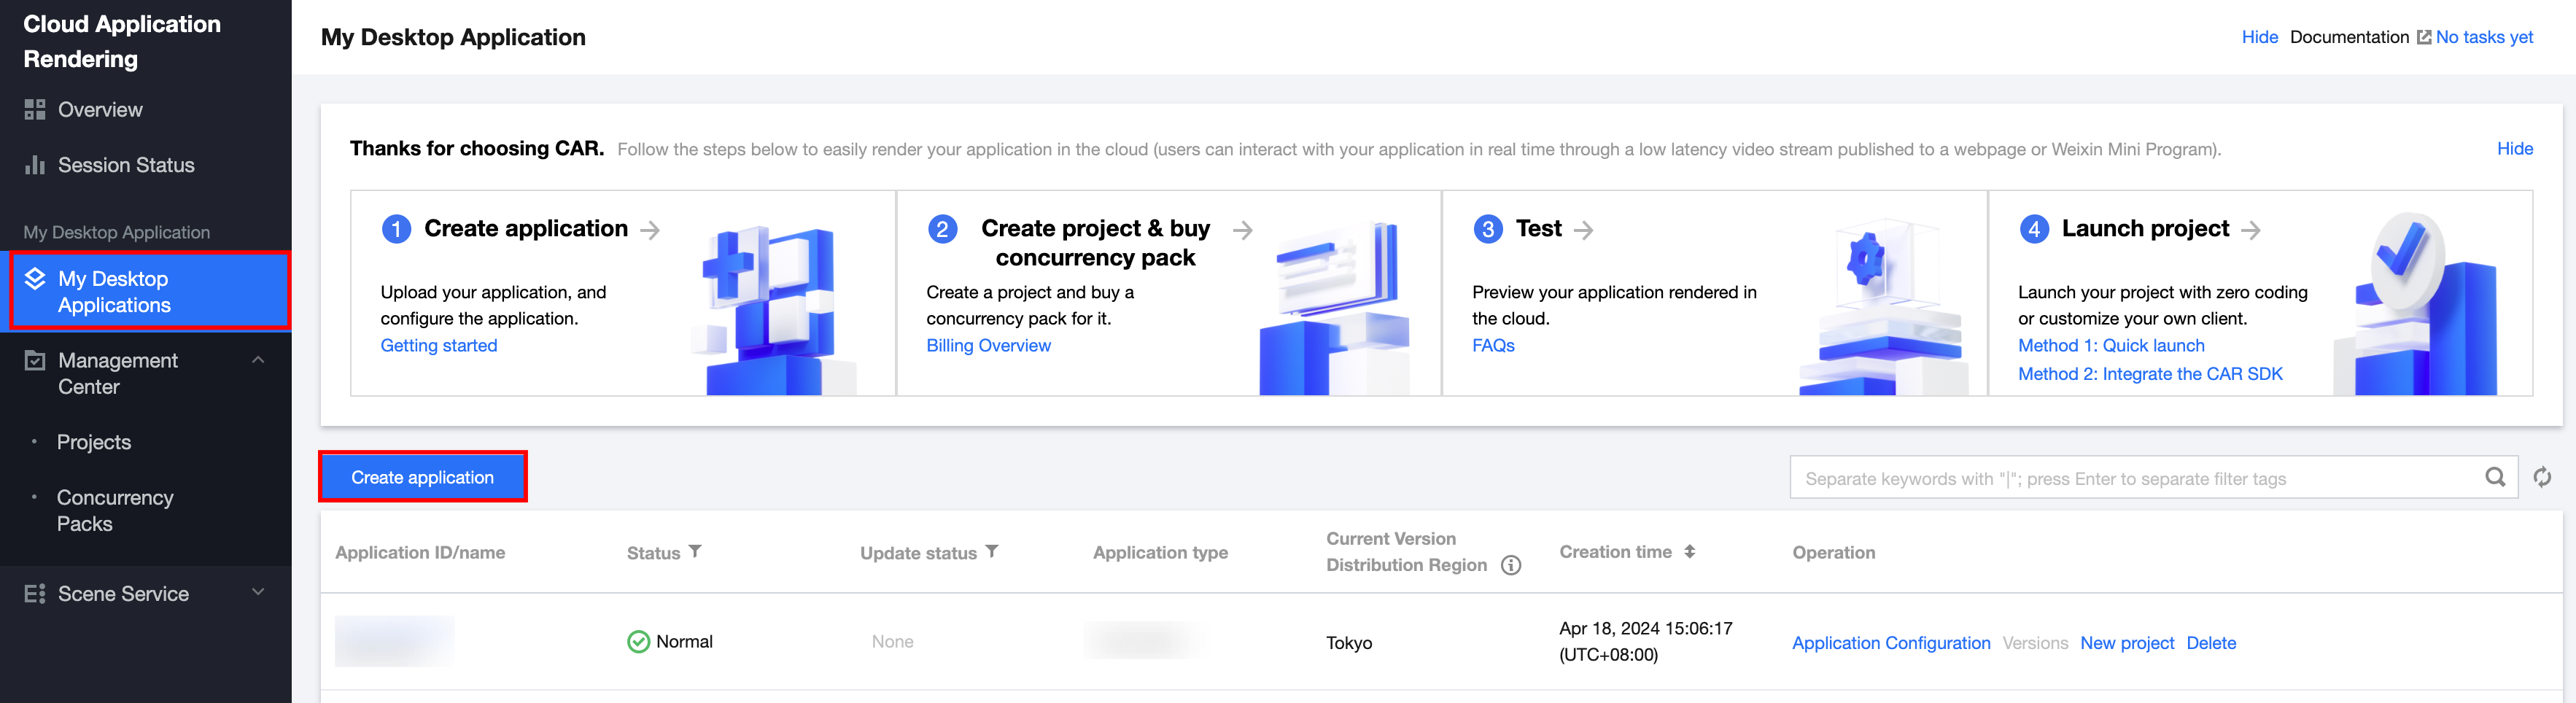
1. In the CAR console, go to the Overview page, select the cloud WEB interface, and click Create Cloud Web Application. As shown below: Alternatively, go to the My Desktop Application page in the console and click Create application, as shown below:
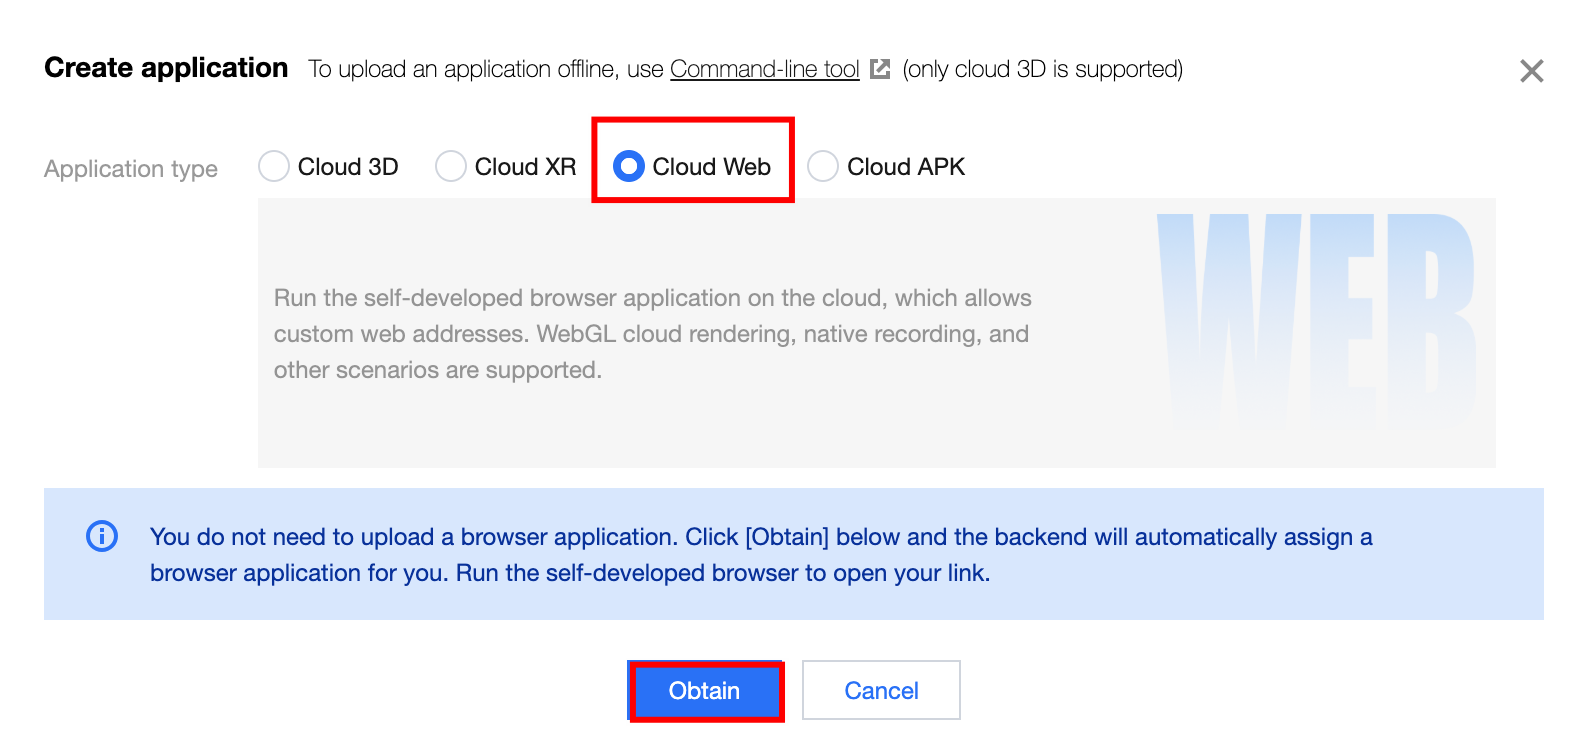
2. A pop-up application window will appear. Select Cloud Web as the application type, click Obtain, and then you can obtain the assigned cloud browser application. As shown below:
2. Creating a Cloud Application Project
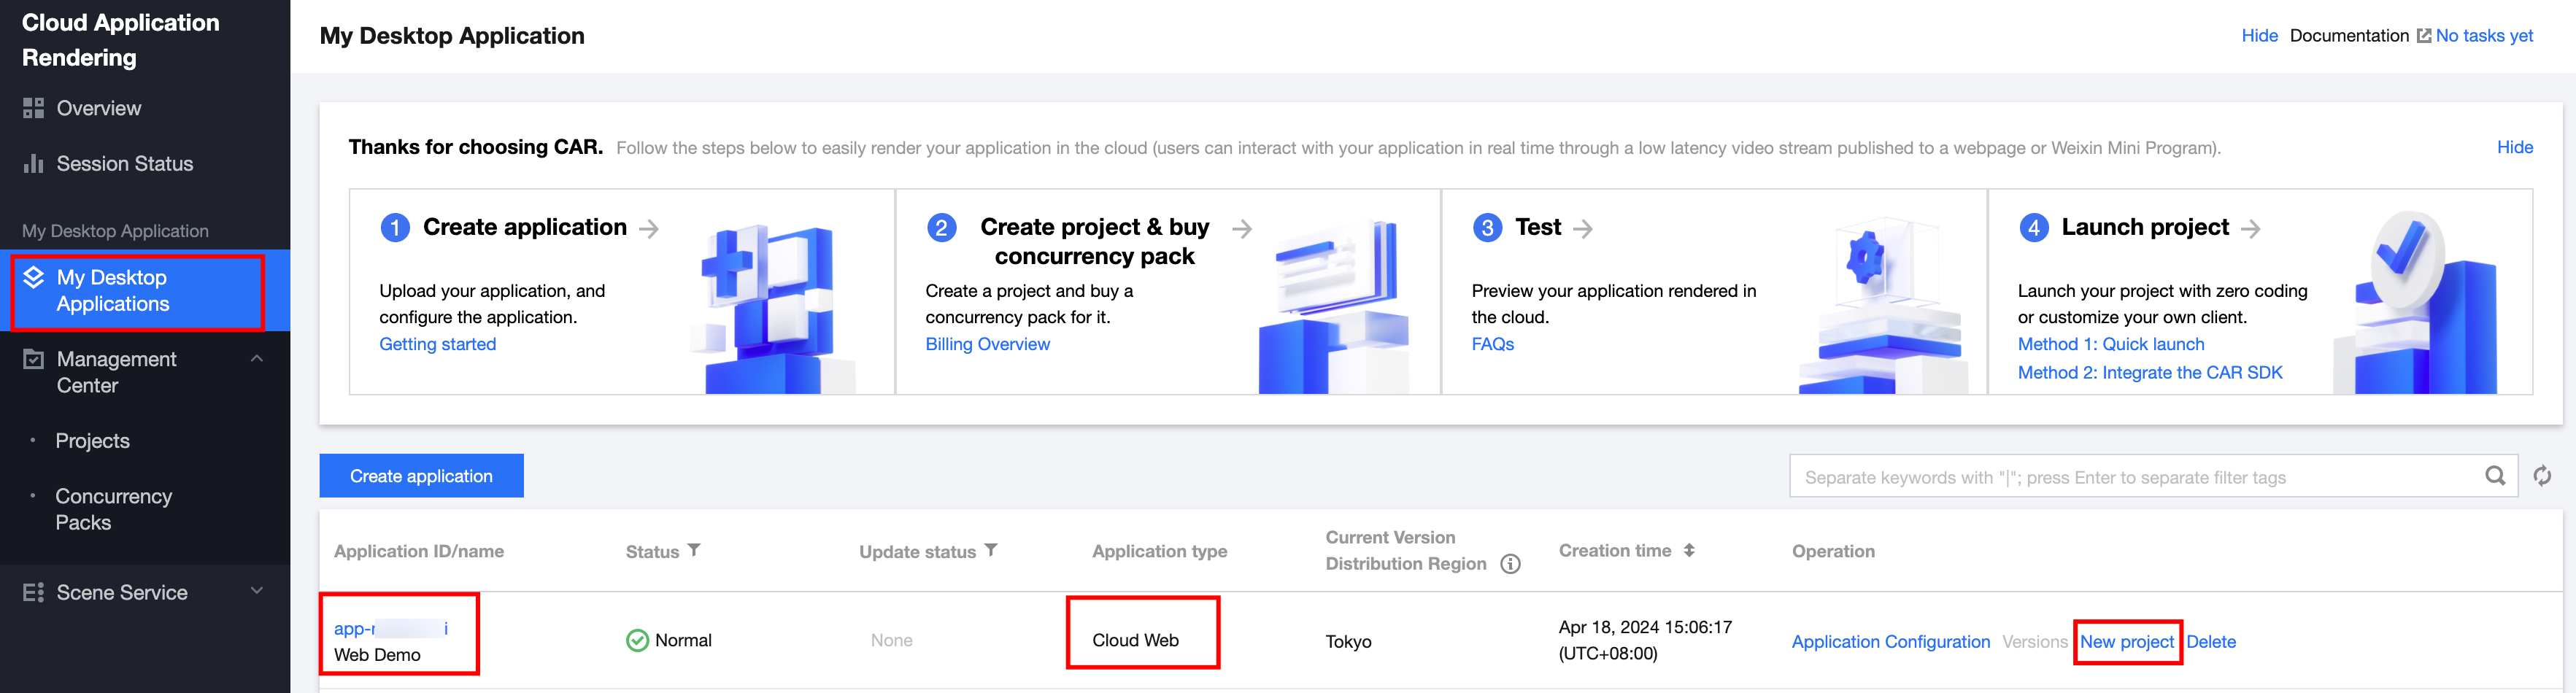
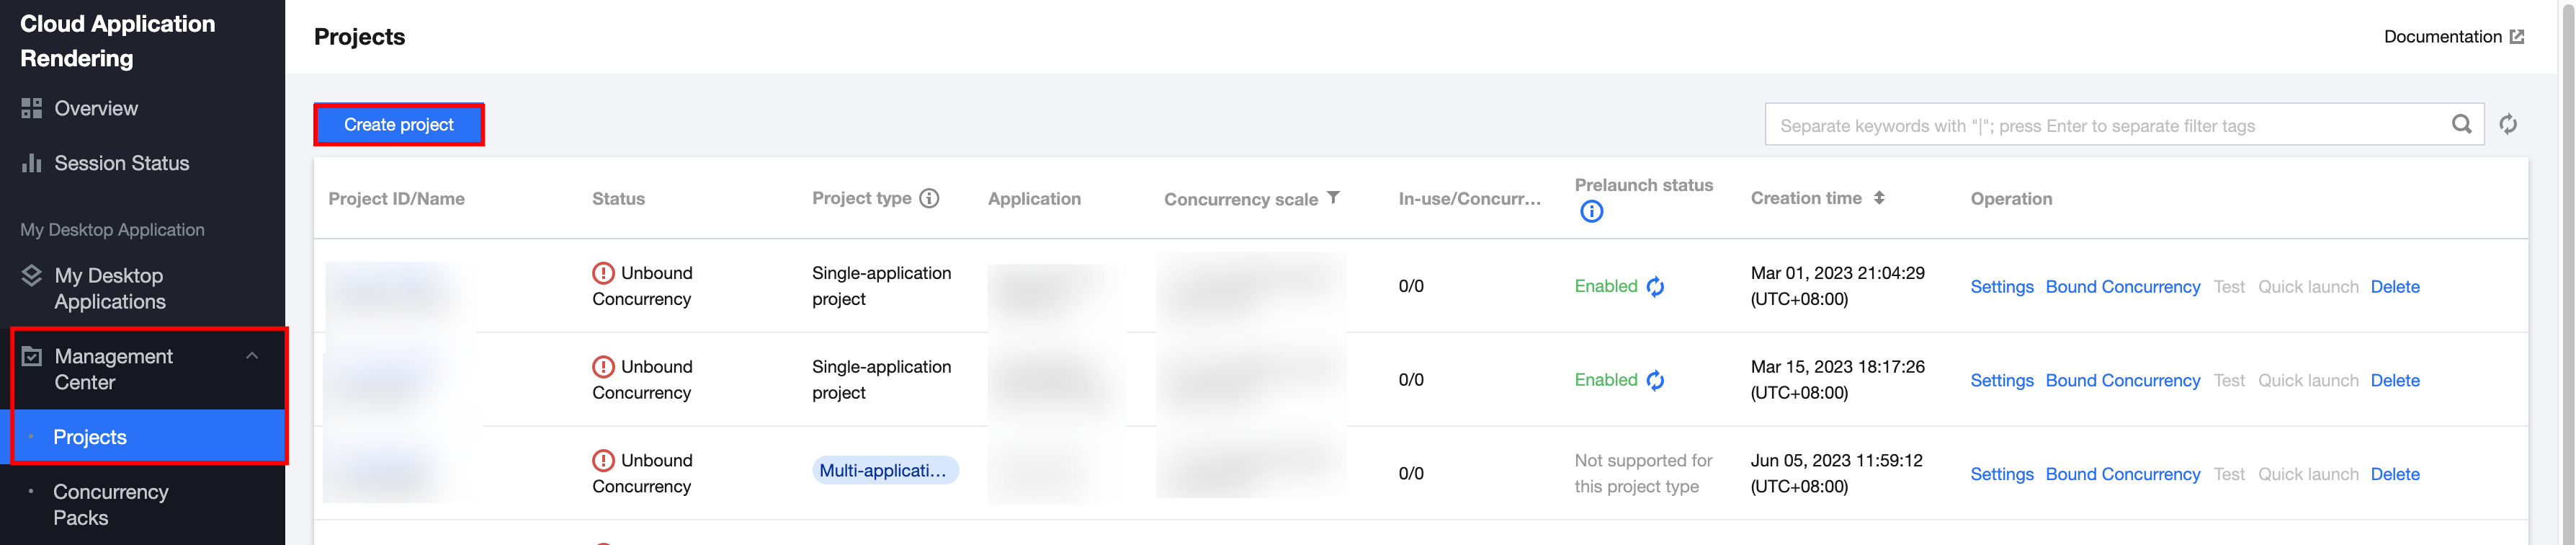
1. On the CAR Console > My Desktop Applications page, select the recently obtained cloud Web application and click New Project at the operation section, as shown below: Or enter Management Center > Projects page on the console and click Create project. As shown below:
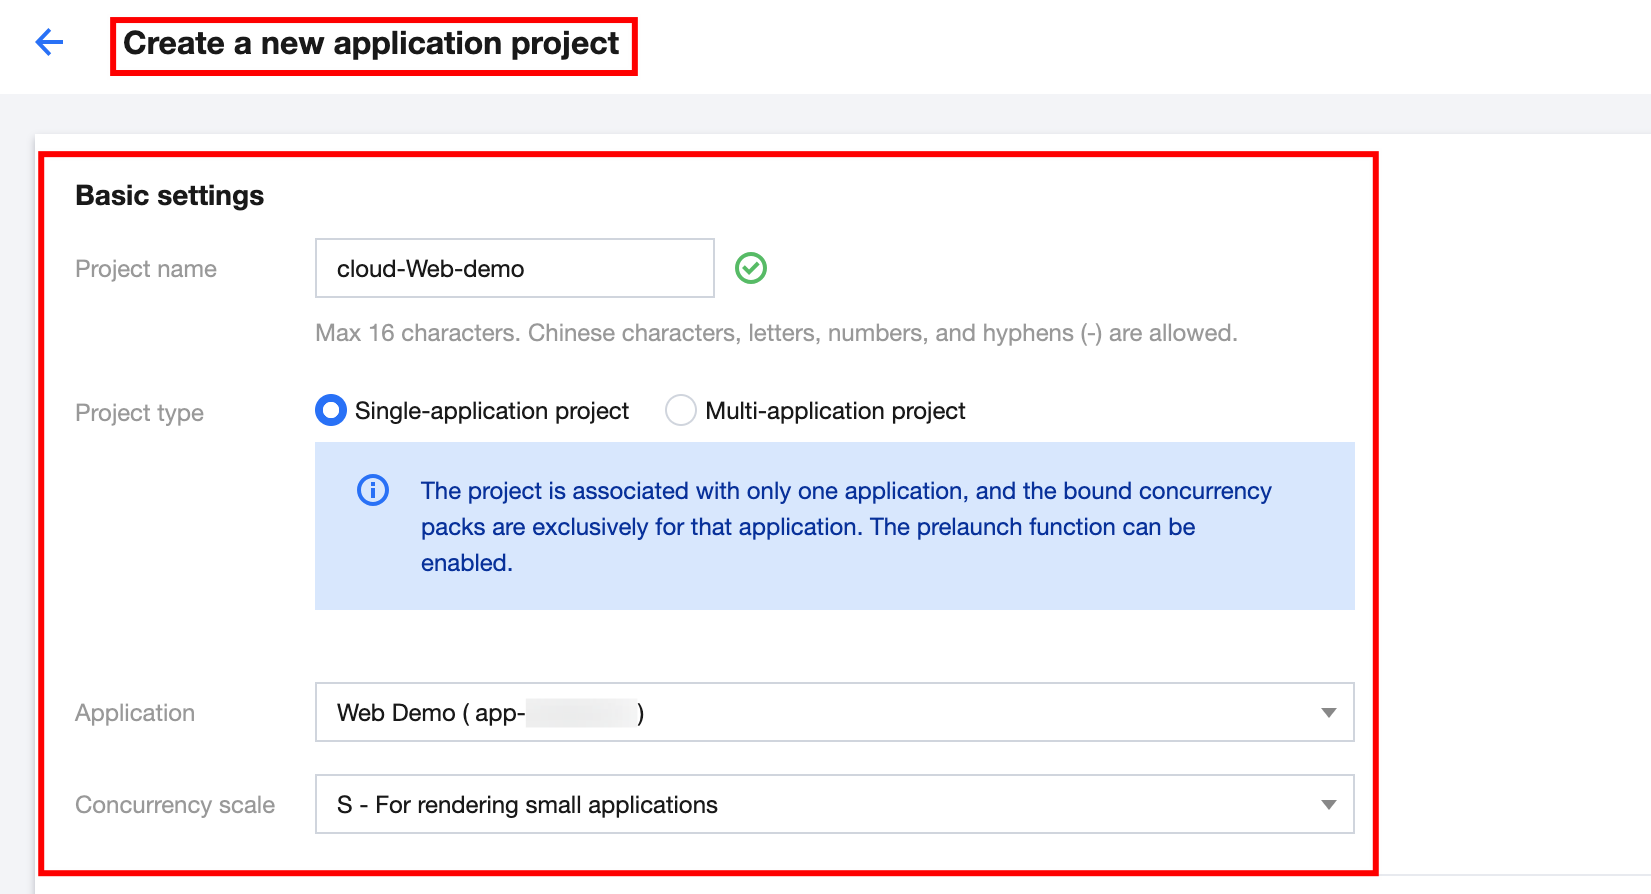
2. Complete basic settings on the application project creation page.
2.1 Specify a project name: Only Chinese characters, letters, digits, or hyphens (-) are supported (up to 16 characters).
2.2 Select a project type: Select Single-application project or Multi-application project as needed.
2.3 Select an associated application: Select the created Web Demo application.
2.4 Select a concurrency scale: Select a concurrency scale based on the needs. (CPU concurrency packages are recommended. This document takes S - For rendering small applications as an example.)
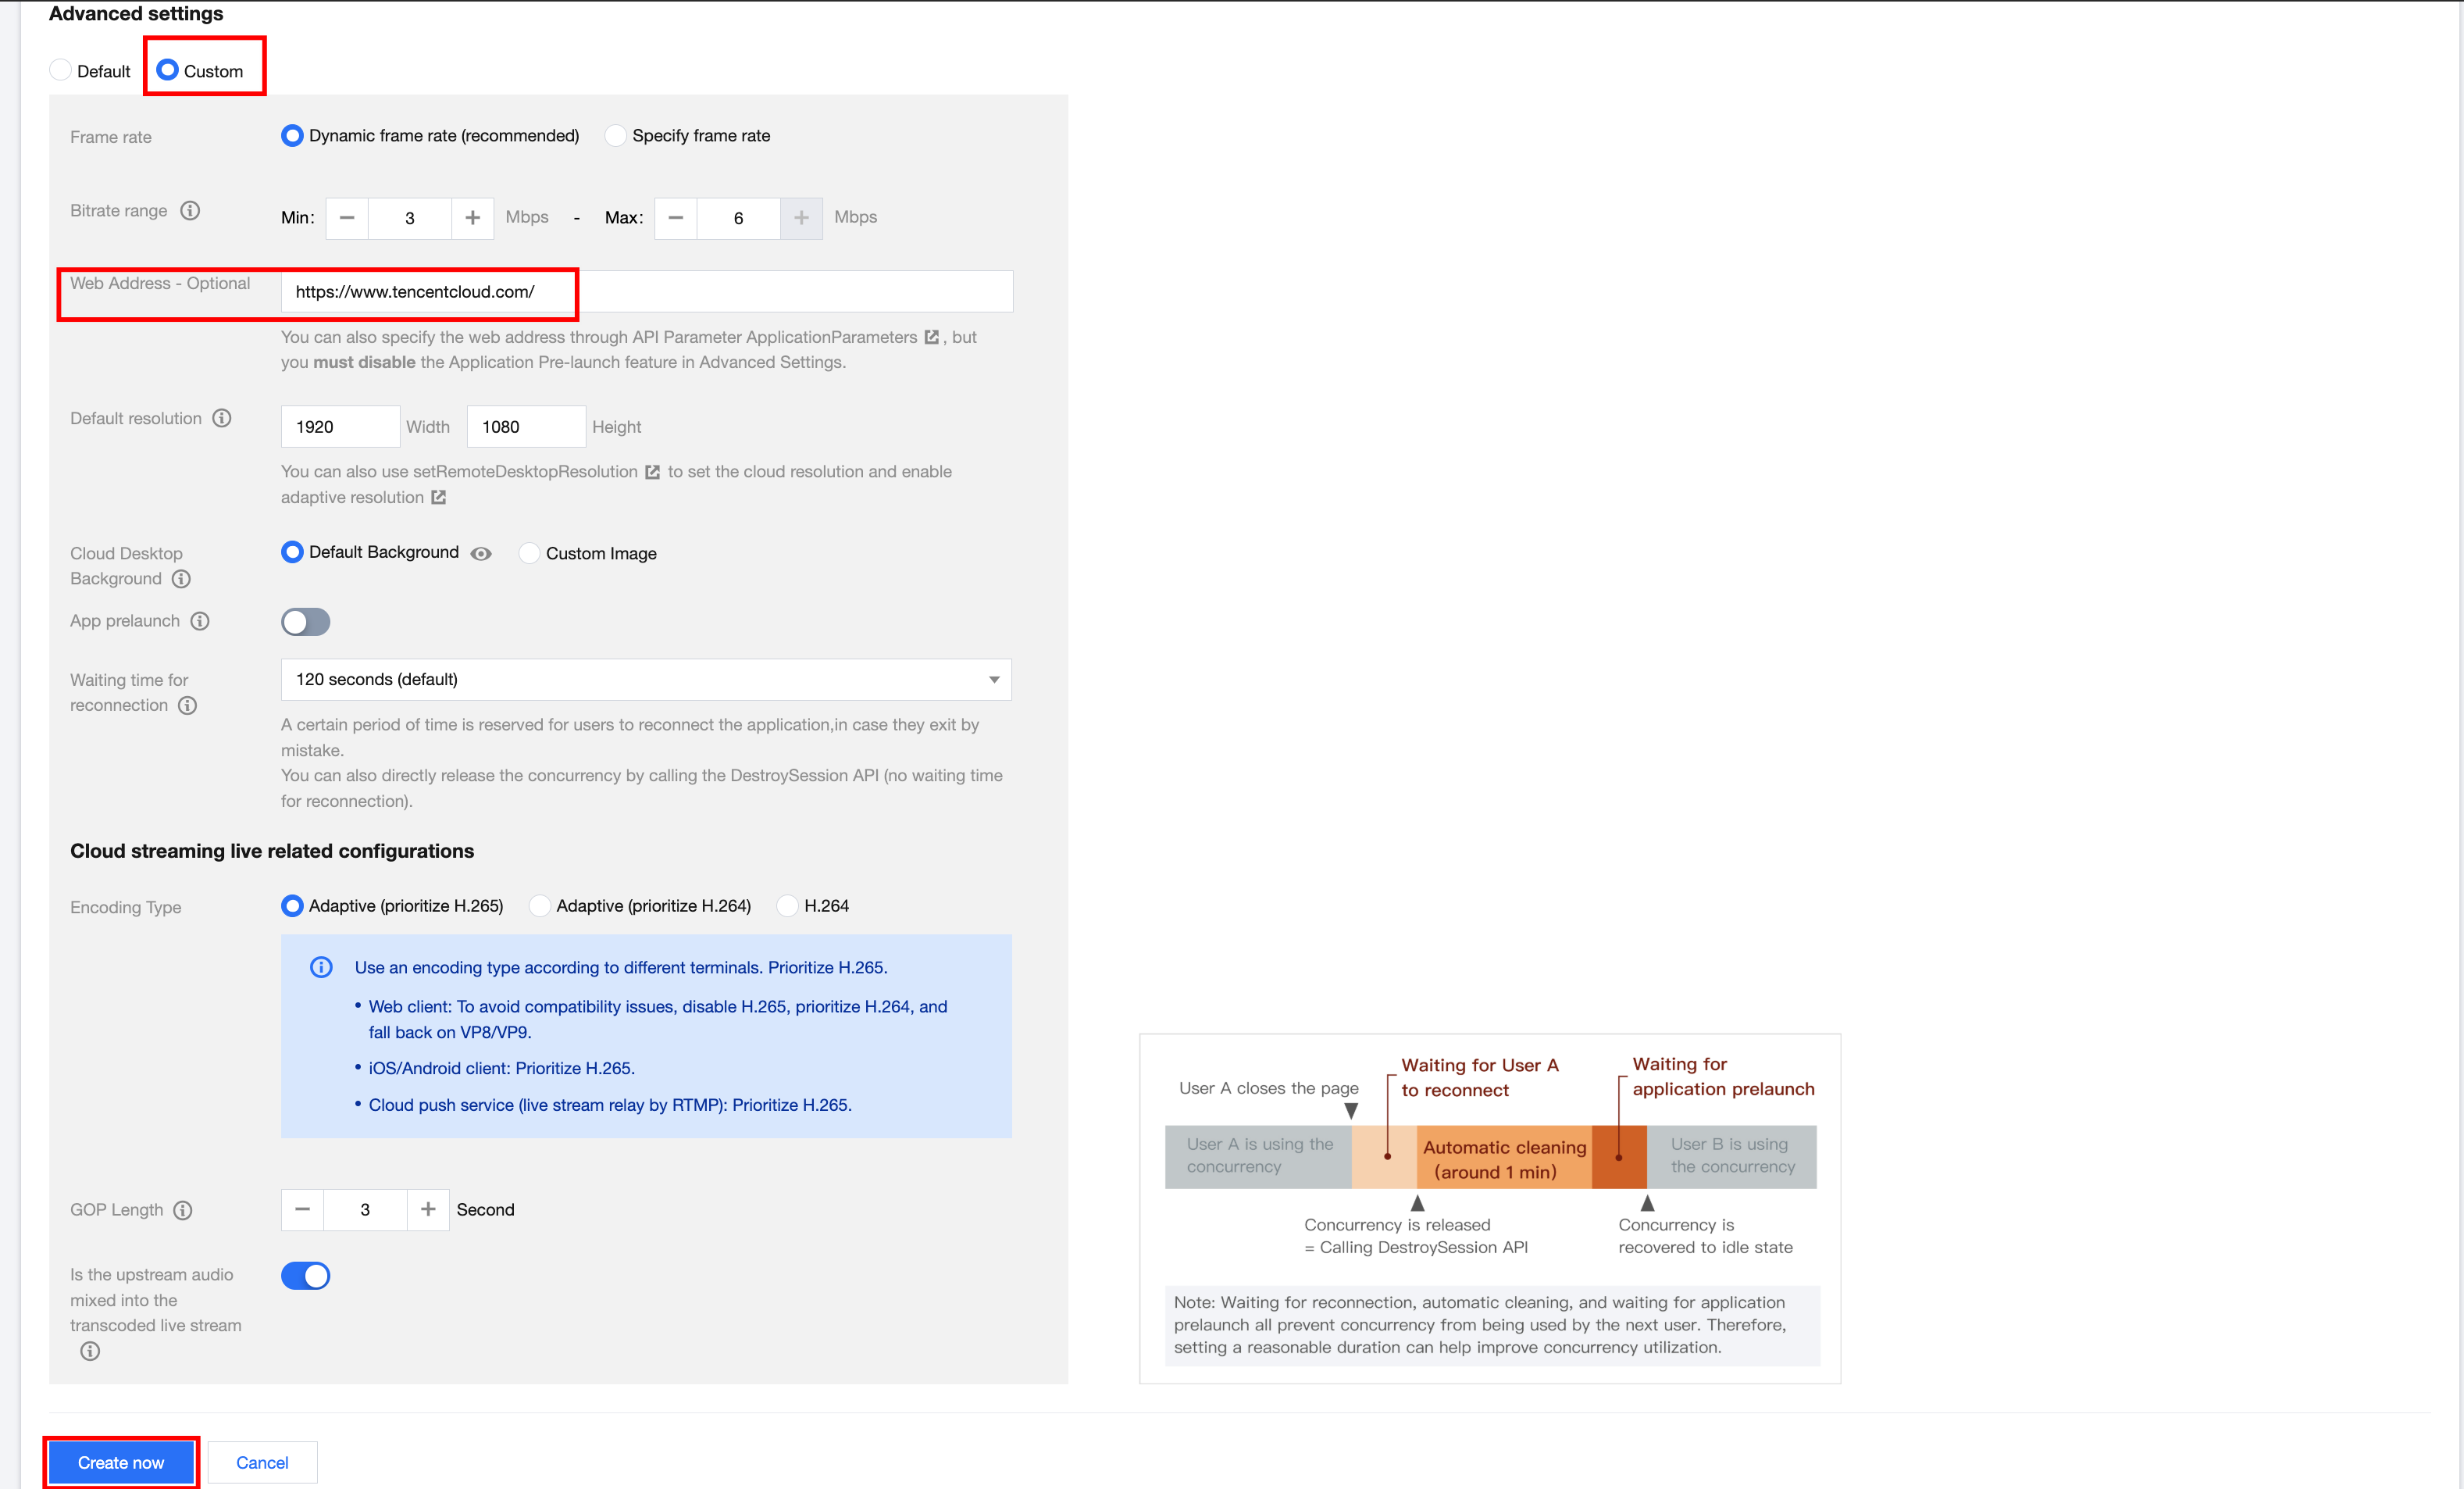
3. According to needs, select Custom in Advanced Settings. Fill in the web address you want to log in to at the web address field. This document takes the Tencent Cloud address as an example (https://tencentcloud.com/). After filling in the web address, click Create Now.
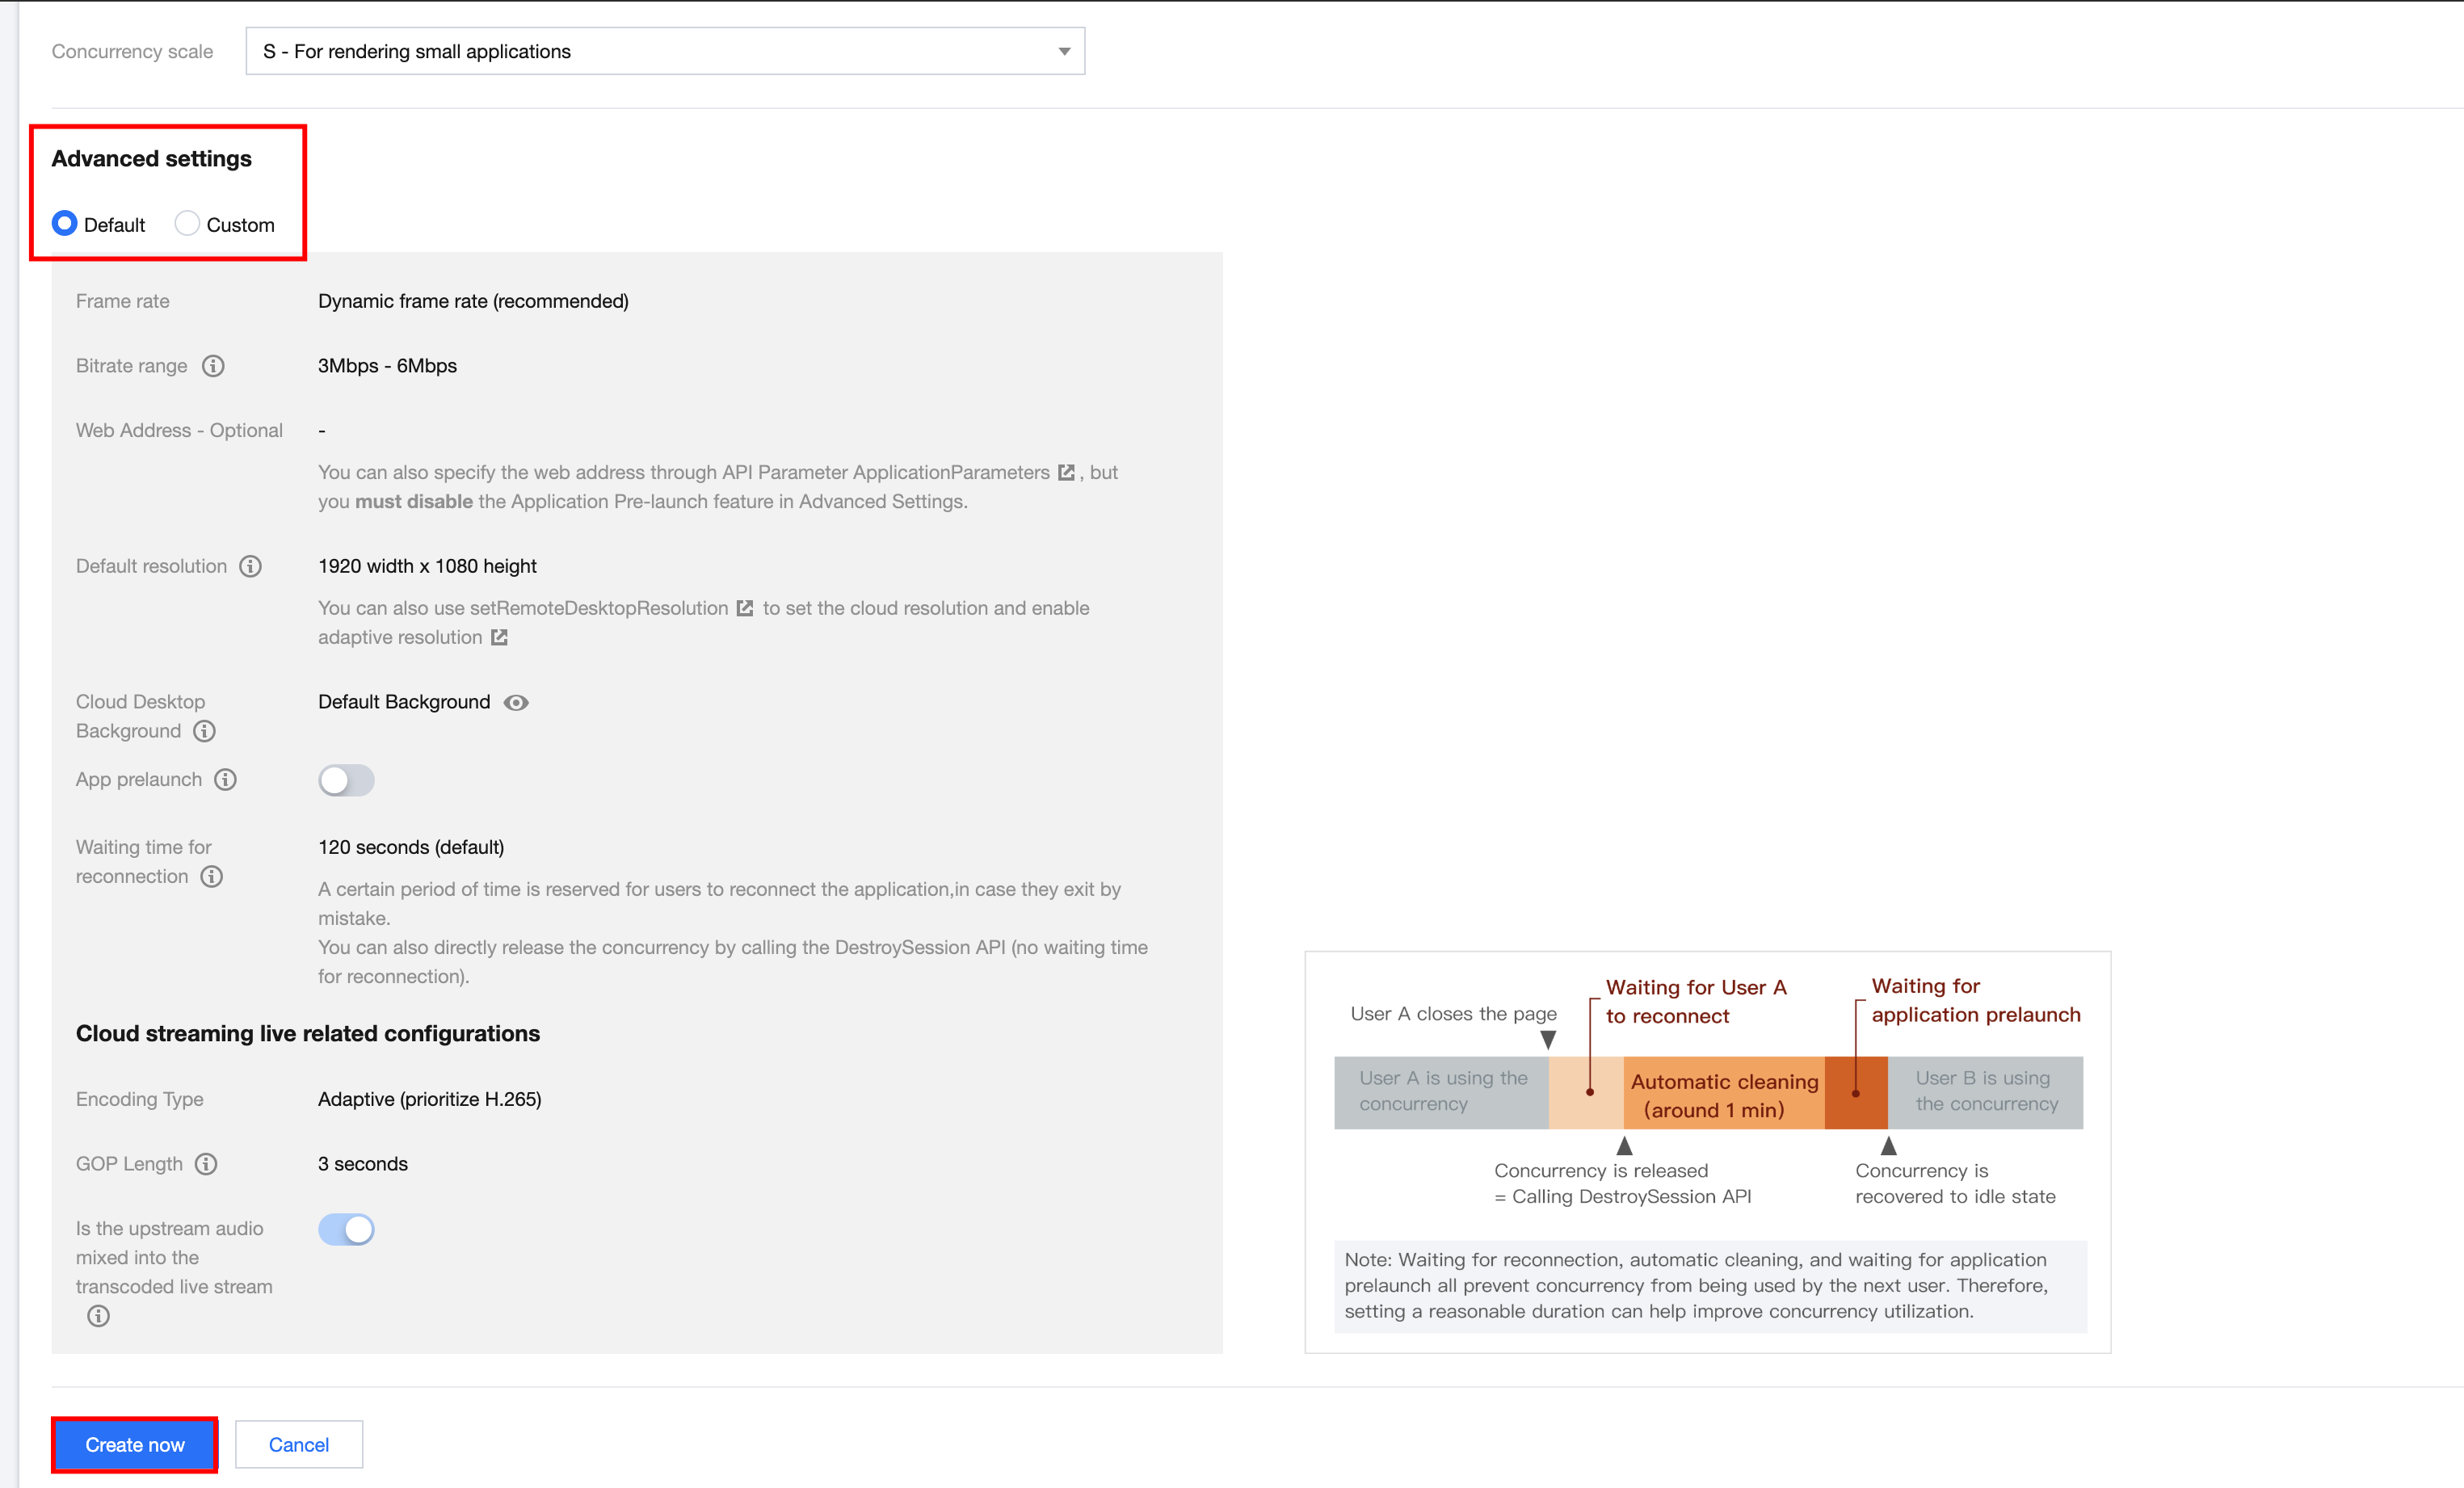
Or click Default, then perform web address setting and management in project management. Subsequently, click Create Now. As shown below:
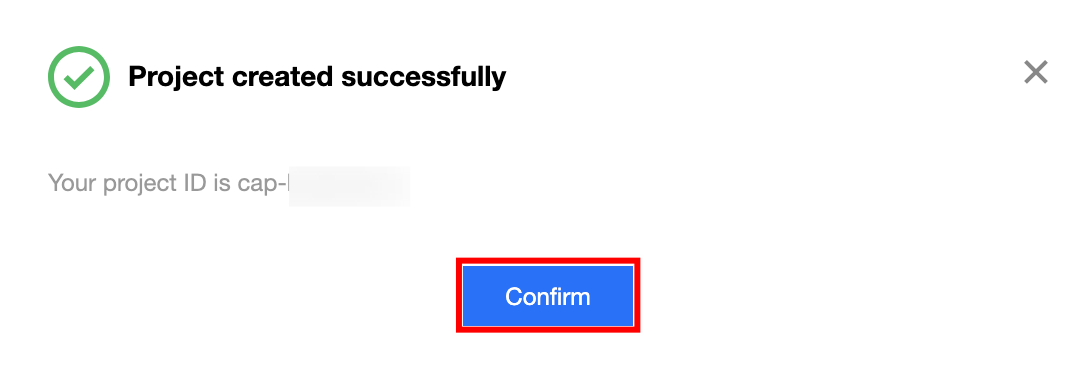
4. After the project is created successfully, click Confirm, and complete the concurrency package configuration, as shown below:
3. Configuring Bound Concurrency
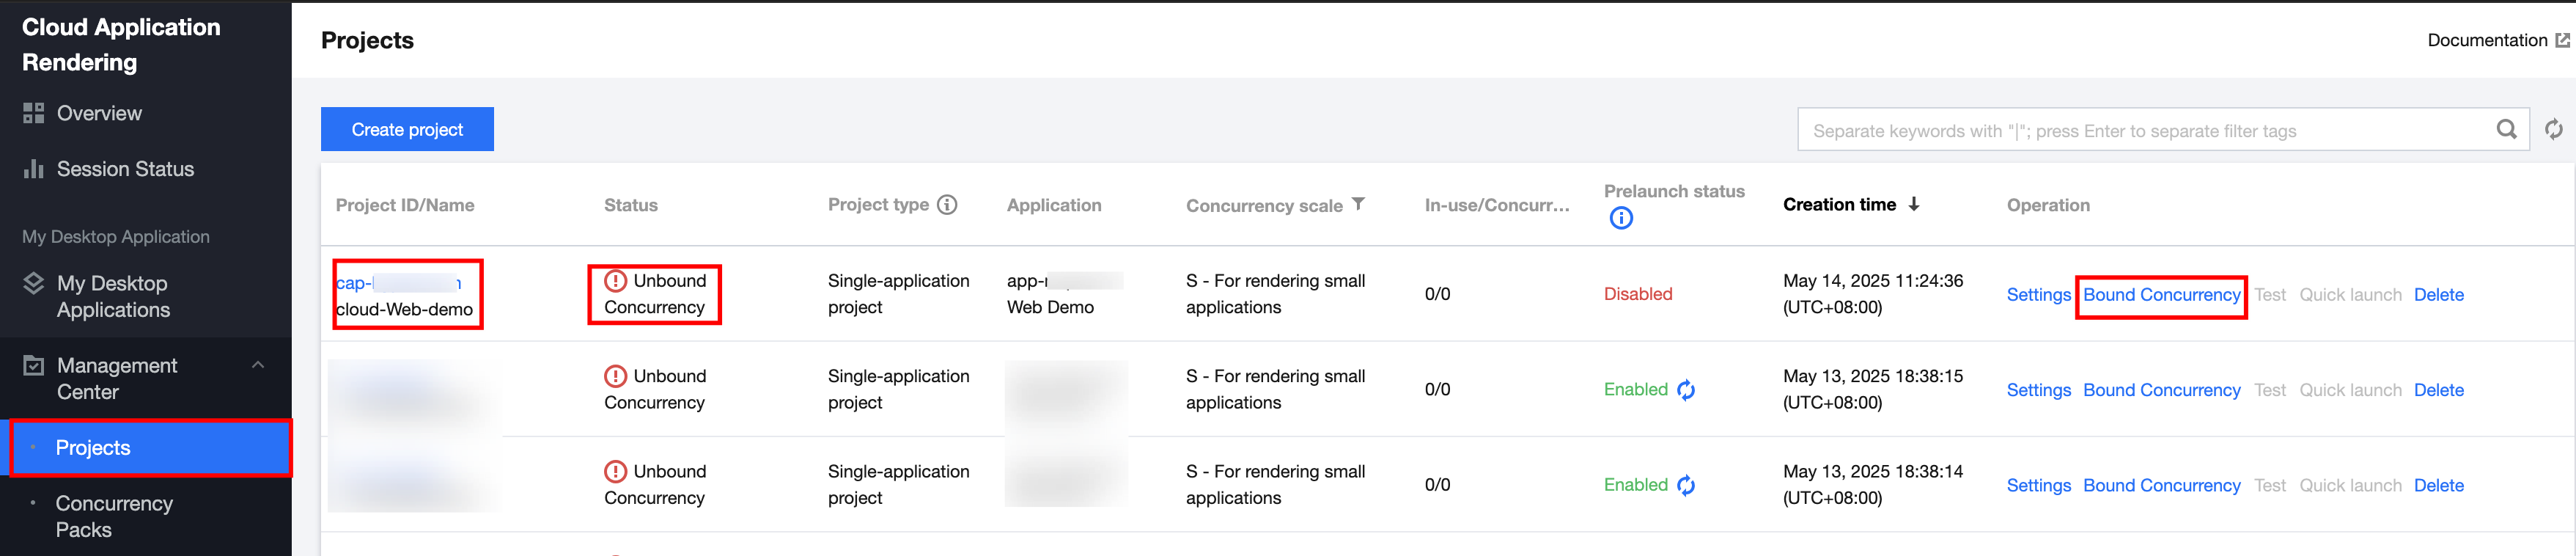
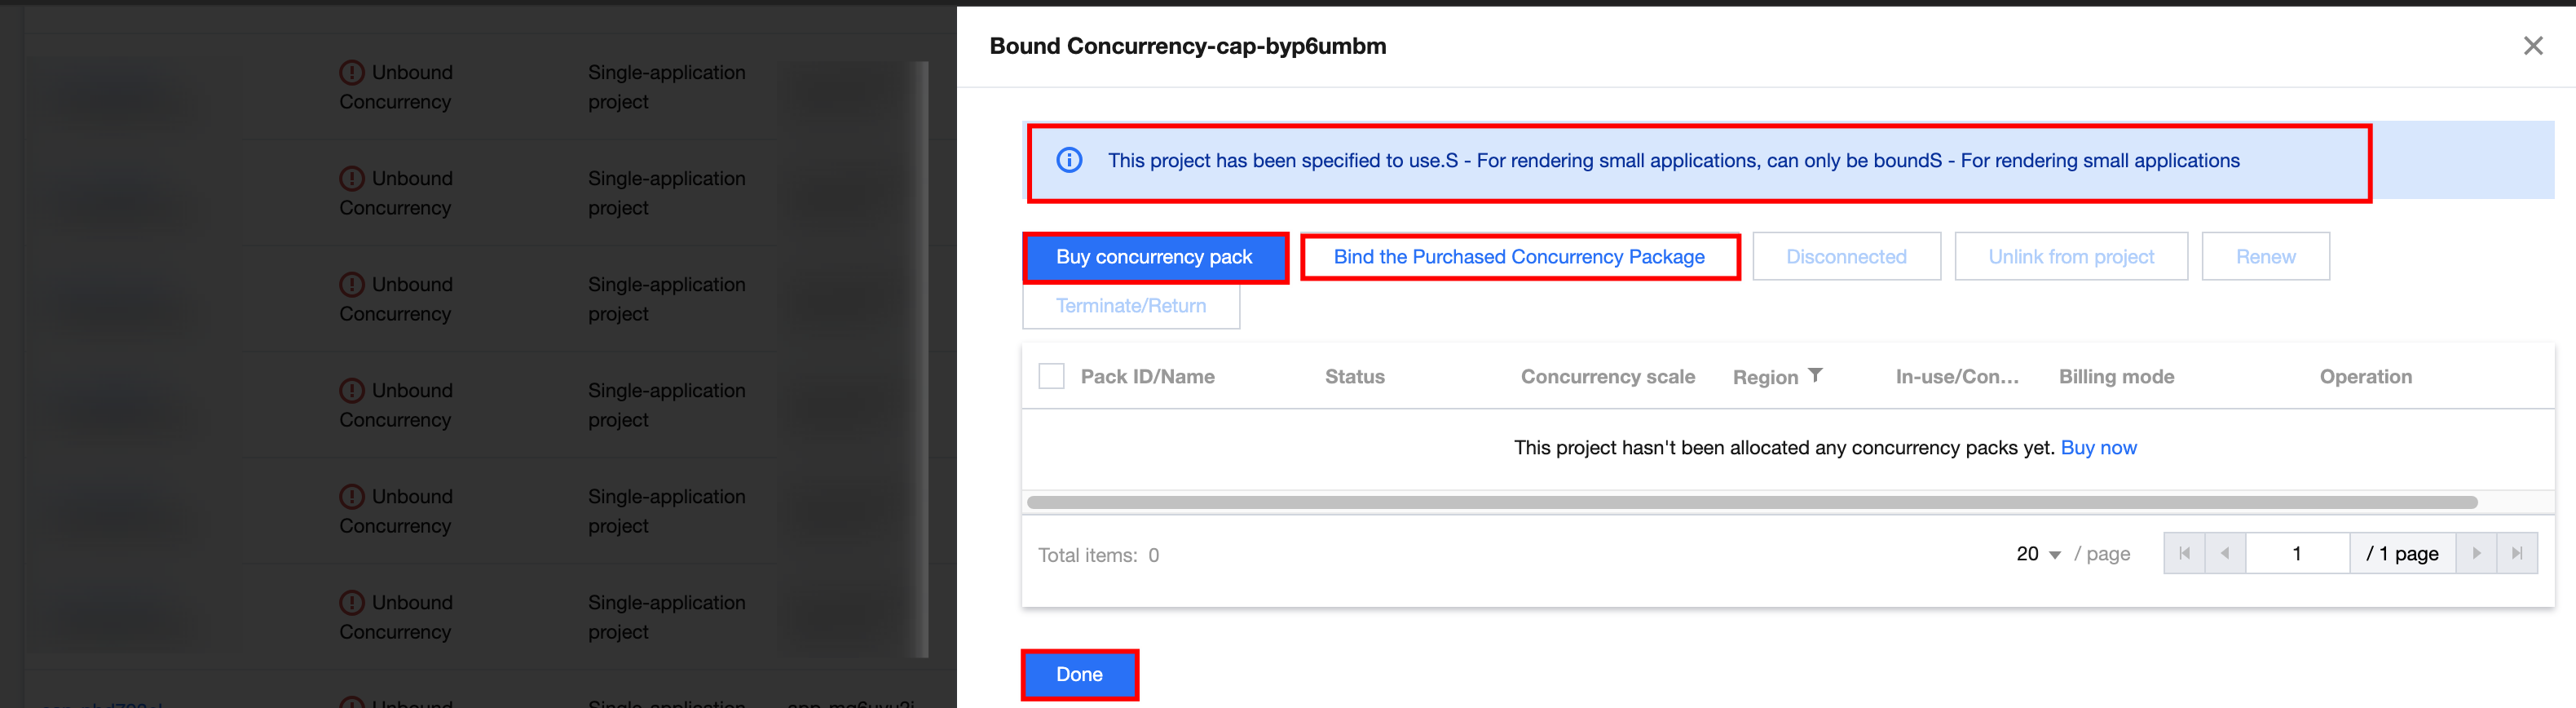
1. On the CAR Console > Projects page, select the project you just created and click Bound Concurrency at the operation section, as shown below. 2. In the pop-up concurrency binding interface, perform concurrency binding settings. Bind the concurrency package according to the concurrency specification settings when creating the project just now. Click Buy Concurrency Pack or Bind Purchased the Concurrency Package. For example, the sample account has purchased an 8-core CPU type - cloud rendering concurrency. Therefore, click Bind the Purchased Concurrency Package. As shown below:
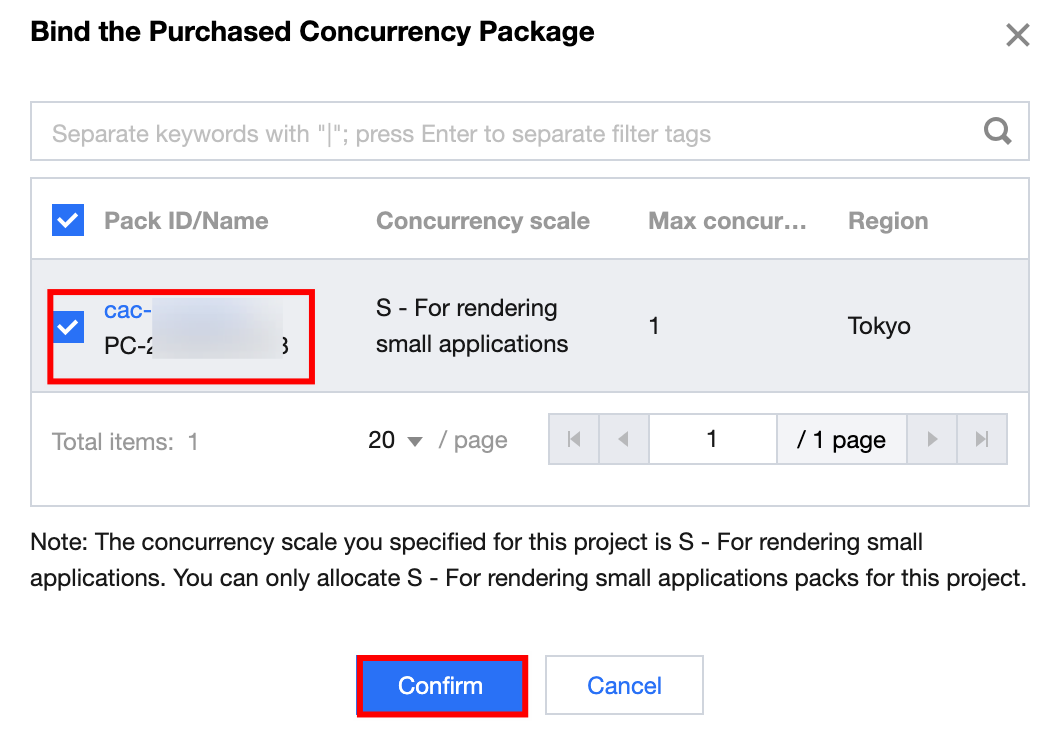
3. Select a specified concurrency package as instructed in the pop-up window of binding a purchased concurrency package. Then, click Confirm to complete the concurrency package binding configuration, as shown below:
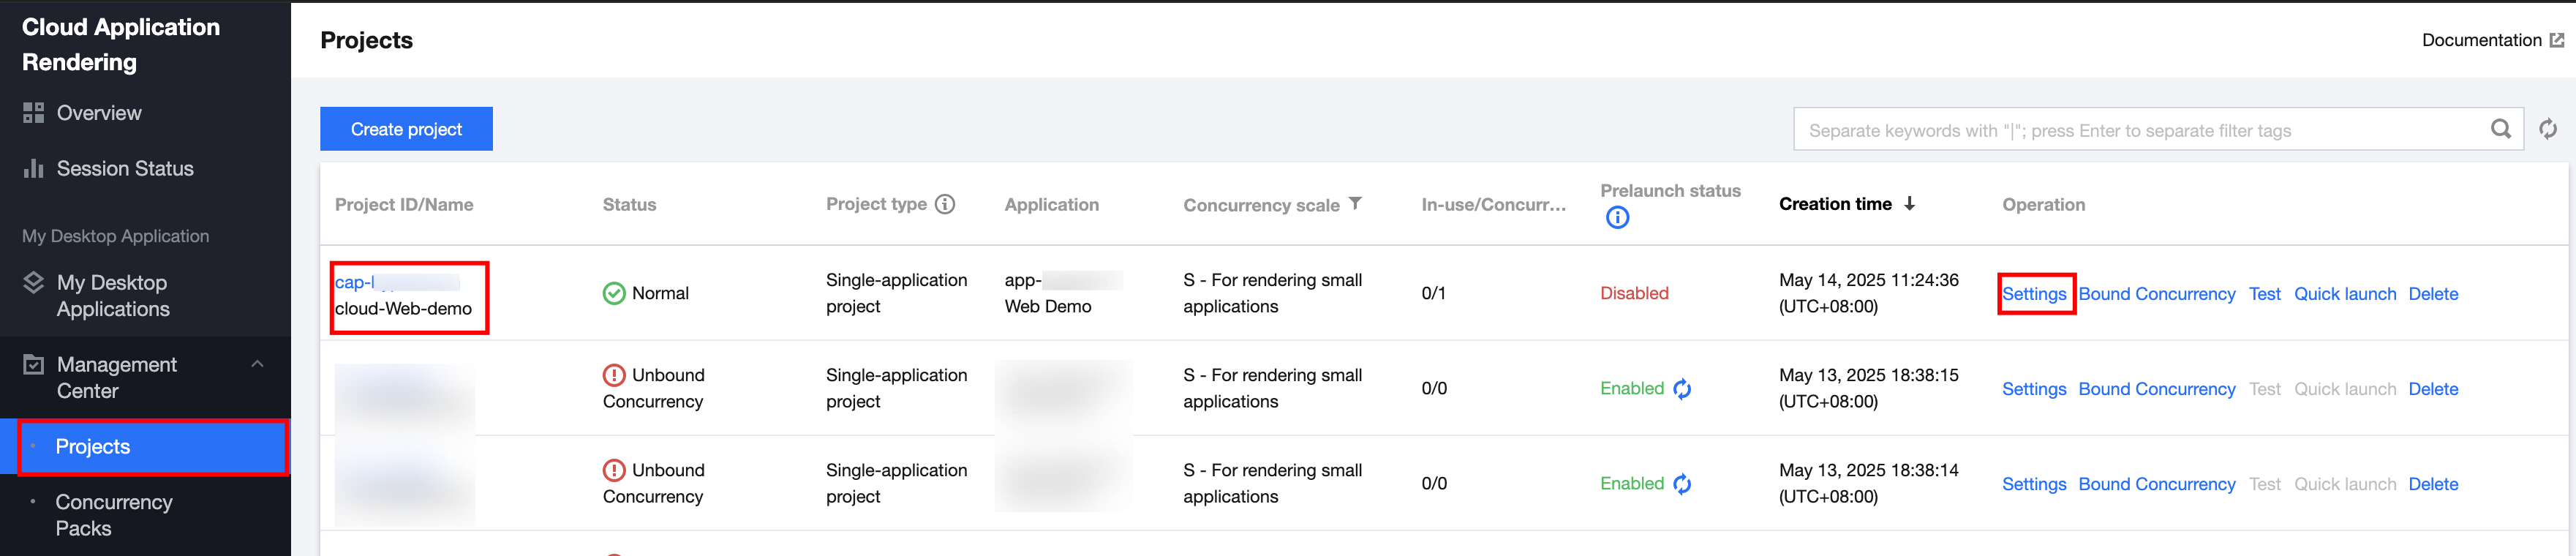
1. In the process of creating a CloudApp project in step 2 mentioned above, we set the web address. You can complete and modify it on the project management page. In the console, click the Projects interface to perform project settings, and then click Settings at the operation section. As shown below:
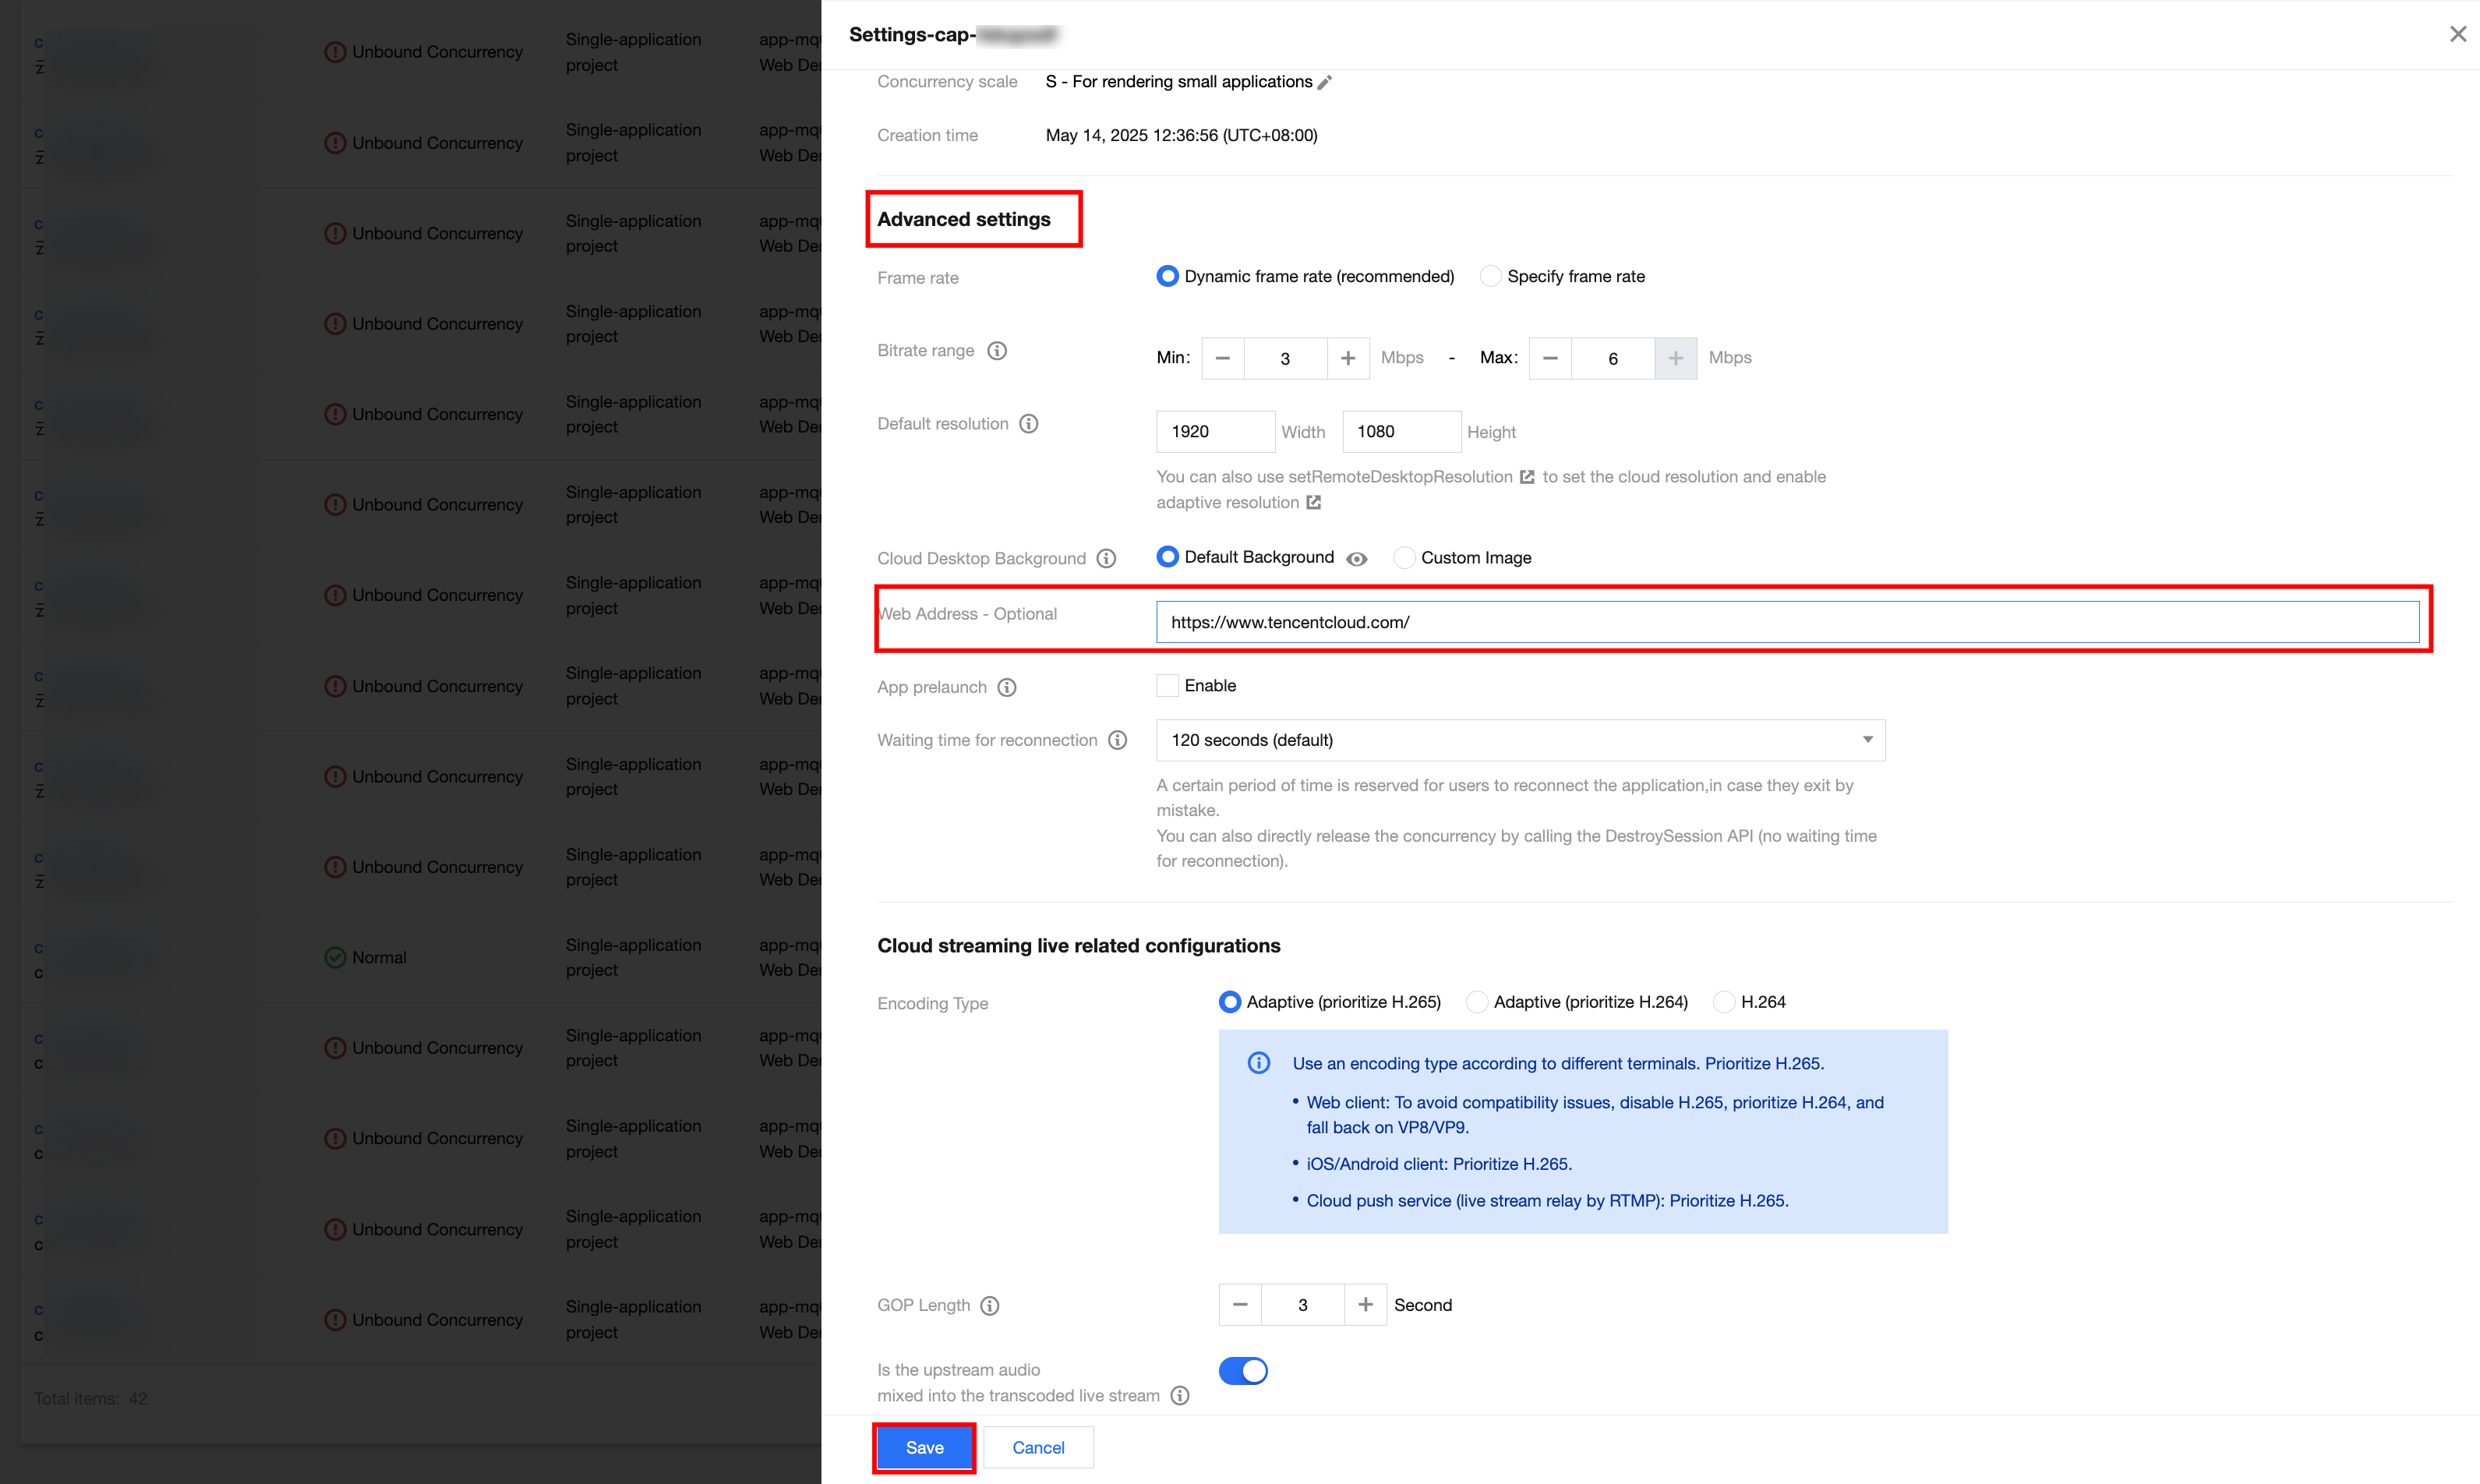
2. Enter or modify the web address you want to open in the advanced settings area on the project configuration page. This document takes the Tencent Cloud address (https://tencentcloud.com/) as an example. After the web address is entered, click Save, as shown below:
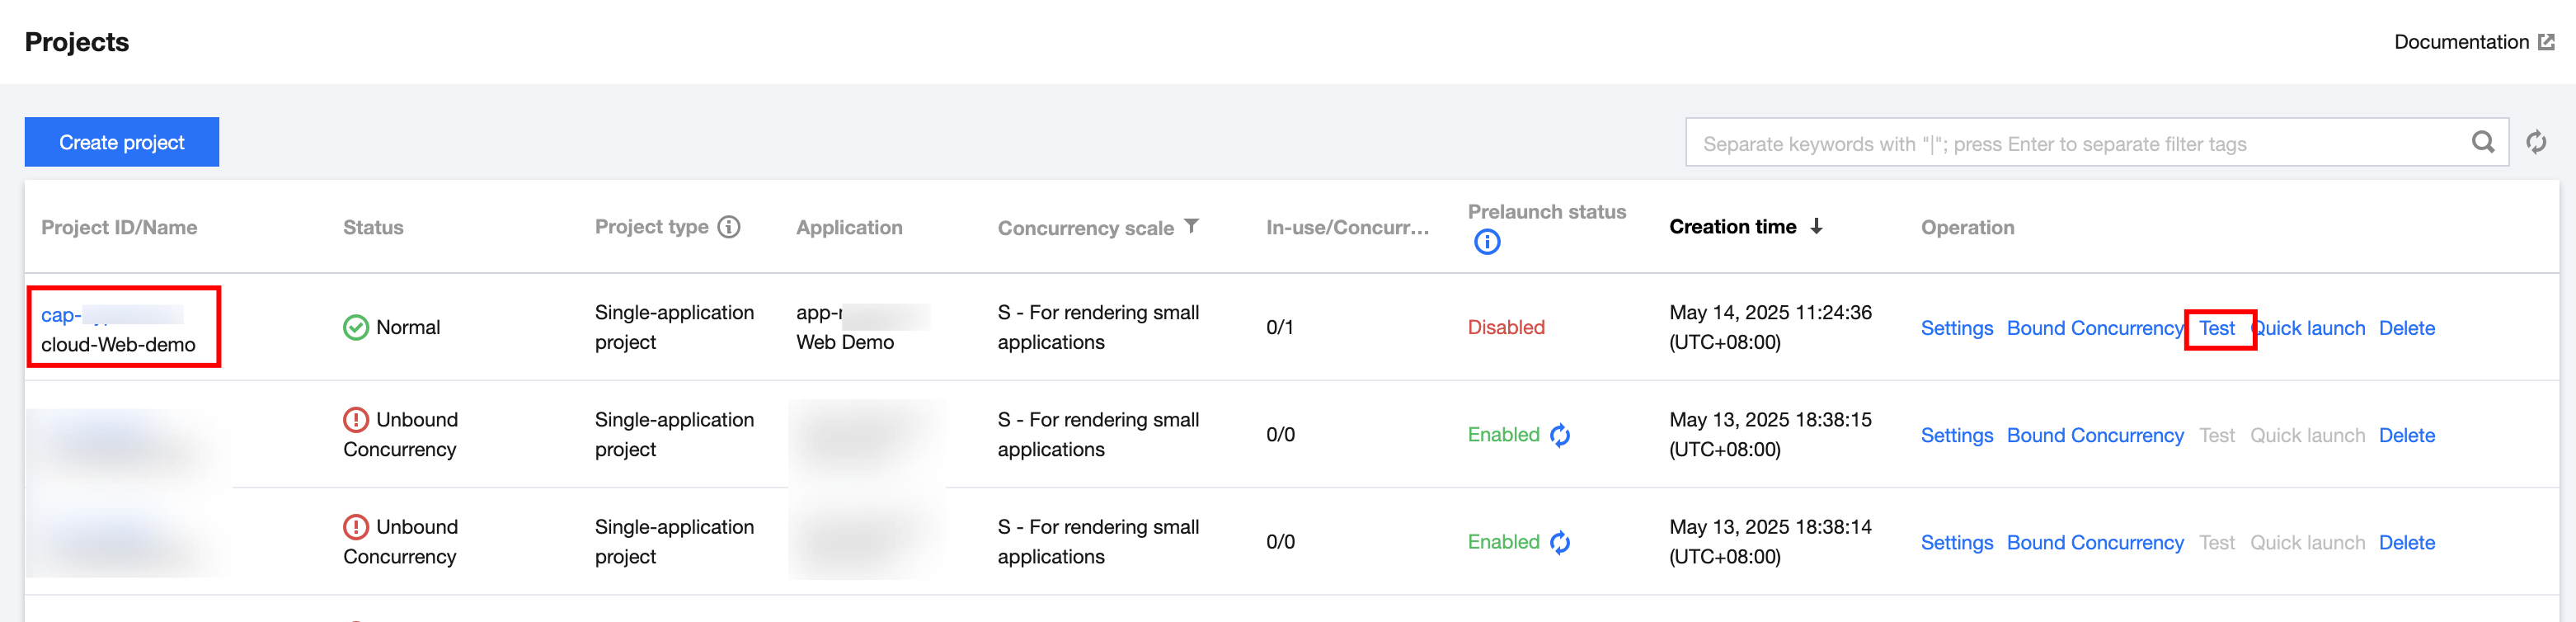
3. Select the project that has just been configured. Click Test at the operation position to perform the effect test. As shown below:
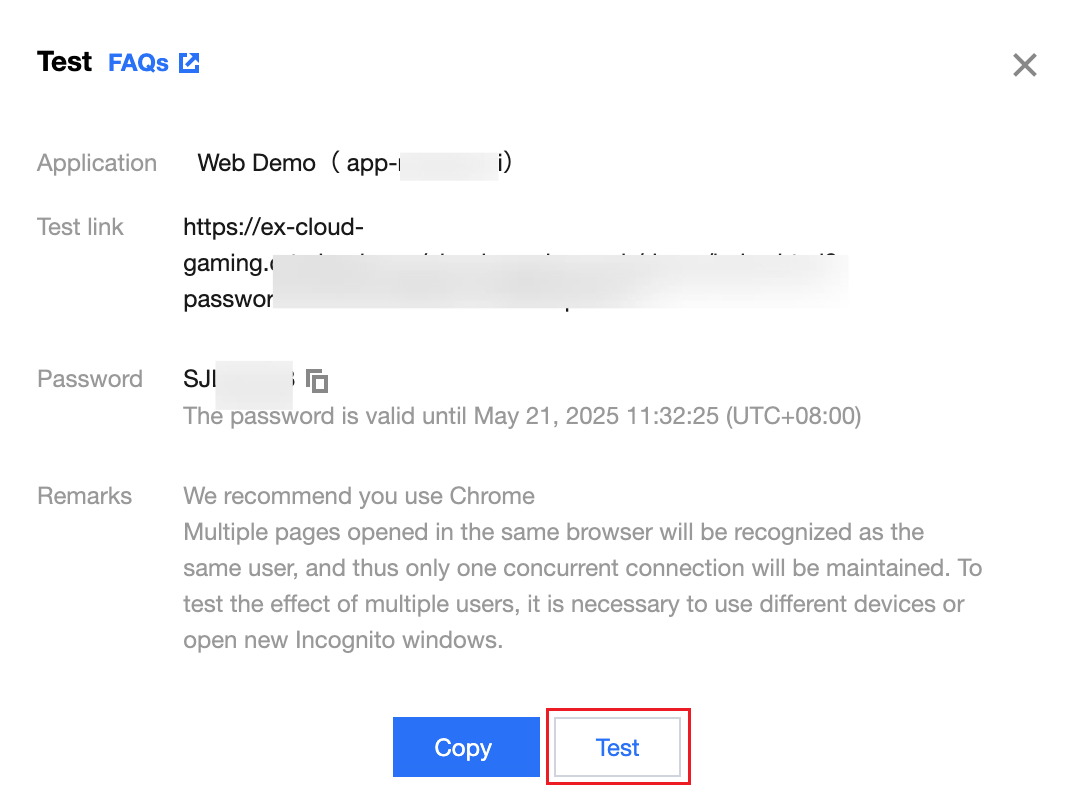
4. In the pop-up effect testing page, click Test. As shown below:
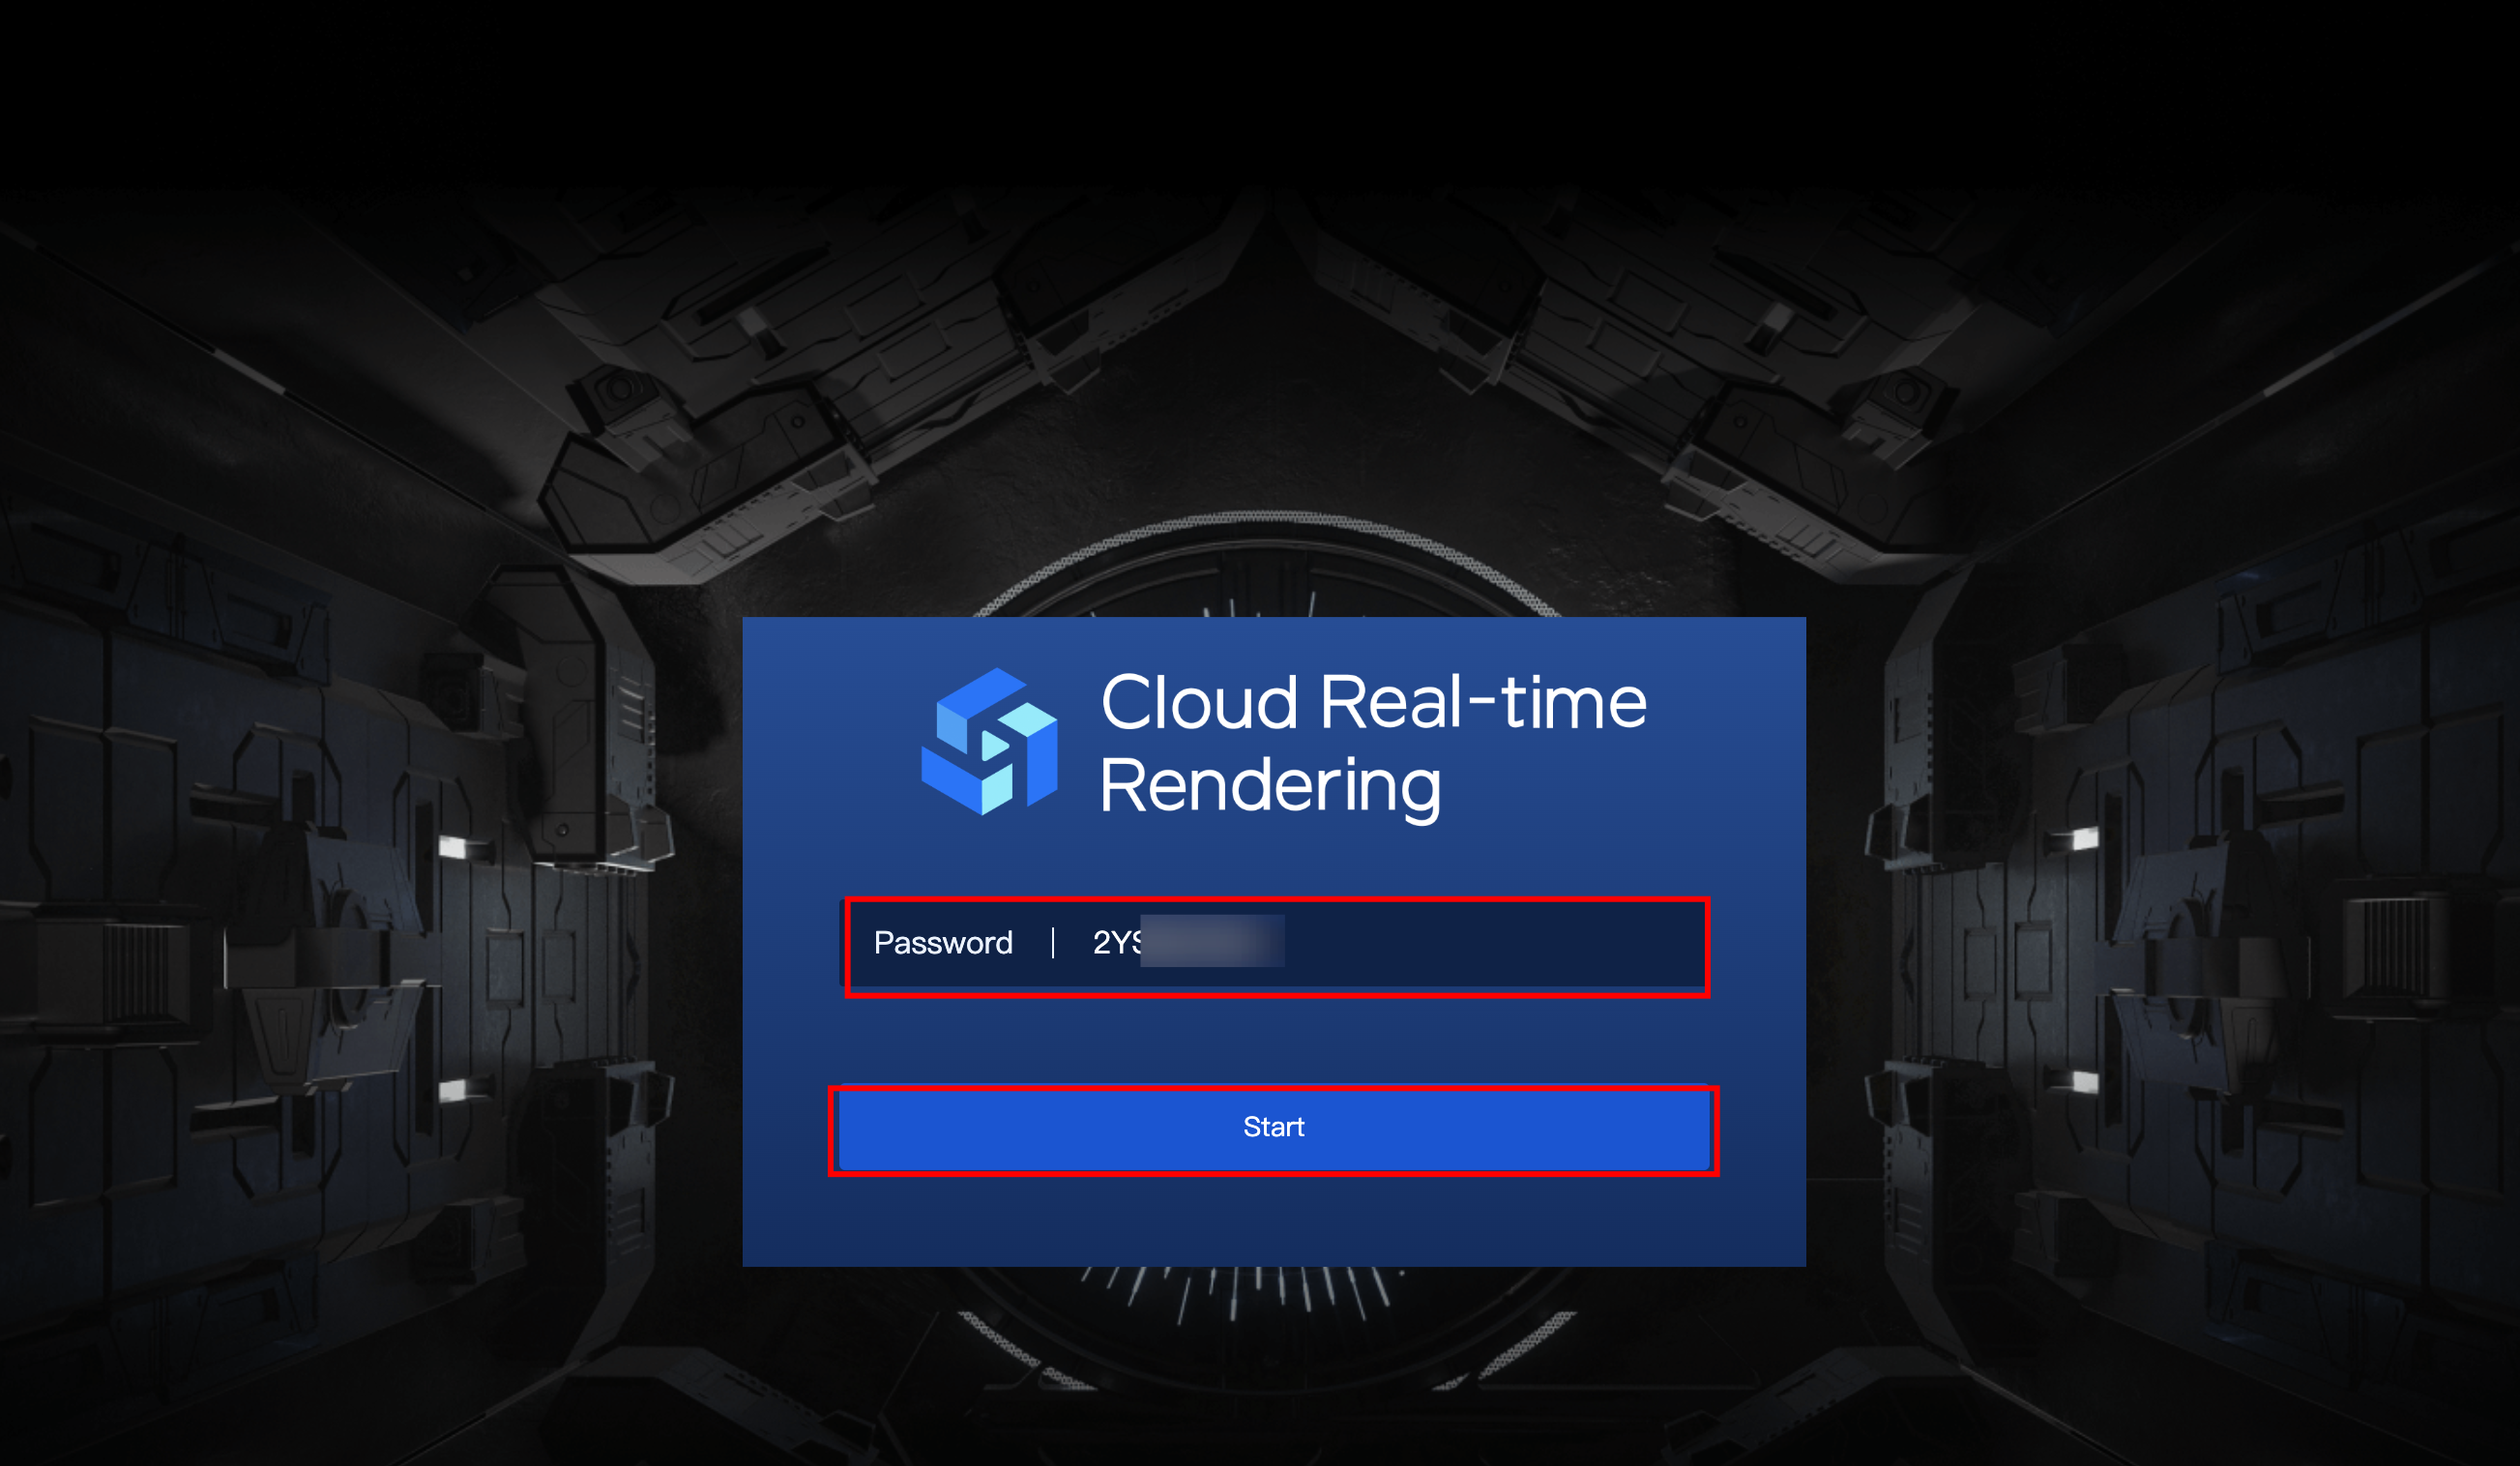
5. Enter the password on the browser tab in the new window and click Start.
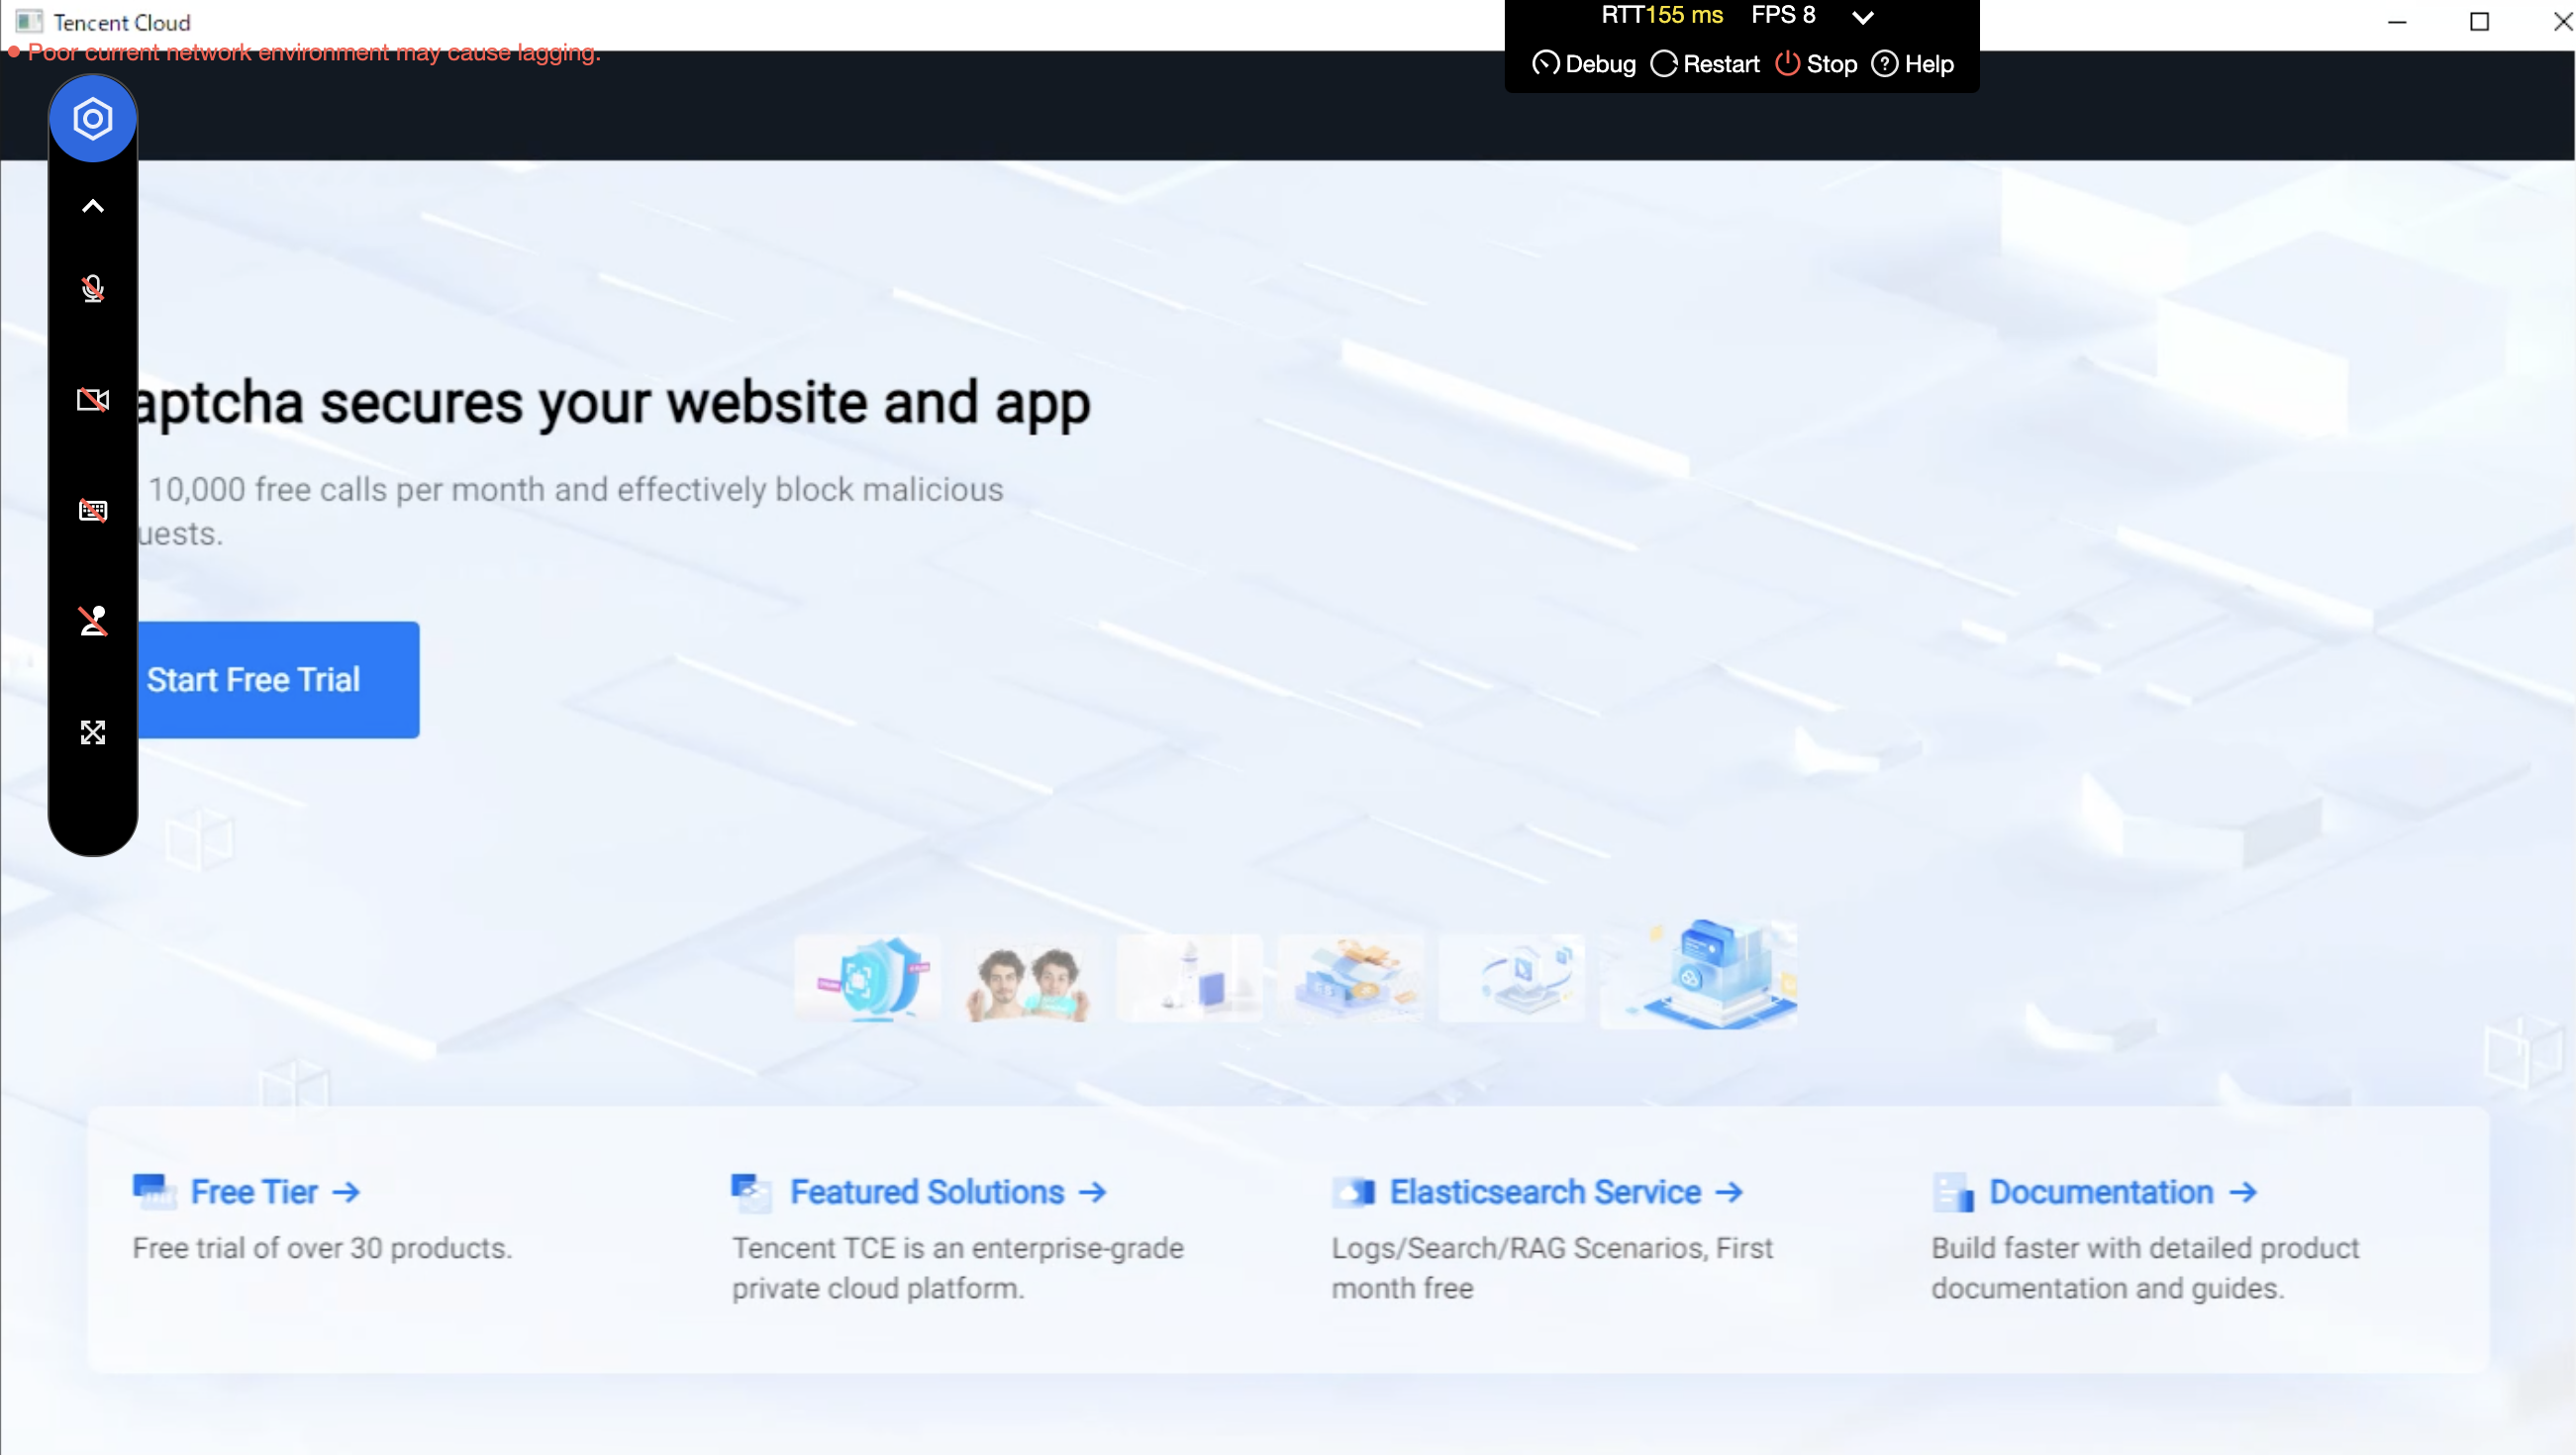
6. After the cloud browser is started, you can open the target web address with the cloud browser. The effect is shown in the figure below.