When you process data inflow and outflow tasks through the TDMQ for CKafka (CKafka) connector, basic data cleansing operations are often required, such as formatting raw data, parsing specific fields, and converting data formats. Developers often need to build their own extract, transform, and load (ETL) pipeline for data cleansing.
Logstash is a free, open-source, server-side data processing pipeline that can collect data from multiple data sources, transform it, and then send it to corresponding targets. Logstash boasts a rich set of filter plugins, making it a widely used and powerful data transformation tool.
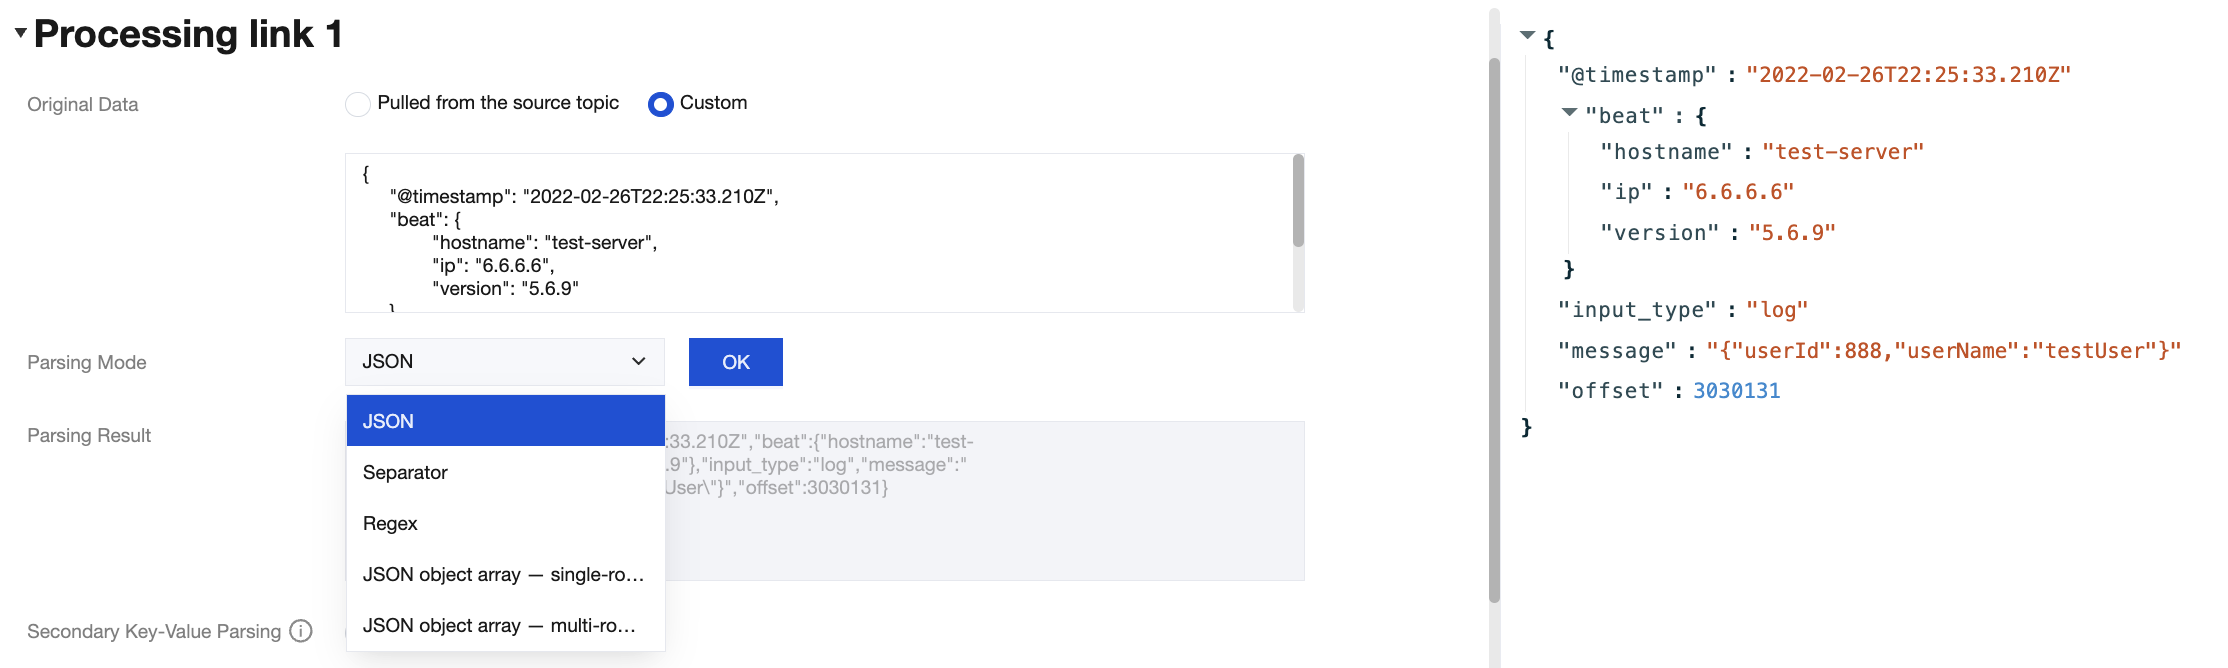
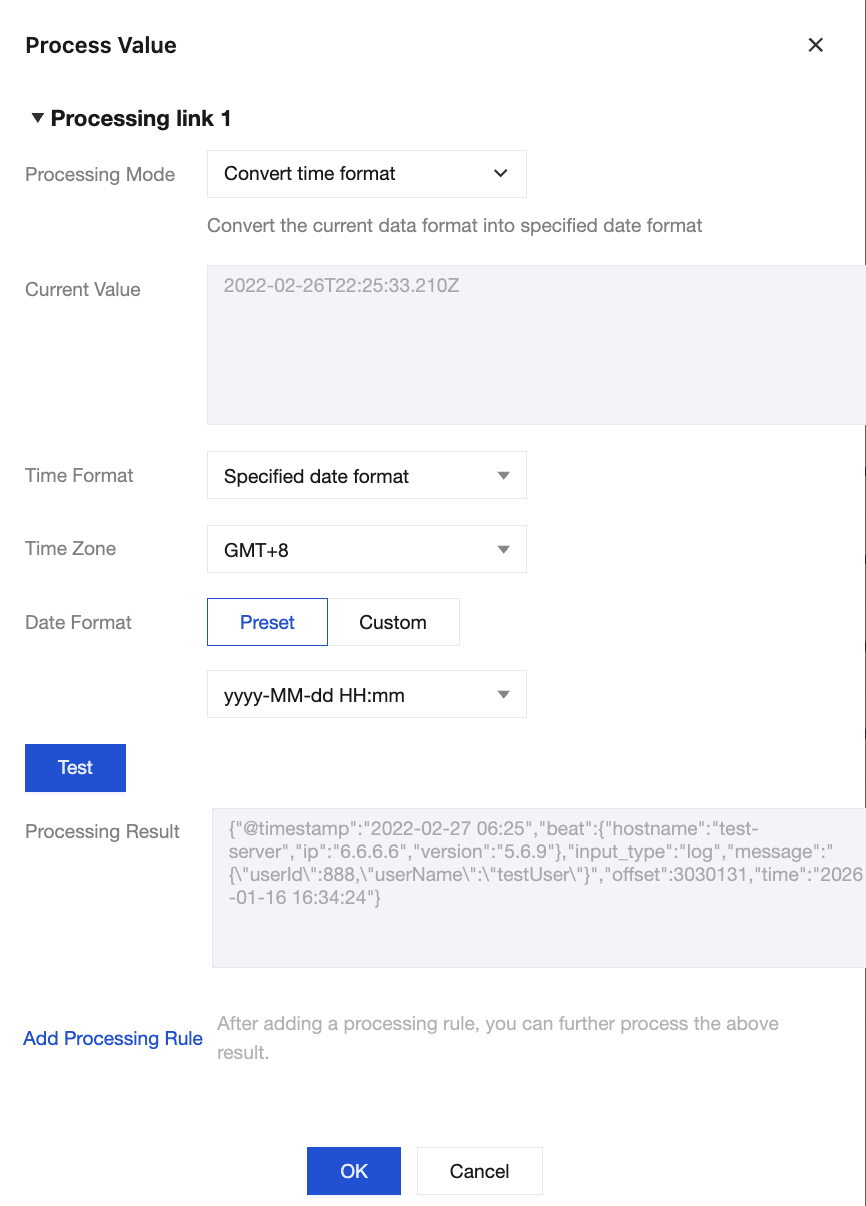
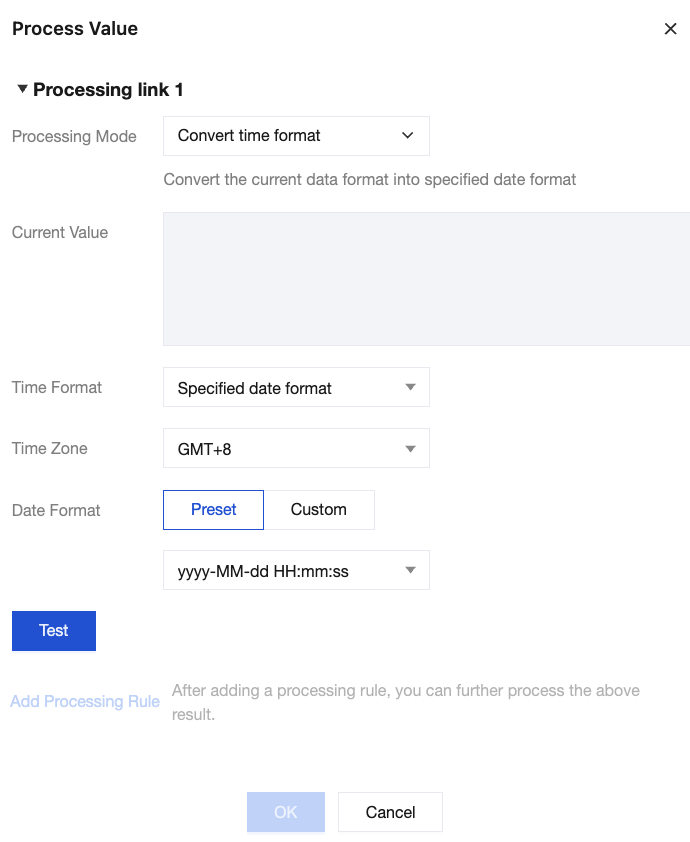
However, building, configuring, and maintaining your own Logstash service increases development and Ops complexity. To address this, CKafka provides a data processing service comparable to Logstash. Developers can create their own data processing tasks simply through the console interface. The data processing service allows users to edit corresponding data processing rules, supports building chain processing, and enables previewing data processing results. This helps users easily and efficiently build a data processing service to meet data cleansing and transformation needs.
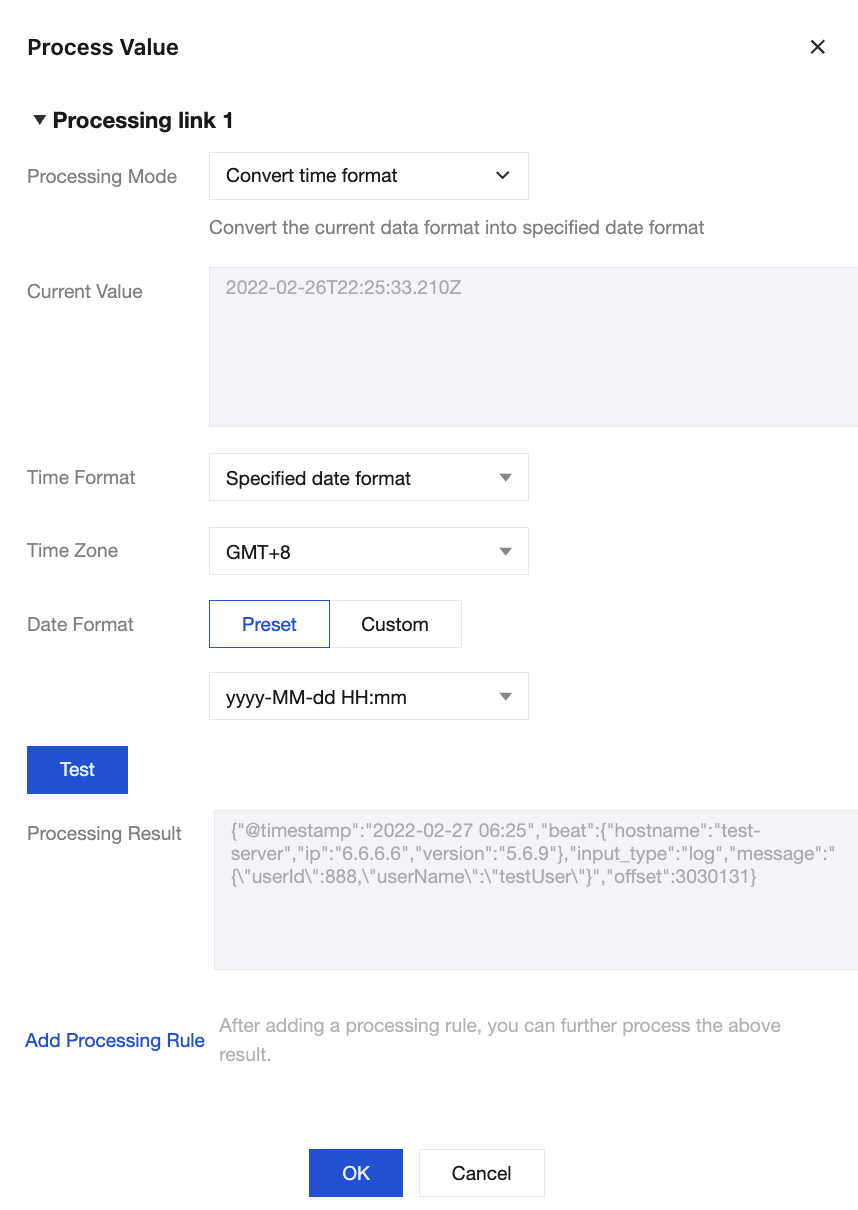
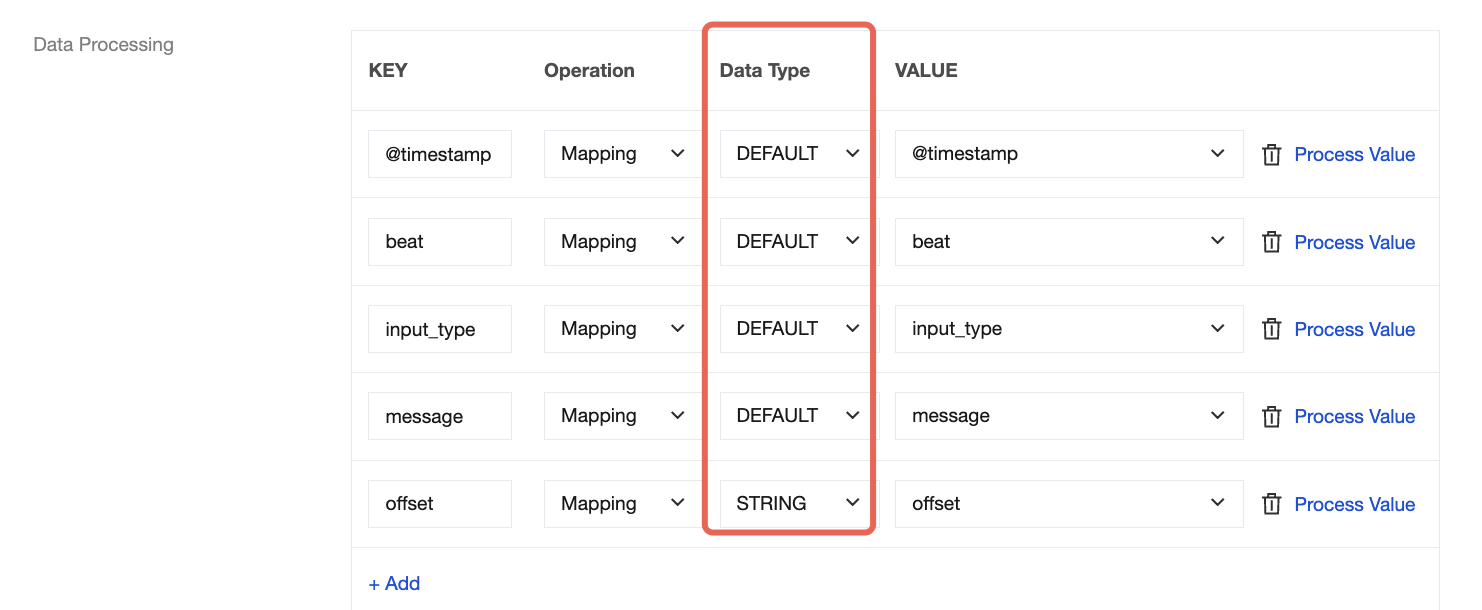
Method 2: Select the data type to change the data format of the corresponding field.
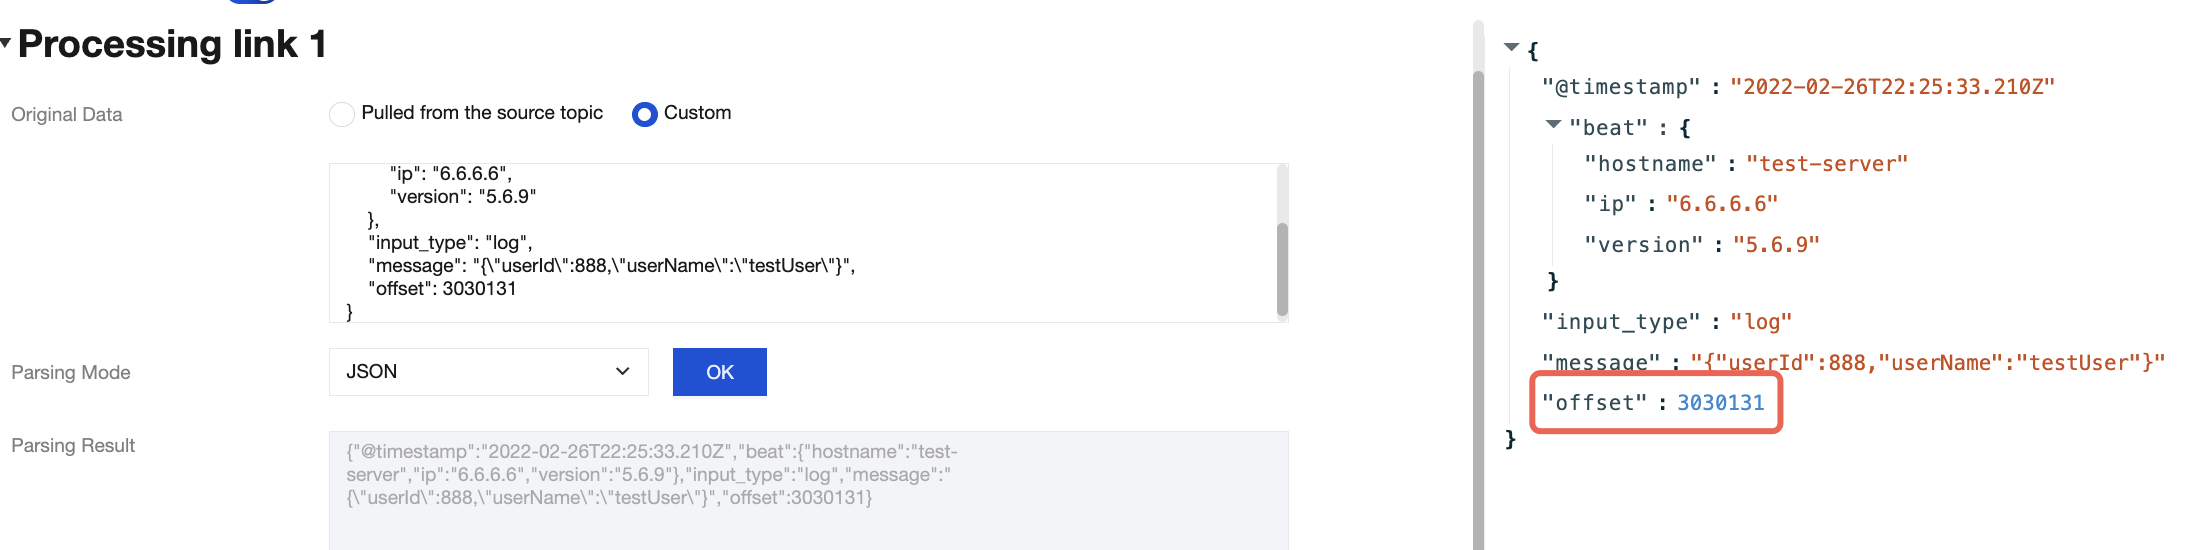
Before the change:
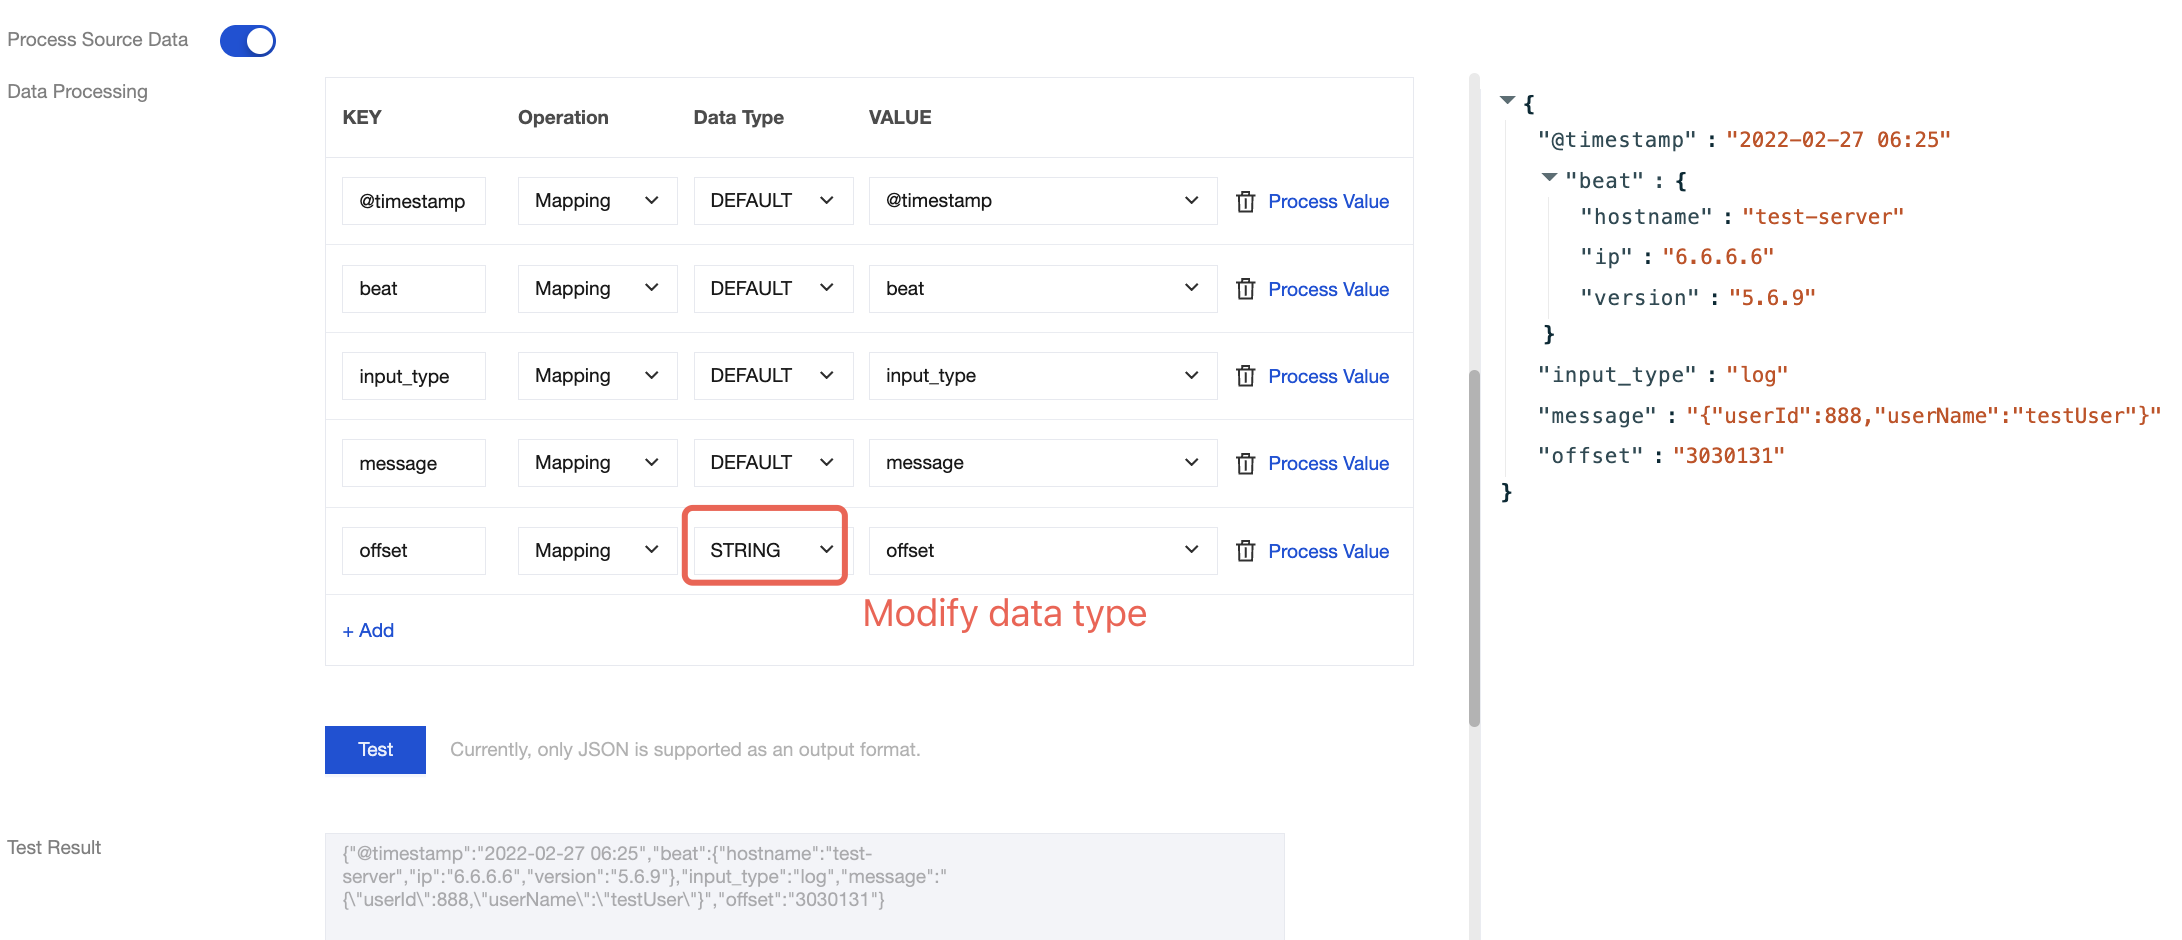
After the change:
Method 3: Implement the join concatenation feature using JSONPath syntax. For example, use the syntax $.concat($.data.Response.SubnetSet[0].VpcId, \\"#\\", $.data.Response.SubnetSet[0].SubnetId, \\"#\\", $.data.Response.SubnetSet[0].CidrBlock) to concatenate Virtual Private Cloud (VPC) and subnet properties, separated by the # character. For more information about JSONPath syntax, see JSONPath.
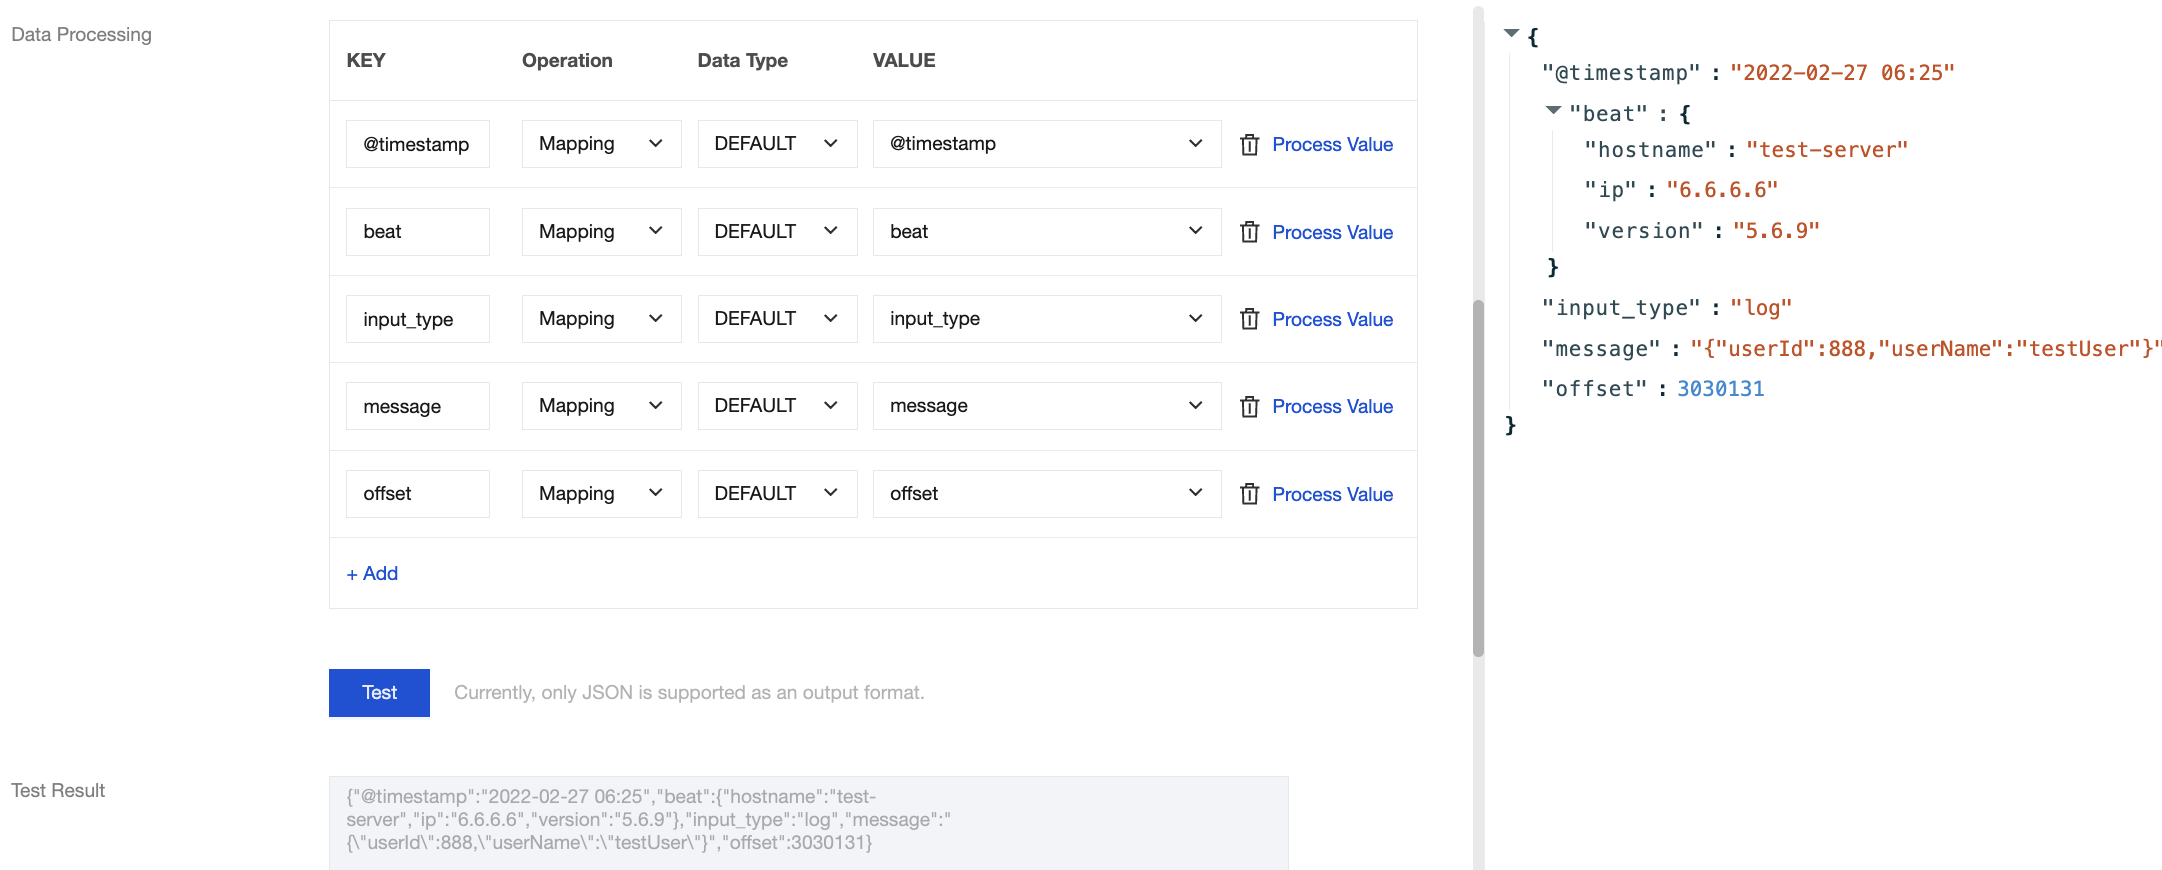
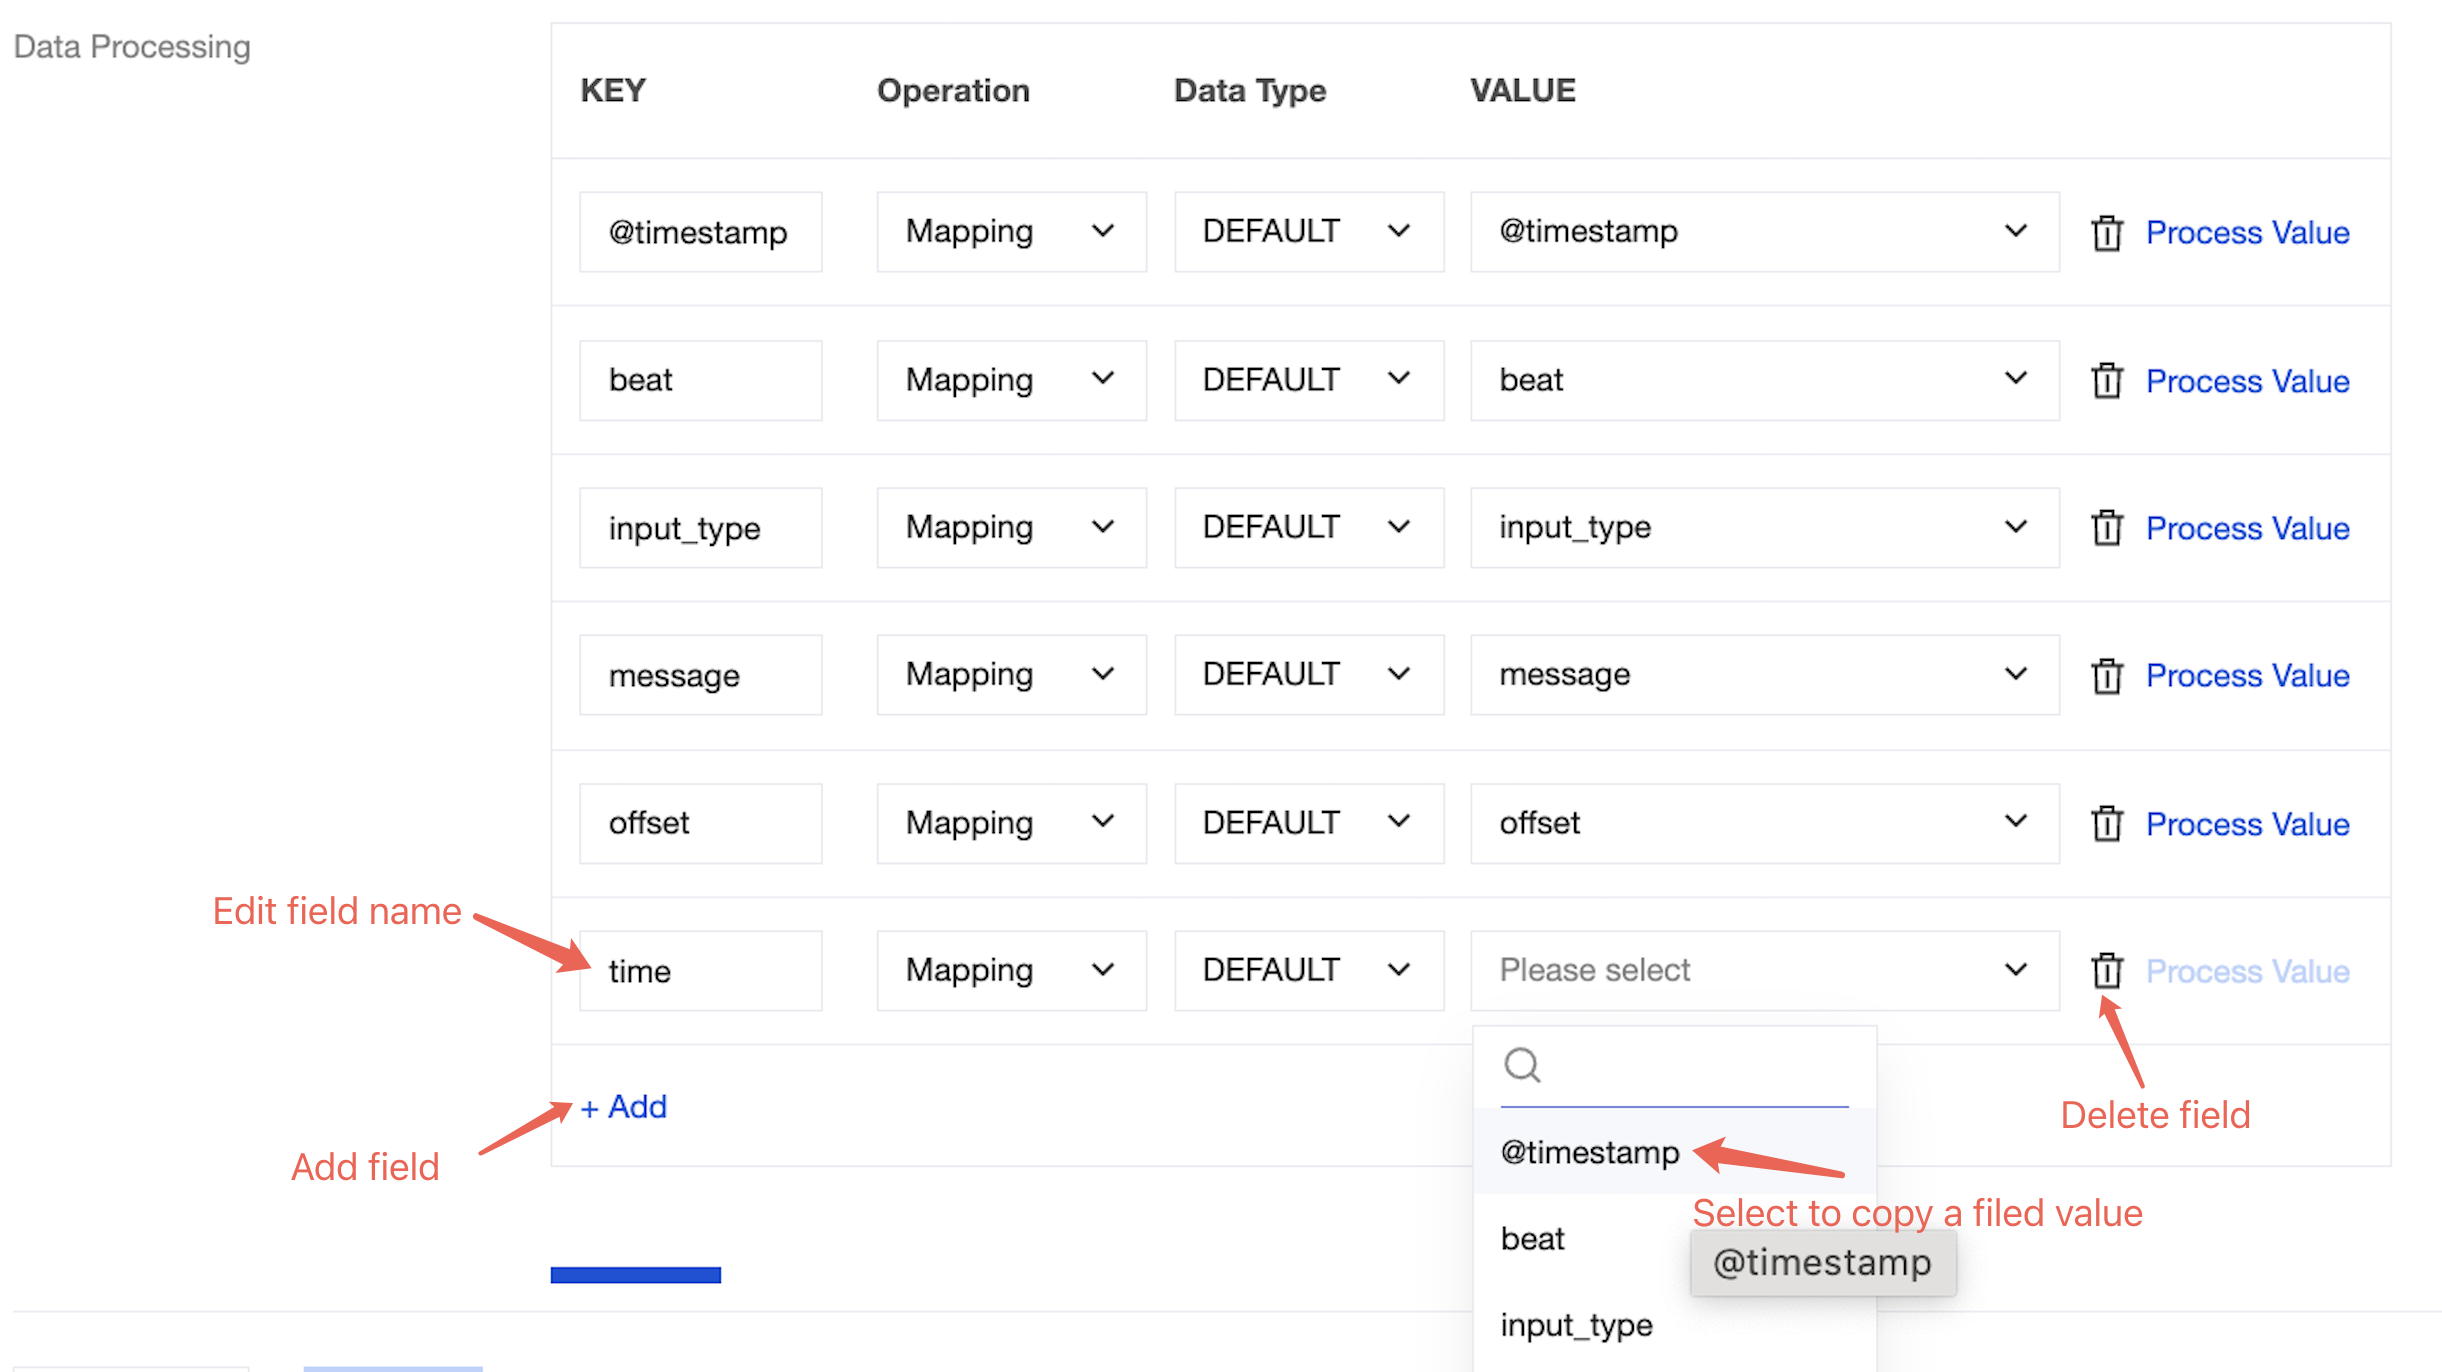
Field Modification
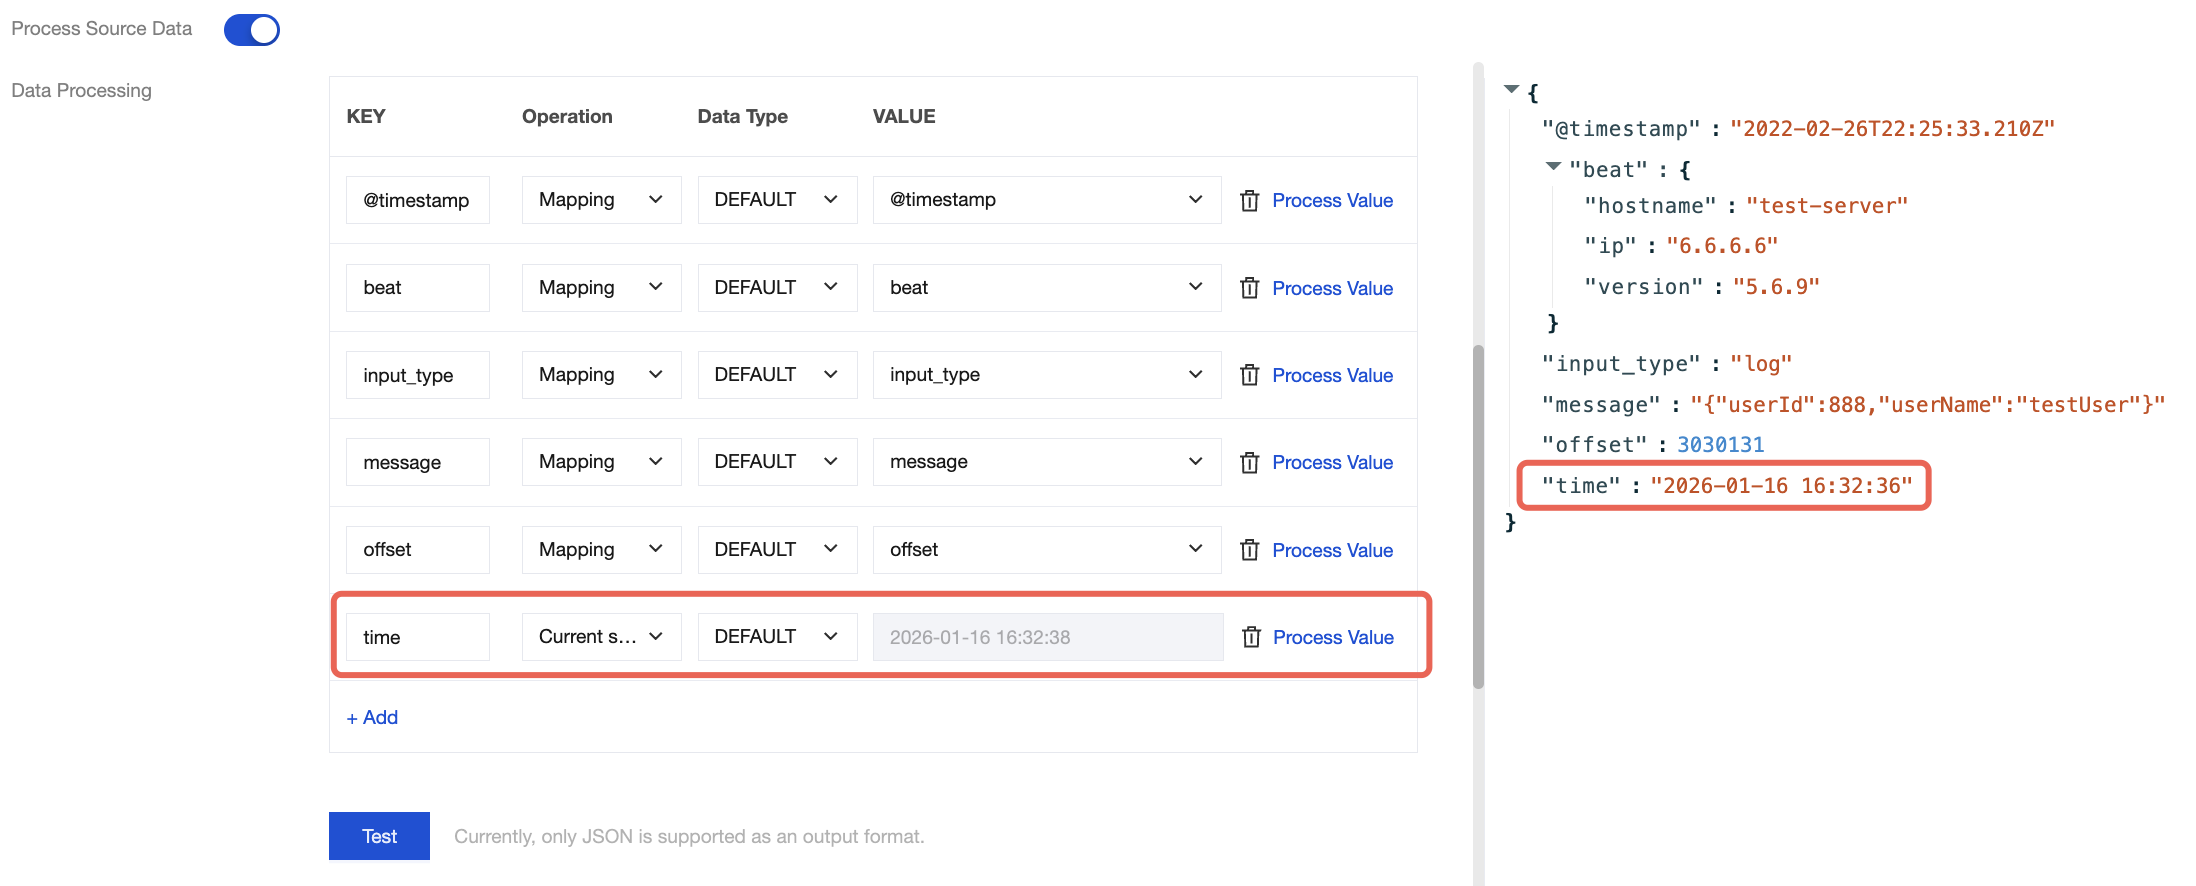
During data processing with the CKafka connector, you can use various methods to edit and modify the parsed data fields to obtain your desired data. For example:
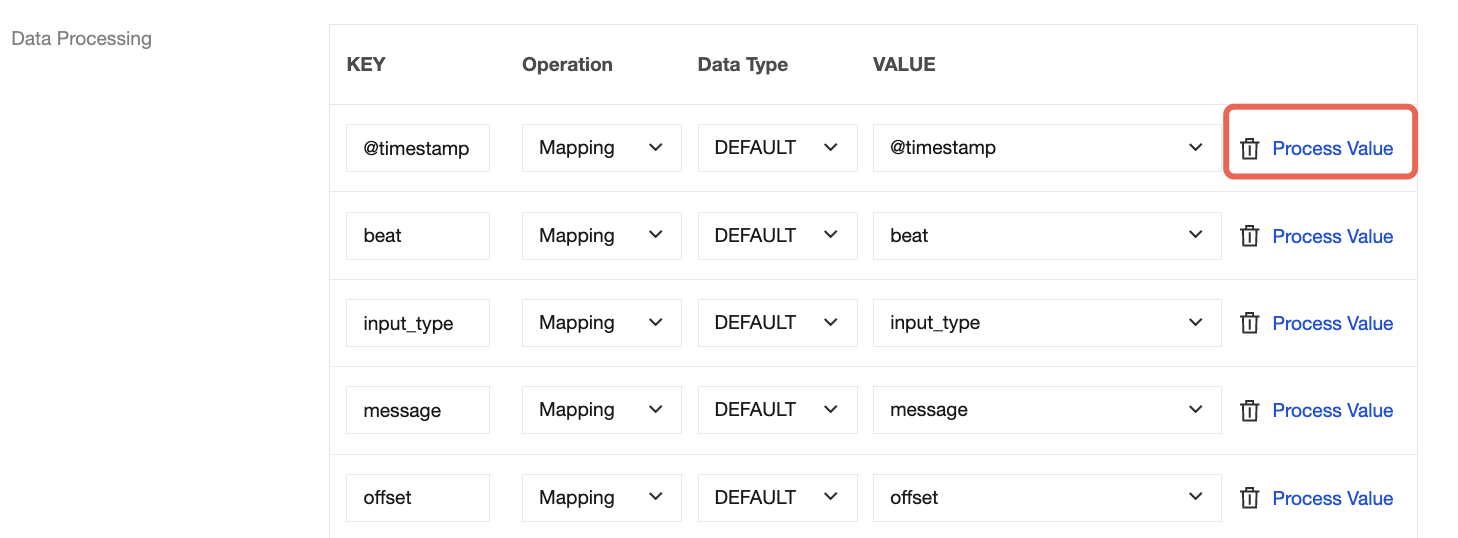
You can modify the field name in the KEY column.
You can choose to copy the value of a field in the VALUE column.