After the domain is connected to CSS, the system will automatically assign a CNAME domain for you (the CNAME suffix for the push domain is .tlivepush.com, and the CNAME suffix for the playback domain is .txlivecdn.com). which you can view in Domain Management. To make your domain accessible, you need to add a CNAME record at your DNS service provider. You can use CSS only after the configuration takes effect.
Notes
CNAME resolution is required for both playback and push domains.
For detailed directions on how to add a CNAME record, please consult your DNS service provider.
CNAME configuration generally takes effect in about 15 minutes. If you configure multiple levels of CNAMEs, CSS will be unable to track the resolution result. If your domain can be accessed, then the CNAME configuration is successful.
If CNAME configuration fails to take effect after a long time, refer to Domain Configuration to troubleshoot the issue.
Prerequisites
You have registered a domain.
You have verified the domain and added it in Domain Management of the CSS console. You haven’t added a CNAME record for the domain (the icon in the CNAME column is
).
Directions
This document explains how to set up CNAME DNS with non-Tencent Cloud providers. The method is for reference only, and if it doesn't match the actual configuration, follow the information from your DNS service provider. After setting up the CNAME for your domain name, you can verify whether the CNAME has been successfully configured for your domain name by using the method described in Verify Whether the CNAME is Effective .
Non-Tencent Cloud Configuration Method
The general steps for setting up CNAME DNS with non-Tencent Cloud providers are as follows:
1. Log in to your DNS service provider's management console.
2. Find the domain name management or DNS management feature and go to the DNS settings page for the domain name where you need to configure the CNAME.
3. Add a new DNS record. Select the record type as CNAME .
4. Set the host record, DNS route, record value, and other relevant parameters.
5. Save the DNS record.
When setting a CNAME record, usually the following parameters need to be considered:
Record type: Select CNAME .
Host record: Enter the subdomain name or domain name prefix. If the playback domain name is play.myqcloud.com , then add play ; if you need to directly resolve the primary domain name myqloud.com , then enter @ ; if you need to resolve a wildcard domain name, then enter \\* .
DNS route: It is recommended to select the " Default " type to adapt to different network environments.
Record value: (Enter the target domain name you want to point the subdomain name to) The CNAME value of the corresponding domain name on the domain name management page of the CSS console, formatted as domain.txlivecdn.com .
TTL: Set the DNS cache time. The smaller the value is, the faster the record changes take effect globally. Generally, you can use the default value or set a short time, such as 600 (10 minutes).
Note:
The above method is for reference only for non-Tencent Cloud providers. See the documentation and guidelines provided by your DNS service provider for the actual configuration.
Verifying CNAME Records
A new CNAME record generally takes effect within 30 minutes. The exact time needed varies with provider. You can check whether a record has taken effect using the following methods.
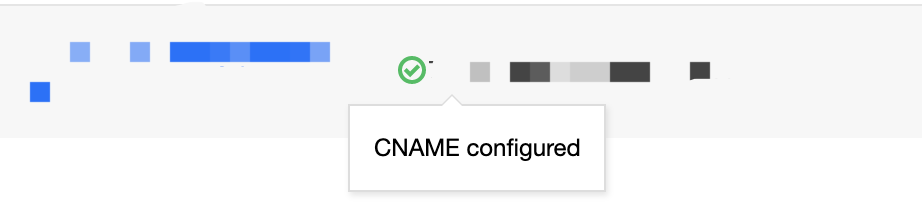
Method 1: Go to Domain Management of the CSS console. If the icon in the CNAME column is
, CNAME configuration is successful.
Method 2: When you add your domain in the CSS console, after completing the basic settings, in the CNAME configuration step, you can view the CNAME status of the domain.
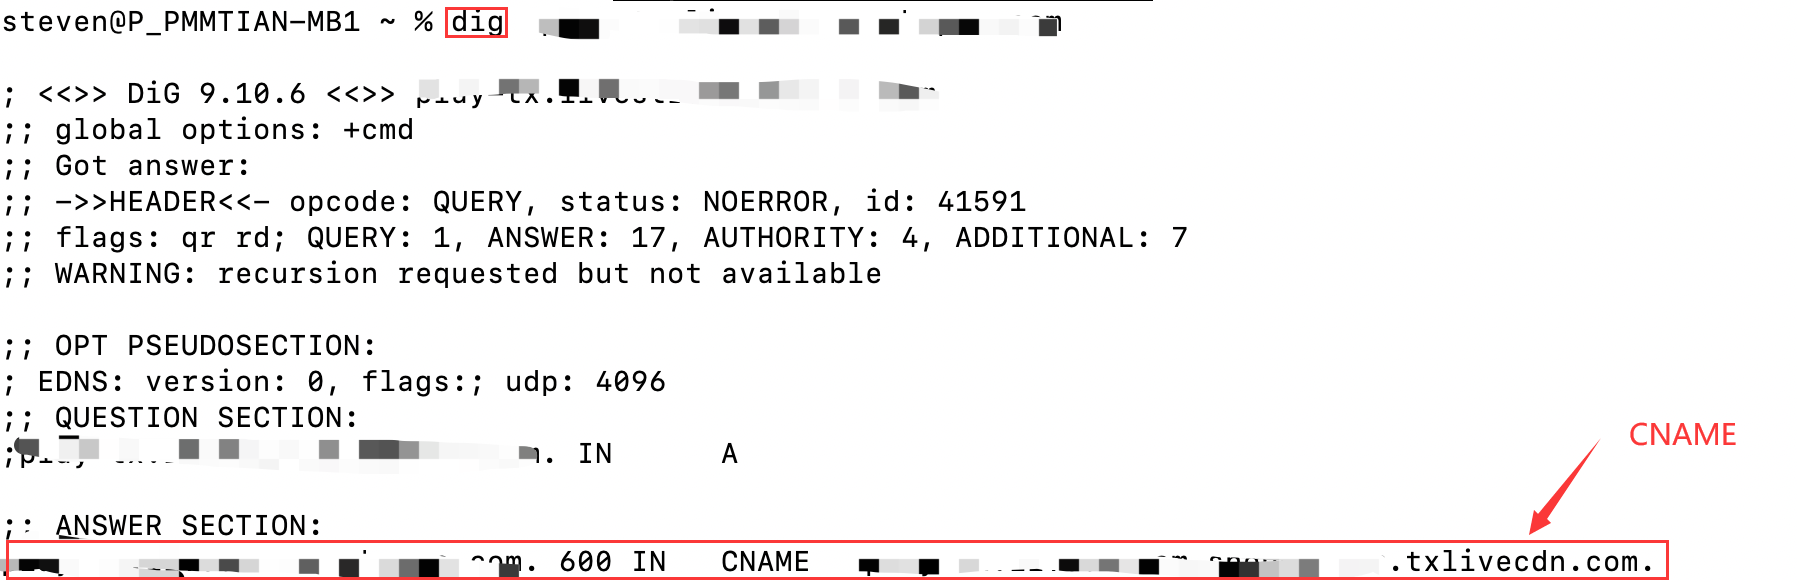
Method 3: On Linux/macOS, run the dig command ( dig your domain). If the first row displays the destination domain provided by CSS, CNAME configuration is successful.
Method 4: On Windows, open a Command Prompt window and enter nslookup your domain. If the destination domain name provided by CSS is displayed, CNAME configuration is successful.
Note:
If CNAME configuration fails to take effect after a long time, refer to Domain Configuration to troubleshoot the issue.