TUIKit Compose is an open-source UI component library built on the Chat SDK. It adopts a data-driven reactive architecture and is built with Jetpack Compose. It provides complete UI components for the conversation list, chat, contacts, search, groups, and more, with built-in theme switching and global configuration. This document describes how to quickly integrate TUIKit and implement its core features.
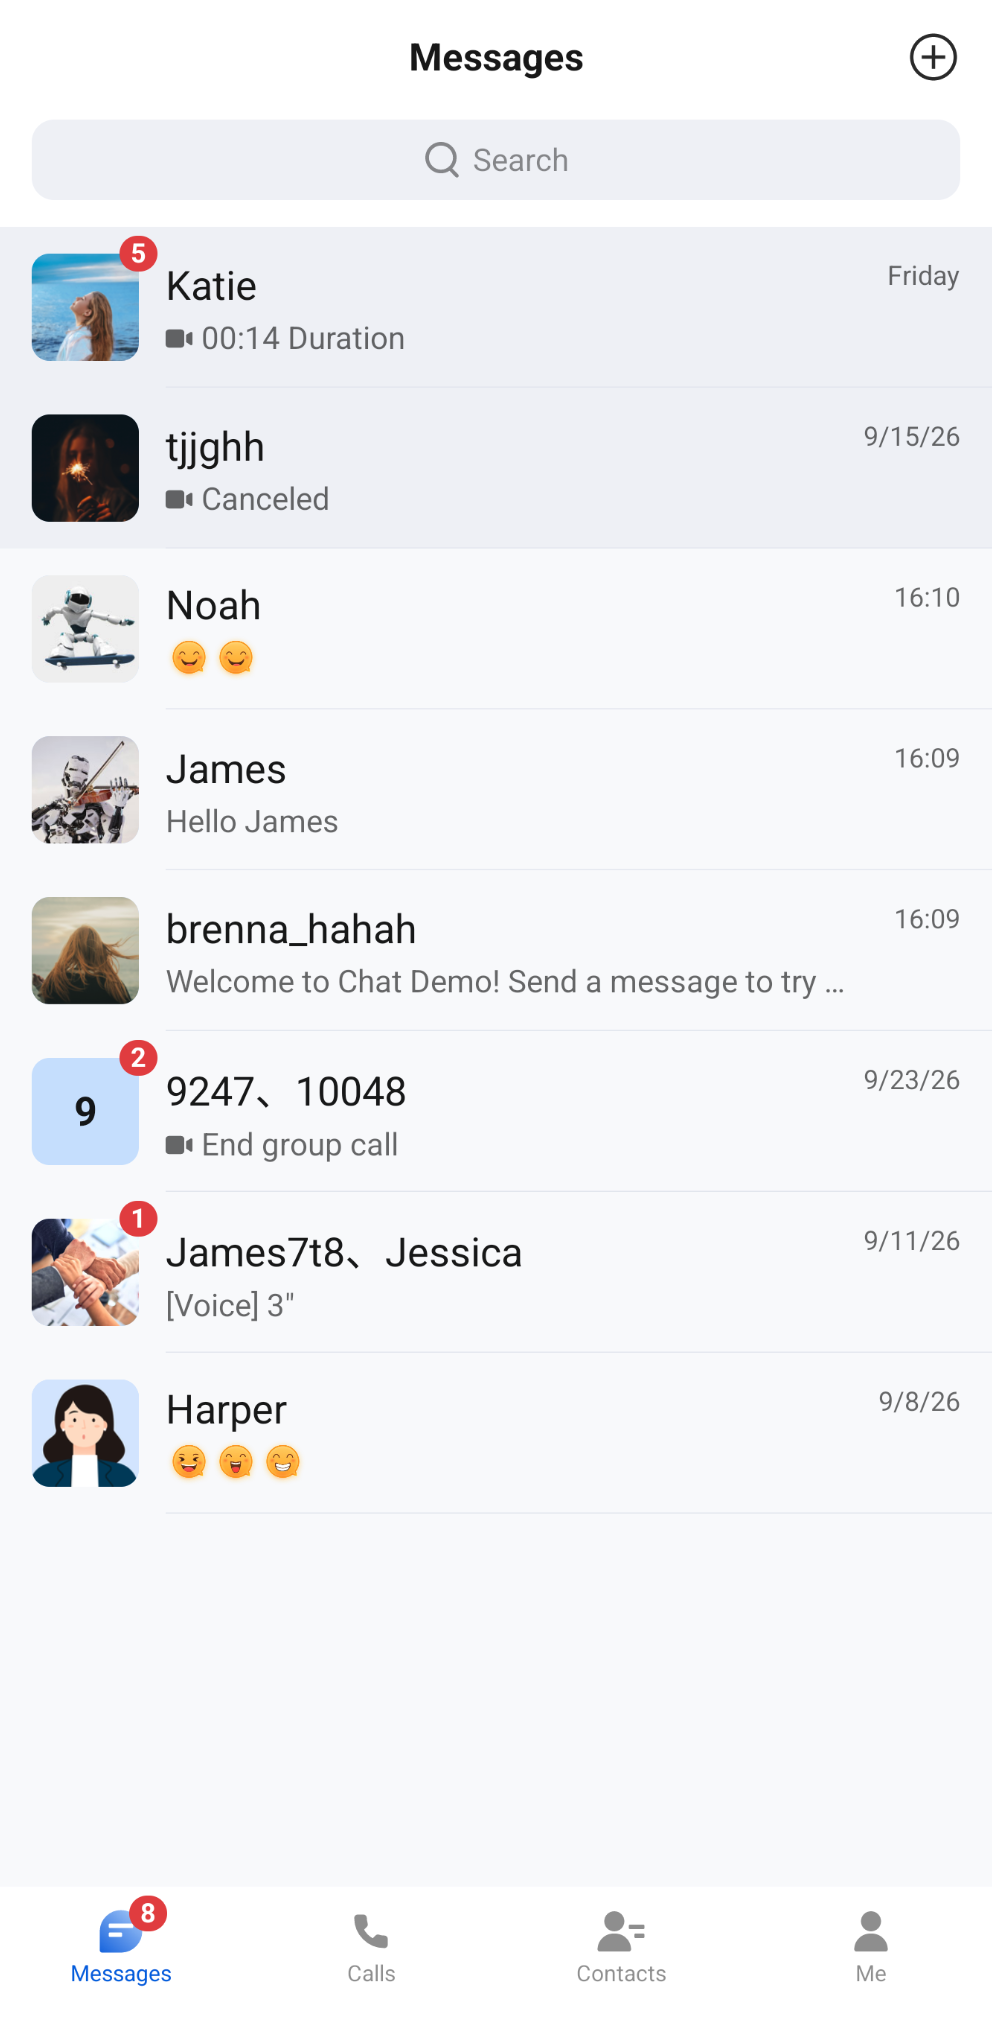
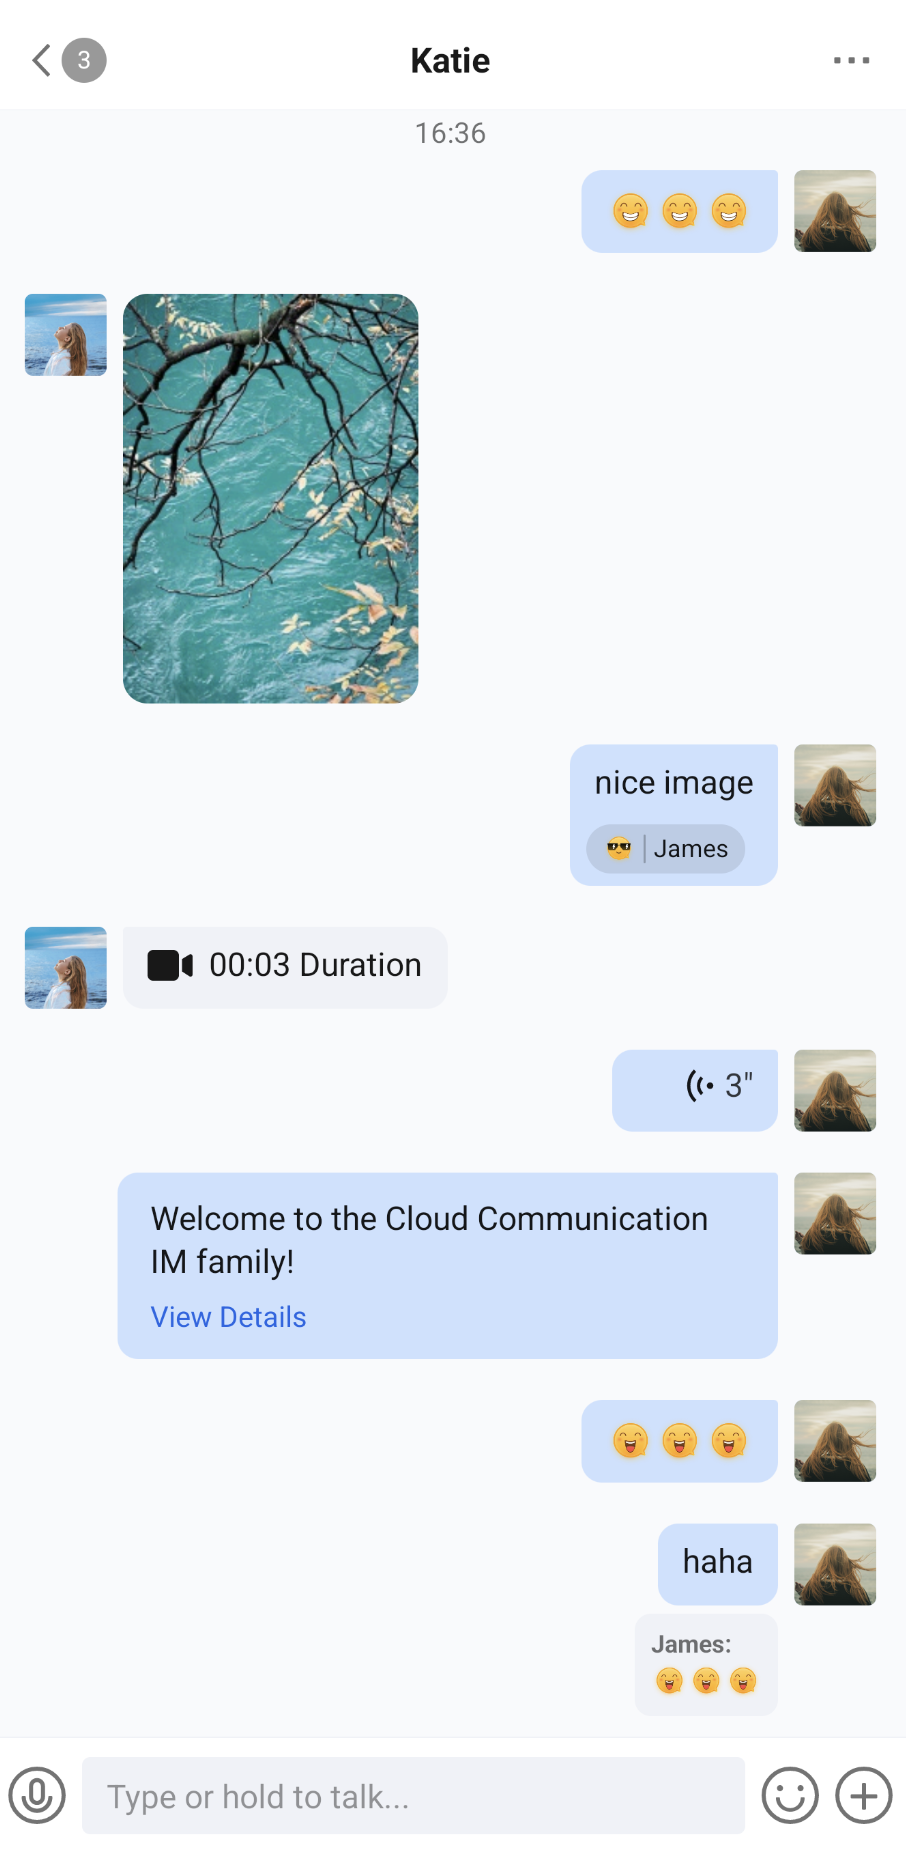
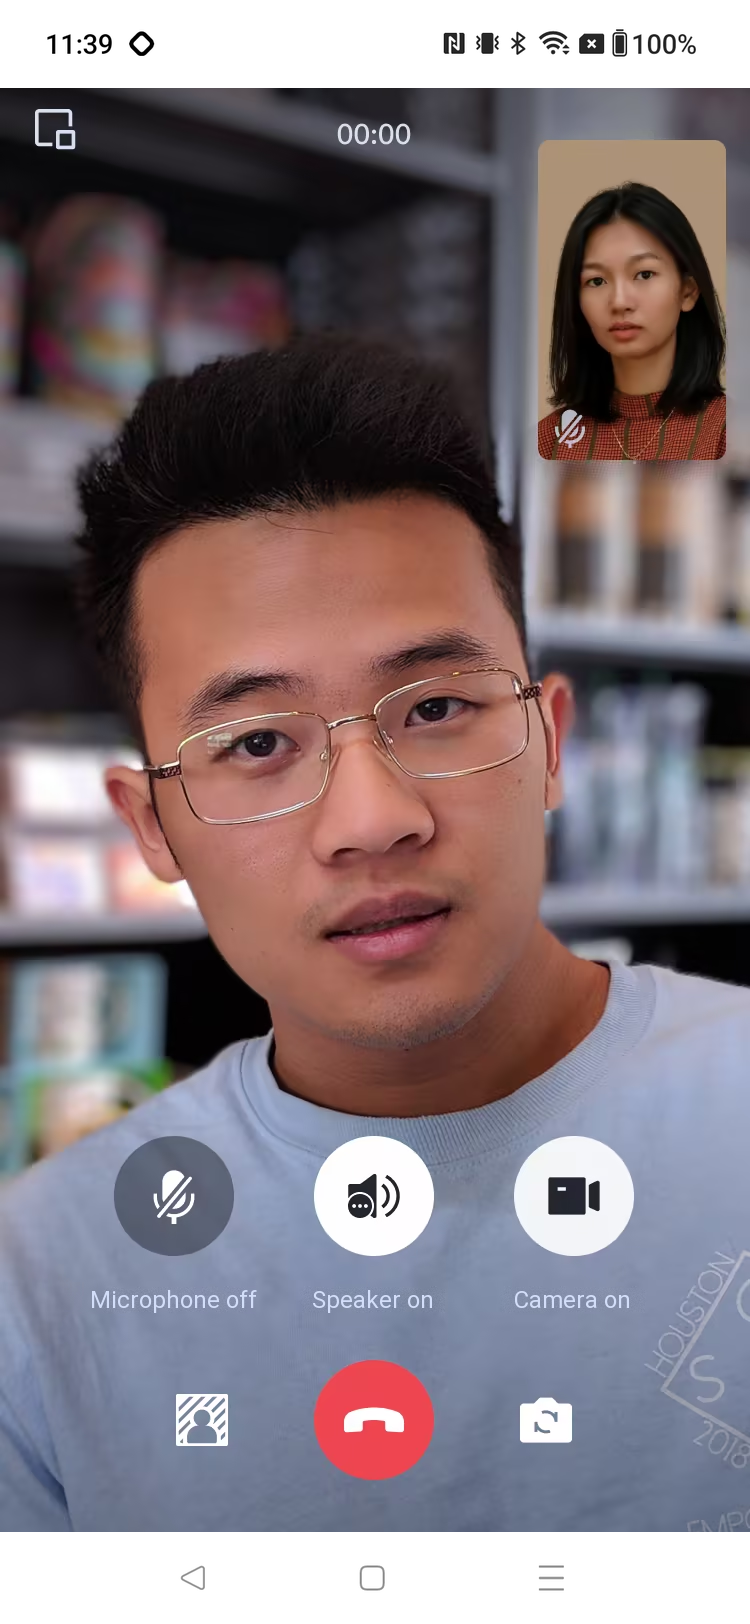
The TUIKit UI is shown below:
Conversation List
Chat
Audio/Video Call
Method 1: AI Integration
In your project root directory, run npx @tencent-rtc/trtc-agent-skills add --ide <your IDE> to install trtc-agent-skills in your local AI IDE (replace <your IDE> with cursor, codebuddy, claude, or codex, or use all to install for all of them) to assist with TUIKit integration. After installation, you can directly enter requests such as "Integrate Android Chat", "Add a custom message type", or "Switch between light and dark themes", and the AI will guide you through code integration, API calls, UI style changes, test data generation, and other steps based on your project type. For details, see Install Skills.
Method 2: Manual Integration
Environment Requirements
Android Studio Ladybug (2024.2.1) or later, and JDK 17.
A physical device or emulator running Android 6.0 (API 23) or later.
Your project must use Kotlin 2.0 or later and Android Gradle Plugin 8.6 or later (TUIKit is developed with Kotlin and Jetpack Compose).
minSdk >= 23, compileSdk >= 35.
A valid Tencent Cloud account and Chat application. See Enable Service to obtain the following information from the console:
SDKAppID: The ID of the Chat application obtained from the console. It is the unique identifier of the application.
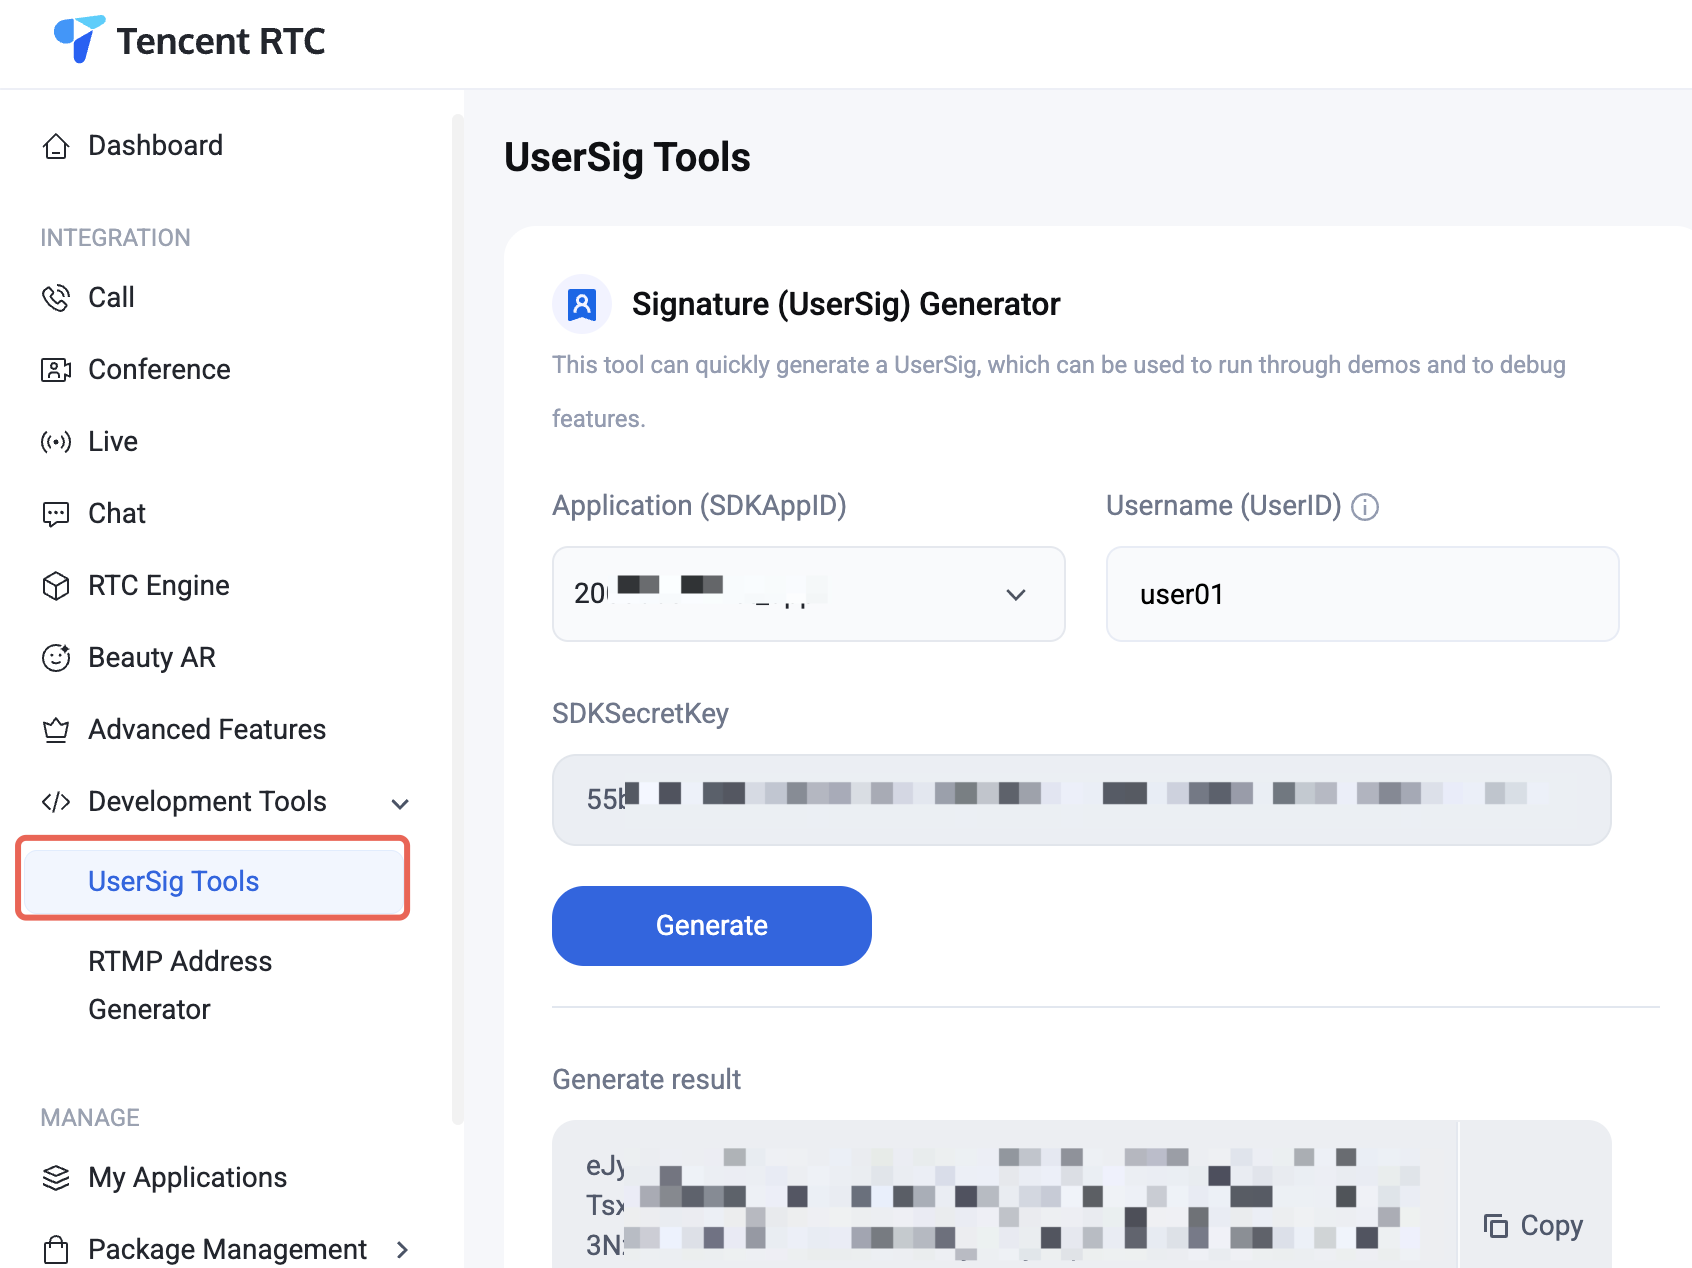
SDKSecretKey: The application secret key.
Version Compatibility:
To ensure a stable build environment, strictly follow the official compatibility requirements:
For compatibility between Gradle, Android Gradle Plugin, JDK, and Android Studio, see the official Android documentation: Version Notes.
For the version mapping between Kotlin, Android Gradle Plugin, and Gradle, see the official Kotlin documentation: Kotlin-Gradle Plugin Compatibility.
We recommend selecting a version combination that exactly matches your project requirements based on the guidelines above.
Integrate and Import Components
Note:
Demo: The GitHub full Demo is ready to use out of the box. Run the full-featured chat + audio/video call Demo in 5 minutes.
Copy the chat, call, and atomic_x folders from the repository root directory to your project root directory. The directory structure after copying is as follows:
TUIKit_Android_Compose is an open-source repository that contains multiple products. The Chat Compose UI source code is located in the chat/ directory (chat/uikit is the Compose UIKit component library, and chat/demo is the demo project). The basic component atomic_x and the audio/video call component call/tuicallkit-kt that it depends on are located in the repository root directory. You can place the module directories anywhere in your project, as long as you set the correct relative paths in settings.gradle.kts.
Integrate Components
1. Include the corresponding modules in settings.gradle.kts (adjust the relative paths based on where you actually store the source code):
2. Declare the Compose Compiler and Kotlin Serialization plugins in the build.gradle.kts file in your project root directory (the uikit module depends on these two plugins; skip any plugin that is already declared). The plugin versions must match the Kotlin version used by your project:
Kotlin DSL
Groovy DSL
// build.gradle.kts (project root directory)
plugins {
id("org.jetbrains.kotlin.plugin.compose") version "2.0.21" apply false
id("org.jetbrains.kotlin.plugin.serialization") version "2.0.21" apply false
}
// build.gradle (project root directory)
plugins {
id 'org.jetbrains.kotlin.plugin.compose' version '2.0.21' apply false
id 'org.jetbrains.kotlin.plugin.serialization' version '2.0.21' apply false
}
3. Enable Jetpack Compose and add dependencies in the build.gradle.kts file of the app module:
Kotlin DSL
Groovy DSL
// app/build.gradle.kts
plugins {
id("com.android.application")
id("org.jetbrains.kotlin.android")
id("org.jetbrains.kotlin.plugin.compose")
}
android {
compileSdk =35// >= 35
defaultConfig {
minSdk =23// >= 23
}
buildFeatures {
compose =true
}
}
dependencies {
implementation(project(":atomic_x"))
implementation(project(":uikit"))
implementation(project(":tuicallkit-kt"))
// Used to host ChatPage in an Activity via setContent
You must complete login authentication before you can use the component features. Call the login API of LoginStore and pass in the sdkAppID, userID, and userSig obtained above for login authentication. After a successful login, initialize TUICallEngine (used for audio/video calls):
userSig,// String, generated in the console or on your server
object: CompletionHandler {
overridefunonSuccess(){
// Login succeeded
TUICallEngine.createInstance(context).init(
sdkAppID, userID, userSig,
object: TUICommonDefine.Callback{
overridefunonSuccess(){
// Initialization succeeded. Audio/video calls are available
}
overridefunonError(errCode: Int, errMsg: String){
// Initialization failed
}
}
)
}
overridefunonFailure(code: Int, desc: String){
// Login failed. You can display an error dialog
}
}
)
Note:
In a production environment, we recommend generating UserSig on your server. When needed, your app requests a dynamic UserSig from your business server for authentication. For details, see Generating UserSig on the Server.
Step 3: Build the Chat UI
The chat UI uses the composable ChatPage to display, send, and receive messages. You only need to pass in conversationID. The format of conversationID is c2c_<peer UserID> for a one-to-one chat and group_<GroupID> for a group chat. The following example hosts ChatPage in an Activity via setContent. The Activity must be registered in AndroidManifest.xml:
import android.content.Context
import android.content.Intent
import android.os.Bundle
import androidx.activity.compose.setContent
import androidx.appcompat.app.AppCompatActivity
import io.trtc.tuikit.chat.uikit.pages.ChatPage
class ChatActivity :AppCompatActivity(){
overridefunonCreate(savedInstanceState: Bundle?){
super.onCreate(savedInstanceState)
// conversationID format: "c2c_<peer UserID>" for a one-to-one chat, "group_<GroupID>" for a group chat
val conversationID = intent.getStringExtra("conversationID")?:return
setContent {
ChatPage(
conversationID = conversationID,
onUserClick ={ userID ->/* Click the avatar of the message sender */},
onChatHeaderClick ={/* Click the avatar in the title bar */},
The demo project provides ChatActivity, a chat page encapsulated based on ChatPage (with a title bar, unread badge, group event handling, and more). You can reuse it directly or customize it based on its implementation: ChatActivity.start(context, conversationID).
Step 4: Audio/Video Calls
Initialize TUICallEngineafter a successful login as described in Step 2, and you can then use audio/video calls in TUIKit components.
If the audio/video call service is not activated, clicking the call button in TUIKit components displays an error message. Other TUIKit features are not affected.
intSDKAppID=0;// The ID of the application for which Desk is activated
String userID ="";
String userSig ="";
// The above three parameters can be the same as those you use to log in to Tencent Cloud Chat, or you can use a different application and user
// User nickname. After it is set, human agents can see it in the workbench when the customer is transferred to a human agent. You can include information such as the user's phone number and source in the nickname. The length limit is 500 bytes
// Notice! After it is set, the nickname of the same userID in Chat is also updated
// If you do not want it to change, set it to "" or null
String nickName ="";
// User avatar. After it is set, human agents can see it in the workbench when the customer is transferred to a human agent
// Notice! After it is set, the avatar of the same userID in Chat is also updated
// If you do not want it to change, set it to "" or null
When integrating the Chat SDK, you can use the AI assistant through MCP to quickly complete knowledge Q&A, error troubleshooting, and UIKit integration code generation. It supports platforms such as Web, Android, iOS, Flutter, and uni-app, with answers based on official documentation. It is suitable for querying SDK APIs, UI component usage, server APIs, and Chat product configurations. Try it now and ask your first question.
FAQs
About Audio and Video Calls
How long is the default timeout for a call invitation?
The default timeout for a call invitation is 30 seconds.
If the invitee goes offline and comes back online within the invitation timeout period, can they receive the invitation immediately?
For a one-to-one call invitation, the invitee can receive the call invitation after going offline and coming back online, and TUIKit automatically brings up the call invitation UI.
For a group call invitation, after the invitee goes offline and comes back online, invitations from the last 30 seconds are automatically pulled, and TUIKit automatically brings up the group call UI.
How do I remove the audio/video call feature?
If you do not need the audio/video call feature, remove the tuicallkit-kt dependency from settings.gradle.kts (or settings.gradle) and the build.gradle.kts (or build.gradle) file of the app module, delete the code that initializes TUICallEngine in Step 2, and disable the audio/video call switches in Step 3: Build the Chat UI, as shown below:
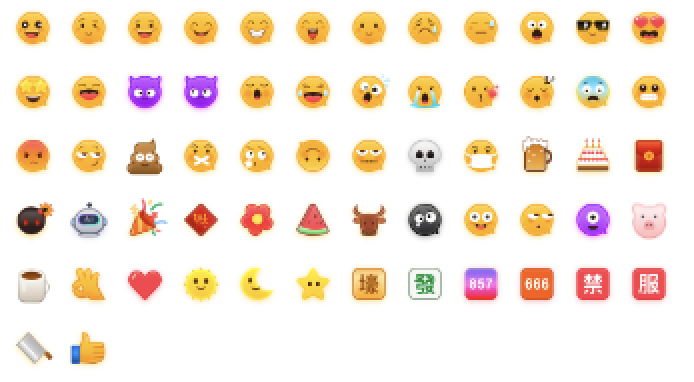
To respect copyrights, the Chat Demo/TUIKit project does not include large emoji image assets by default. Before commercial release, replace them with emoji packs designed by you or otherwise licensed to you. The default smiley emoji pack shown below is copyrighted by Tencent Cloud and can be licensed for a fee. To obtain a license, you can upgrade to Chat Pro Plus or Enterprise Edition to use the emoji pack for free.
Contact Us
If you have any questions or suggestions during integration or usage, contact us to submit feedback.