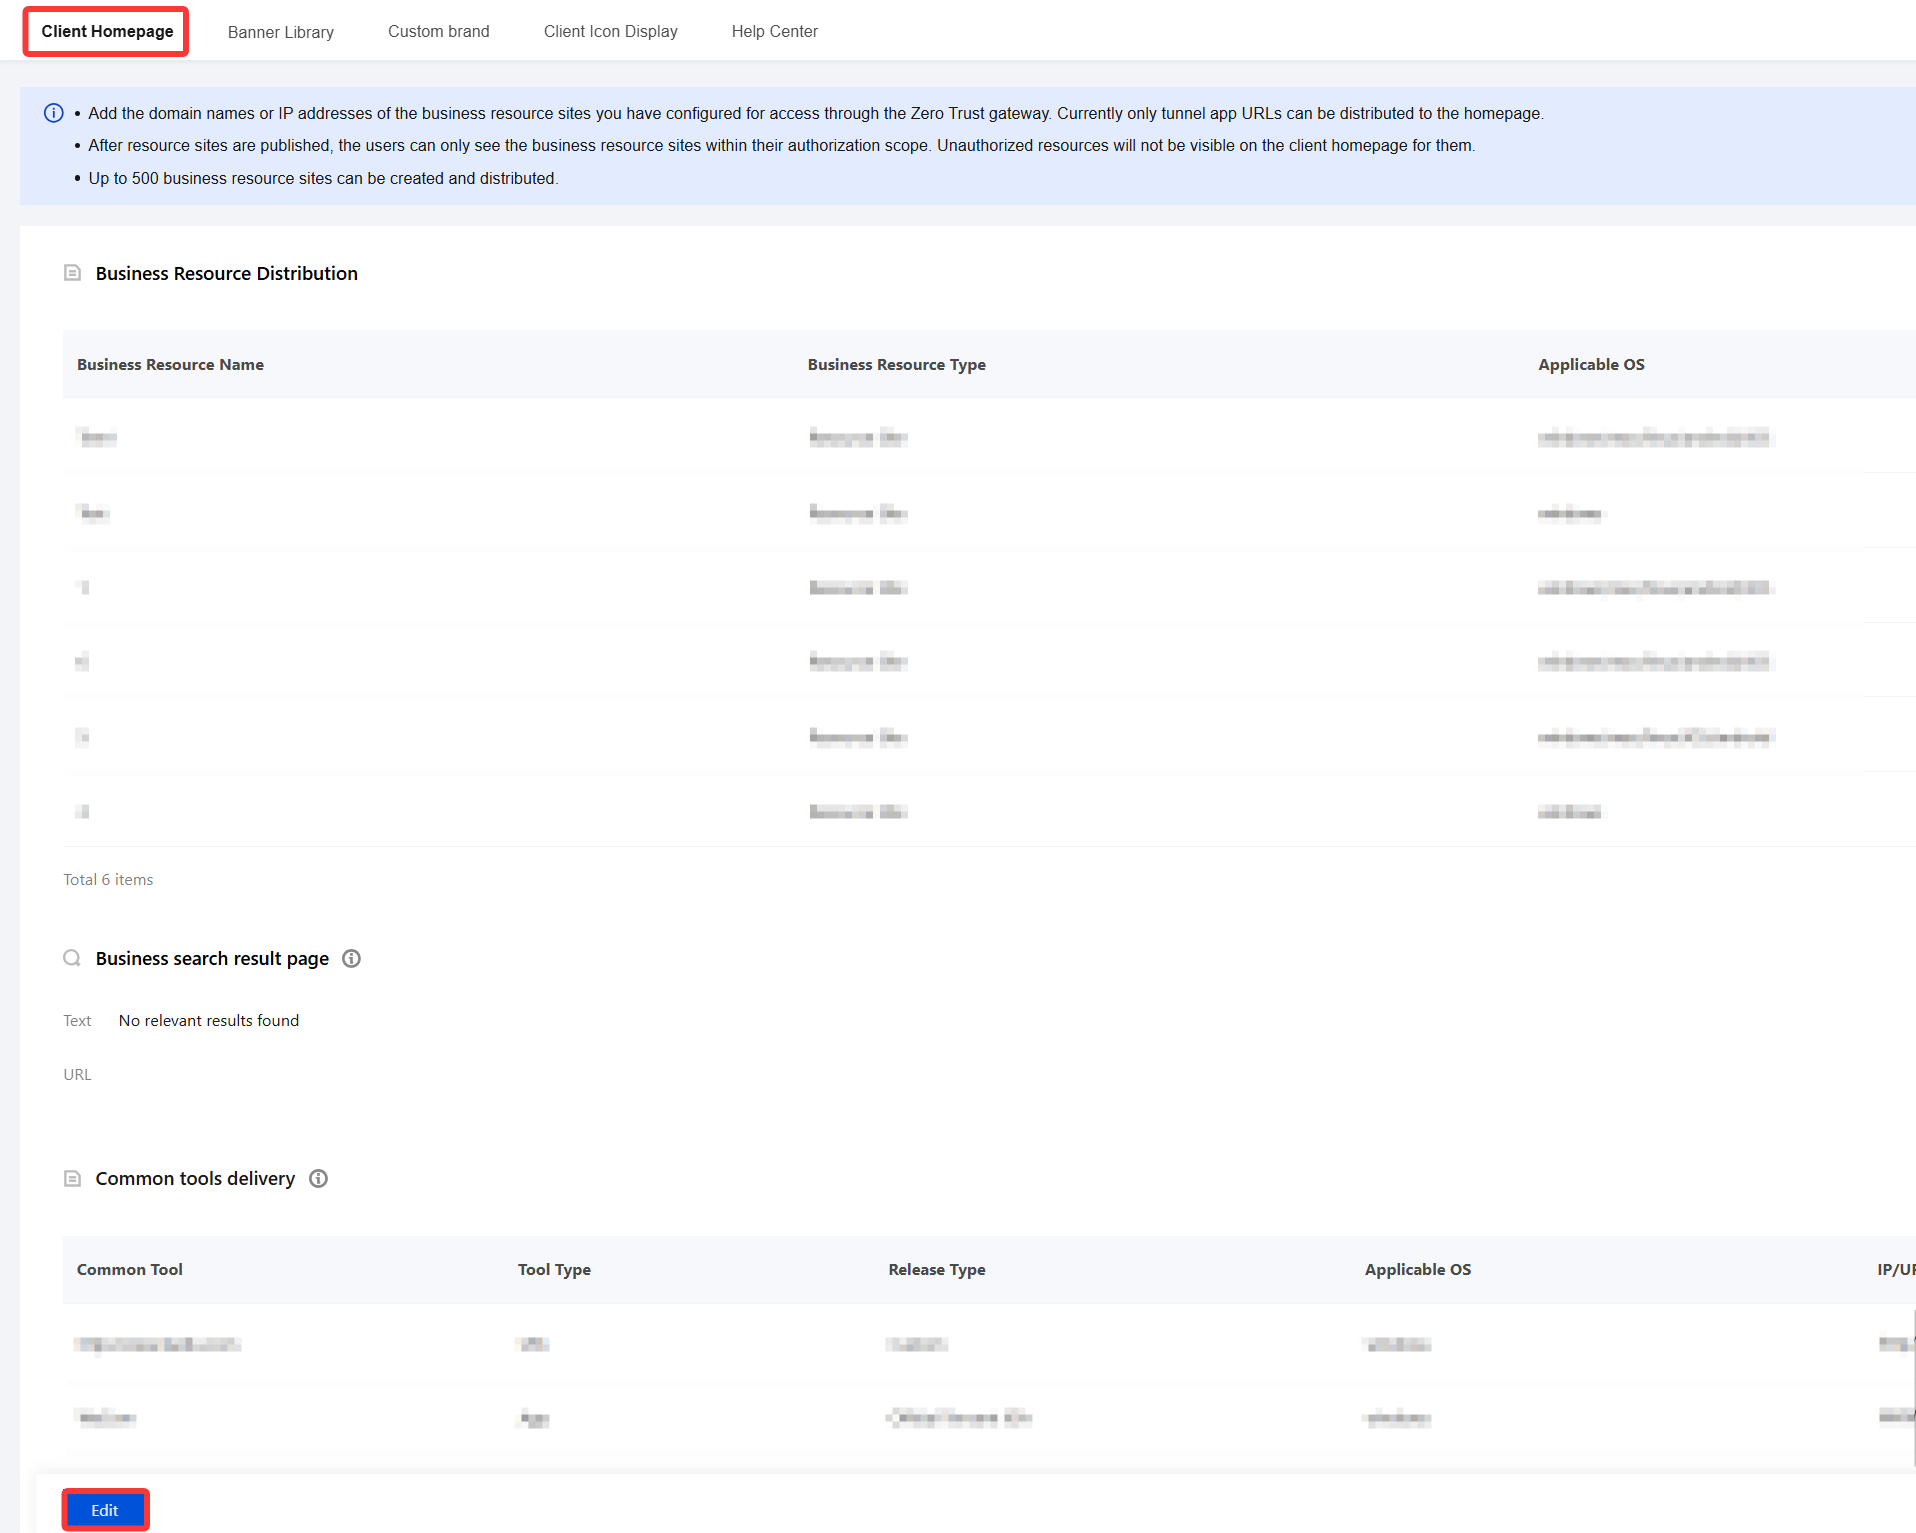
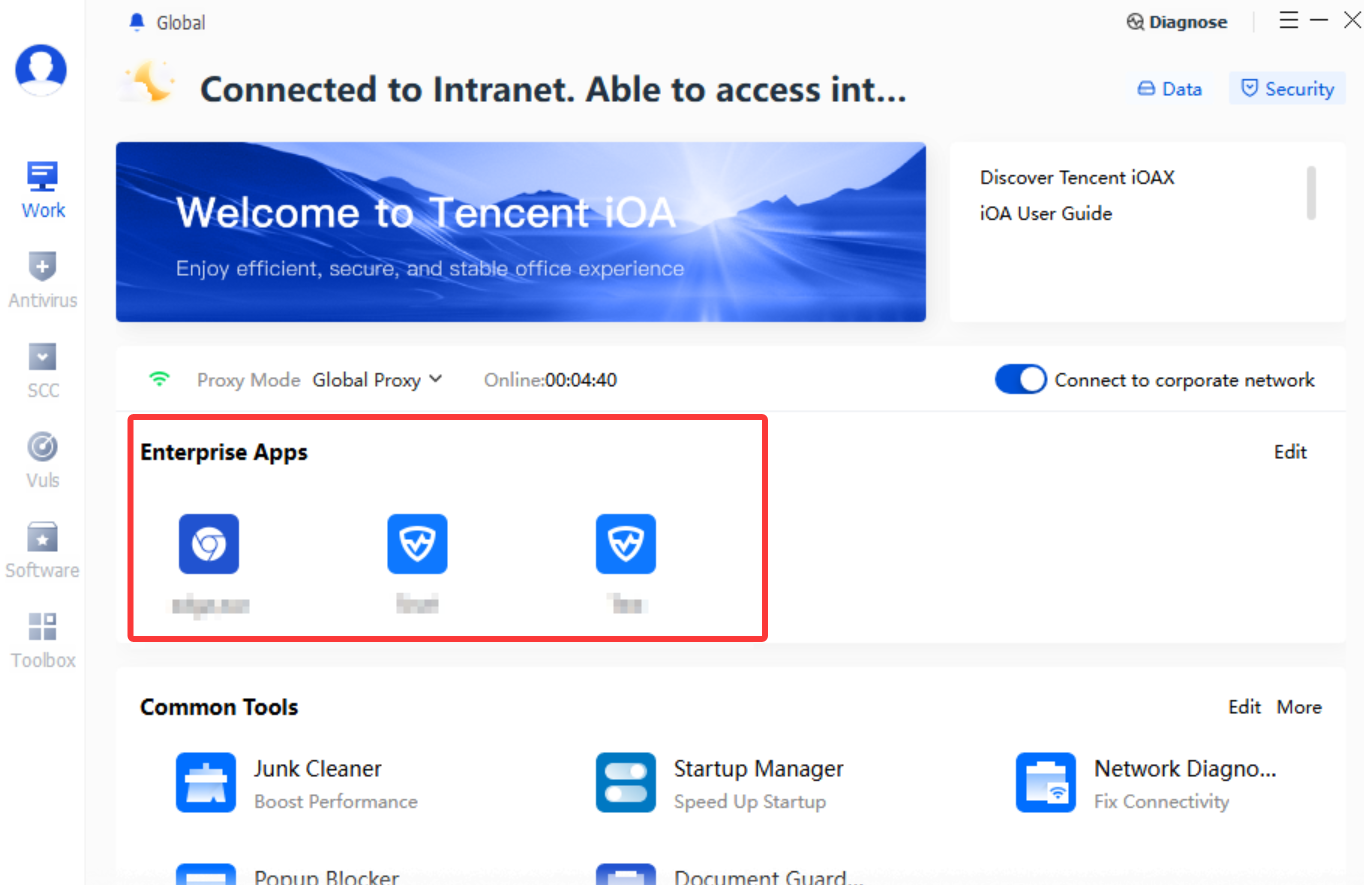
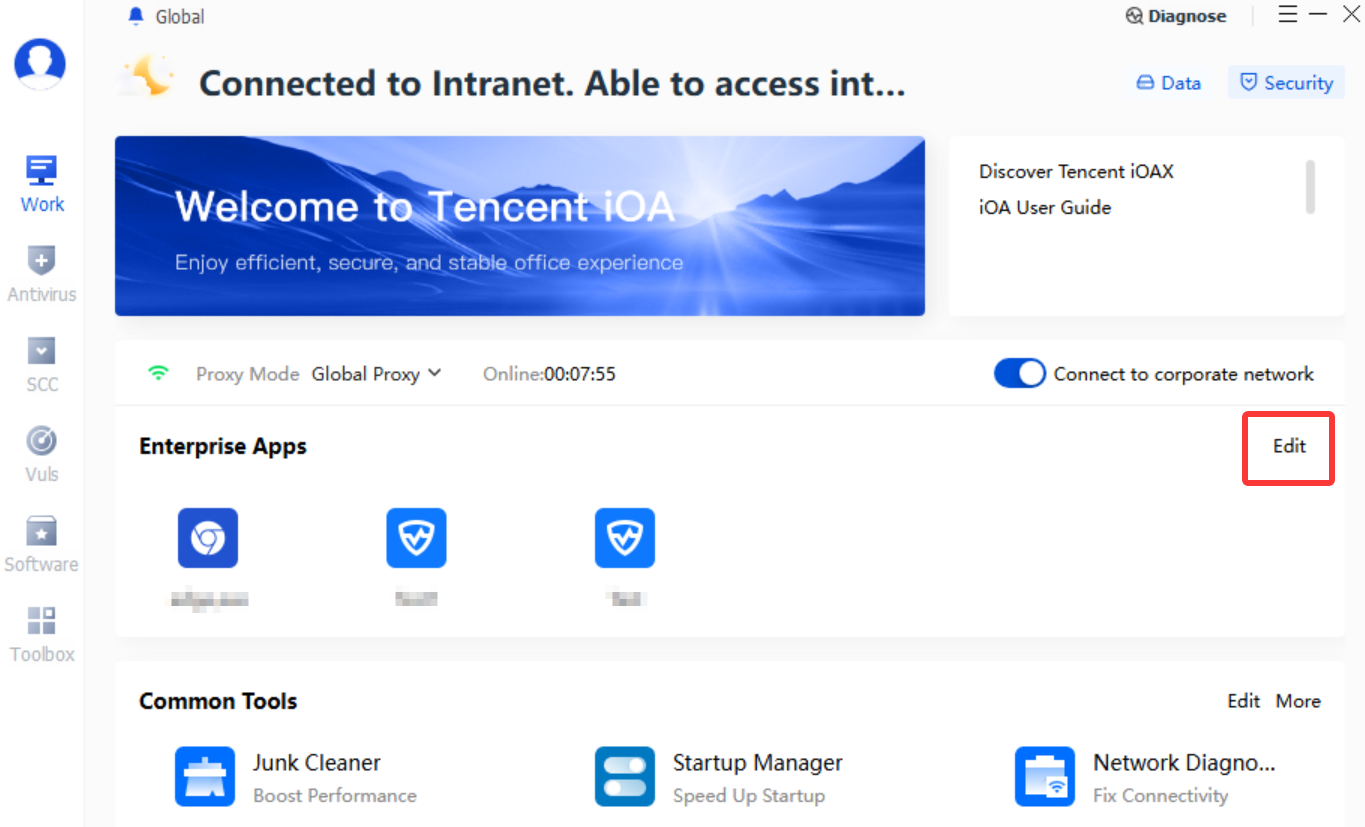
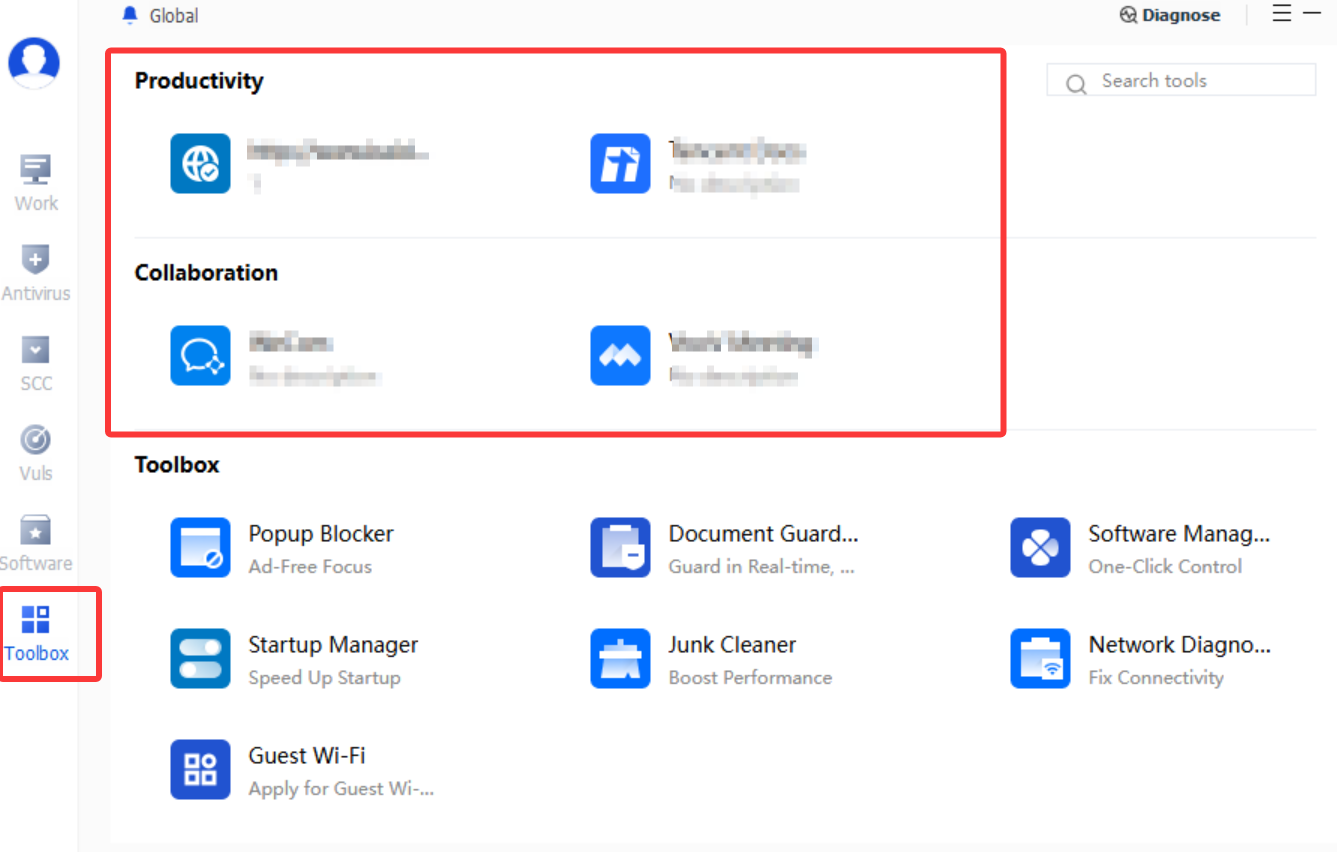
2. On the Client Homepage, click Edit in the lower-left corner.
Business Resource Delivery
Note:
Add the domain names or IP addresses of the business resource sites that have been onboarded to the Zero Trust gateway to this table. Currently, only tunnel app URLs can be distributed to the homepage.
After business sites are published, users can only view the business resource sites they are authorized to access. Unauthorized site resources will not be displayed on the client homepage.
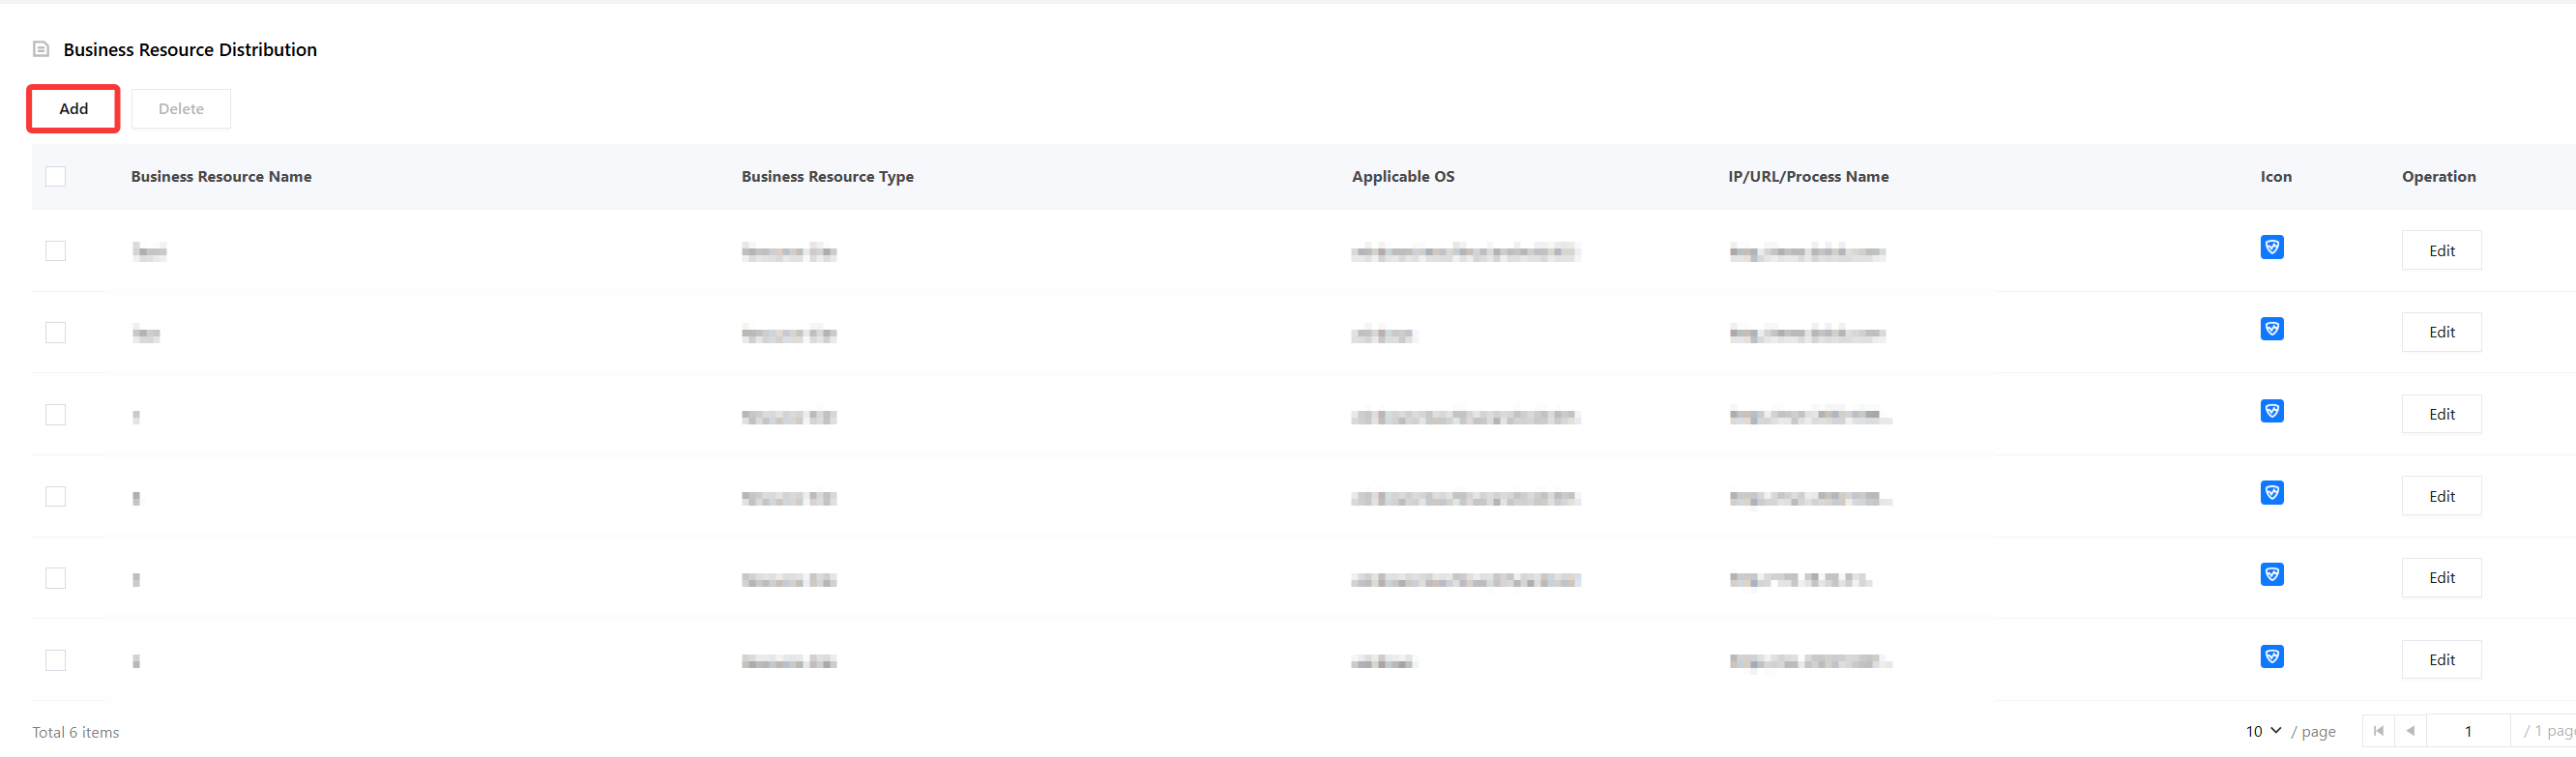
You can create and distribute up to 500 business resource sites.
Associate the tunnel resources under Non-Border Access > Trusted Access Management > . For tunnel resource configuration, see Creating Tunnel Resources and Authorizing Access.
After business resource sites are published to the client homepage, users can only view the business resource sites they are authorized to access. For permission settings, see Creating Tunnel Resources and Authorizing Access.
1. In the Business Resource Distribution module, click Add.
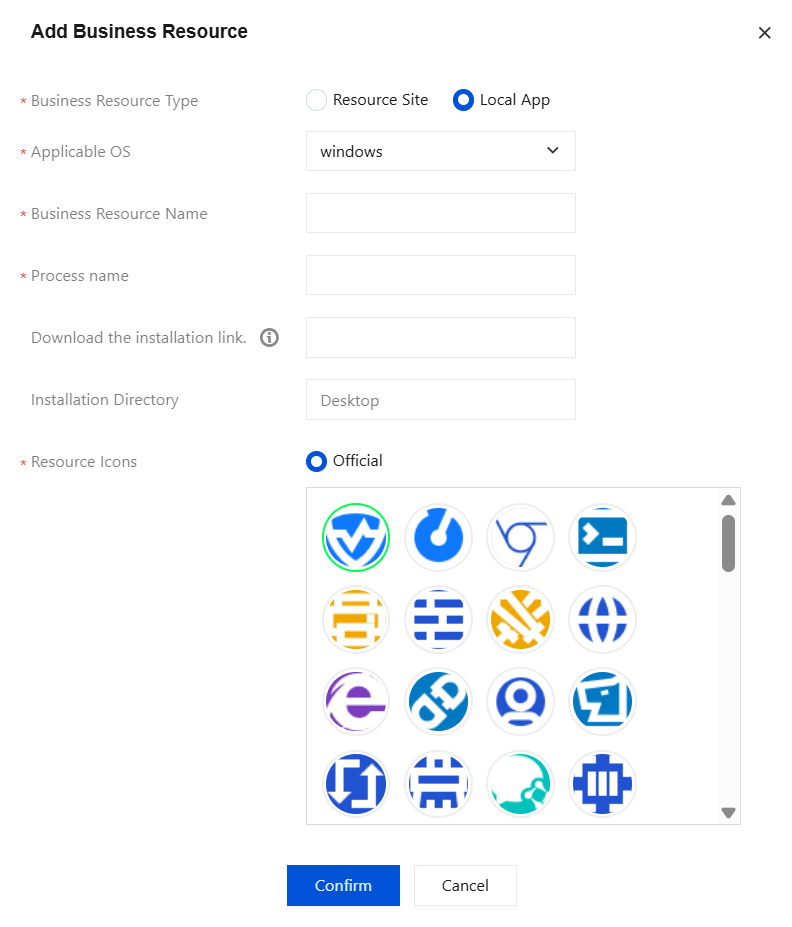
2. In the Add Business Resource dialog box, configure the parameters and click Confirm.
Business Resource Type
Parameter Name
Description
Resource site
Compatible operating system
Configuration is supported for Windows, Mac, Linux, Android, and iOS systems. After configuration, the relevant resources will be displayed on the configured systems. If a system is not configured, the relevant resources will not be displayed on that system.
Multiple selection is supported.
Business resource name
Resource name displayed in the client.
URL
Associate the tunnel resources under Non-Border Access > Trusted Access Management > Resource Configurations.
The URL must start with http:// or https://.
The URL must be the same as the business resource address configured for the tunnel resource. You can append subpaths as needed.
Resource icon
Provided by the official source, the selected icon will be displayed in the client.
On-premises application
Compatible operating system
Configuration is supported for Windows and Mac systems. After configuration, the relevant applications will be displayed on the configured systems. If a system is not configured, the relevant applications will not be displayed on that system.
Single choice.
Business resource name
Application name displayed in the client.
Process name
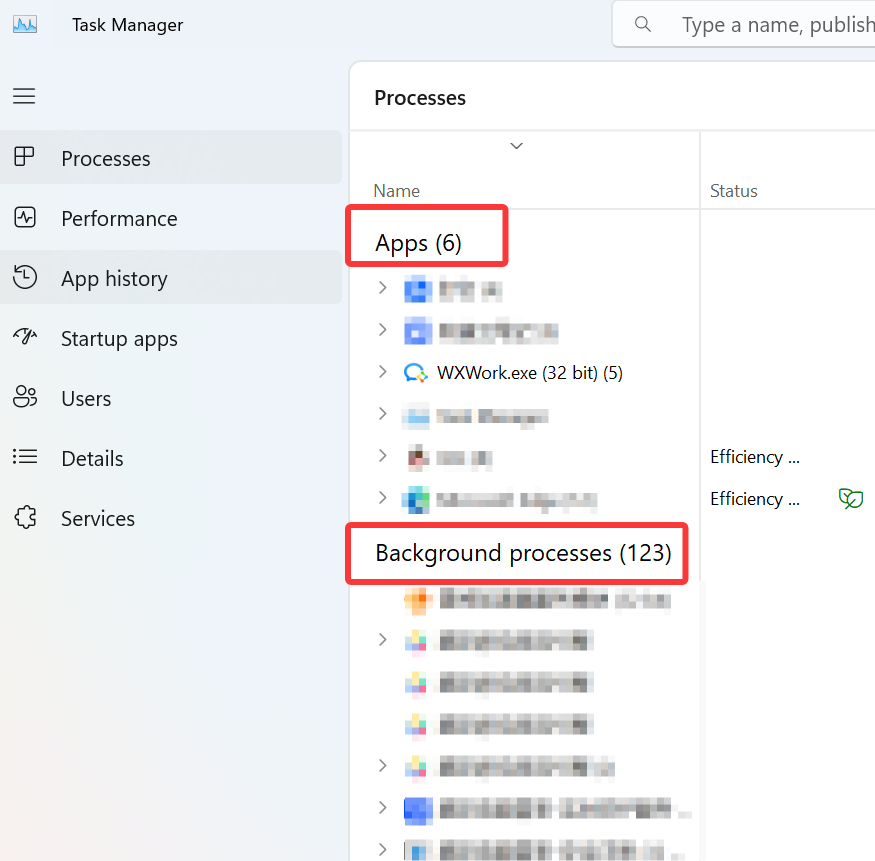
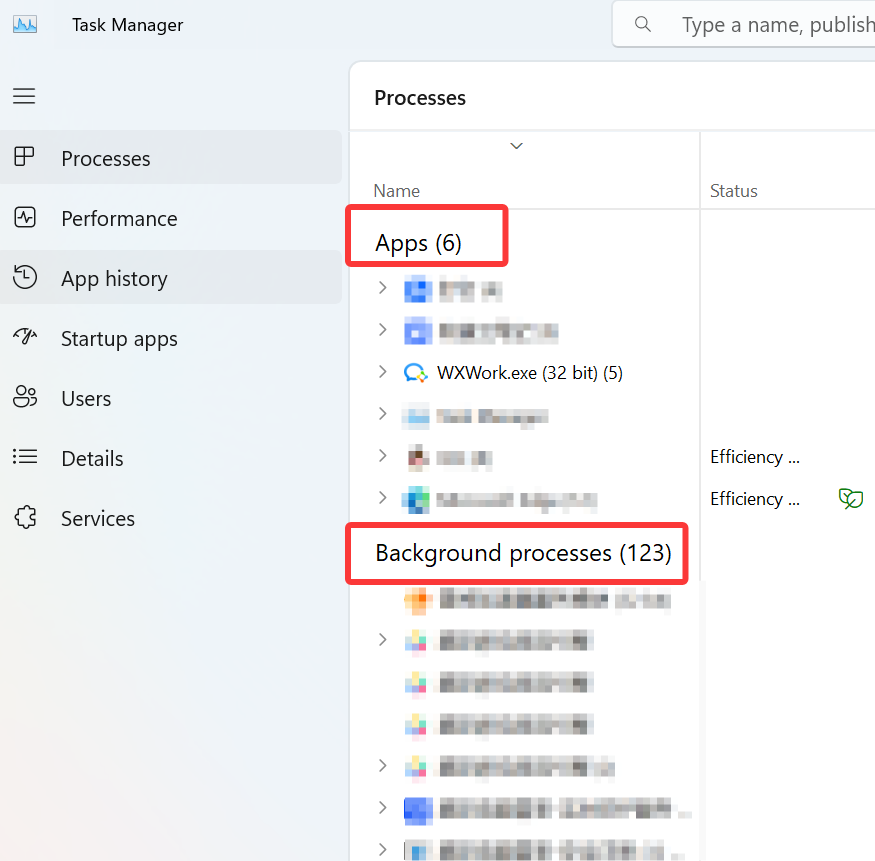
You can view the process name in Task Manager.
Download and installation link
The download and installation link must start with http:// or https://. If the application is not installed on a terminal, the client displays a pop-up window with a download link. Click the link to download the application.
Installation directory
Default desktop.
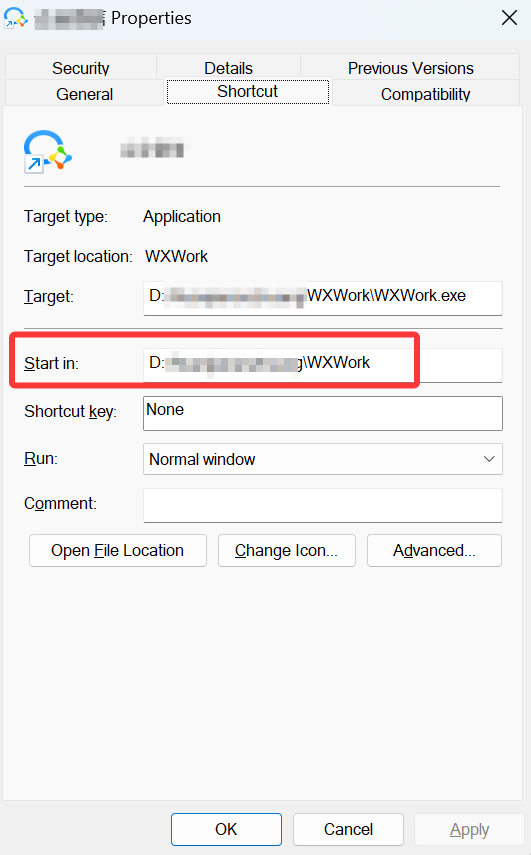
You can customize the application installation path. For details about how to query the application path, see the following figure.
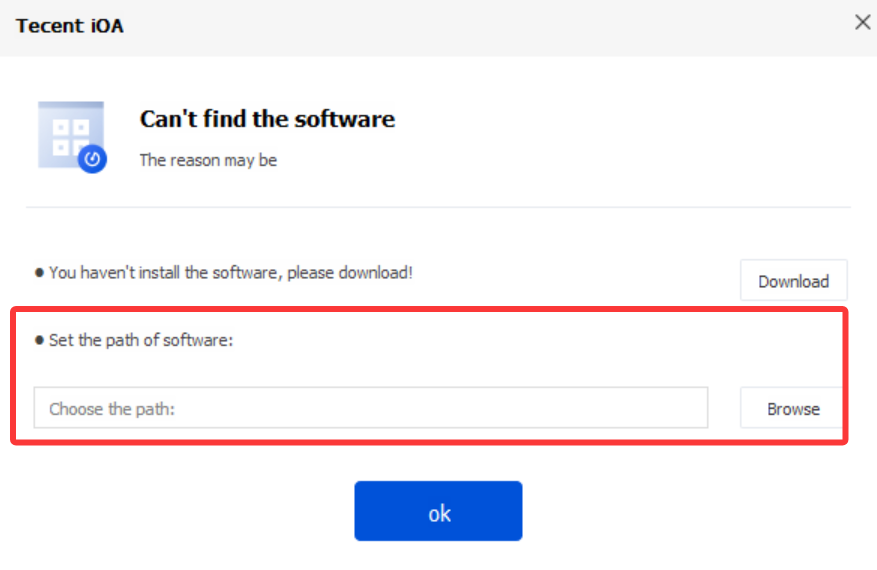
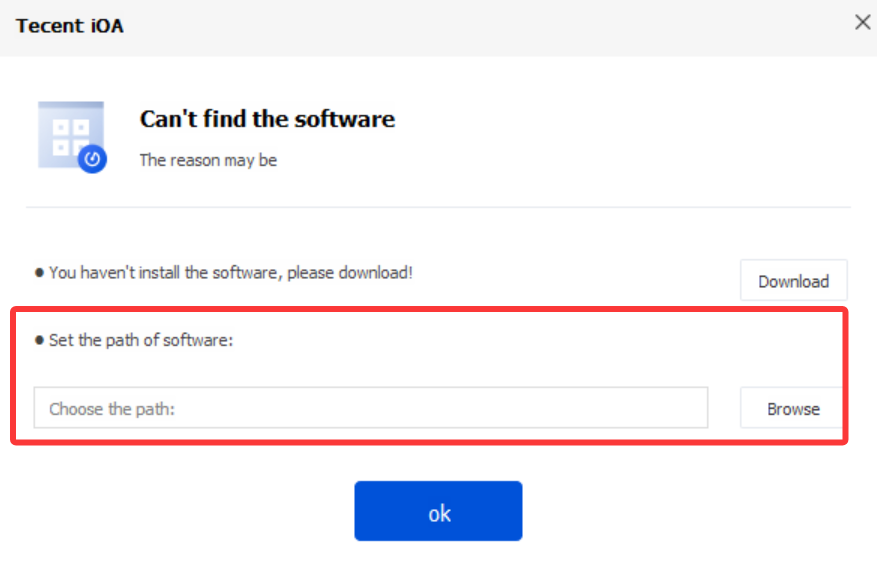
The installation path may vary on each terminal. If the path set by the administrator does not match the actual path on the terminal, the client displays a pop-up message that allows the user to set the application path.
Resource icon
Provided by the official source, the selected icon will be displayed in the client.
3. After confirming that the content is correct, click Save.
4. Client style.
Business Search Results Page
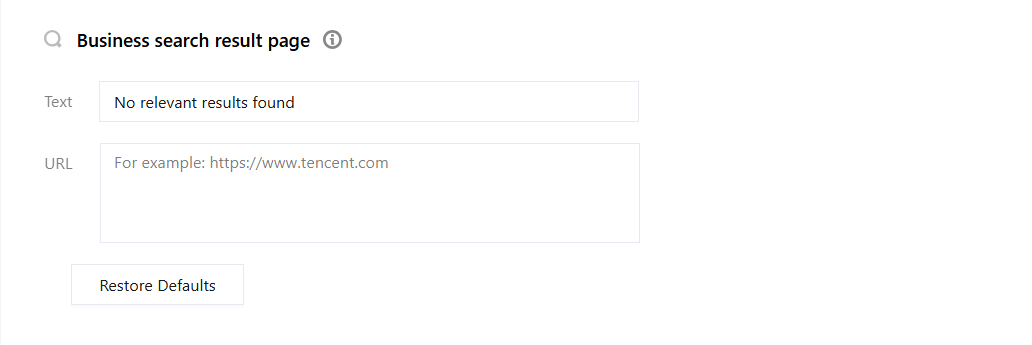
1. Go to Personalization Settings > Client Homepage to configure the business search result page. When no search results are found, the configured message is displayed.
2. If a URL is added, the text is automatically hyperlinked with that URL. Purpose: When no search results are found, provide a customizable message for administrators to guide employees to apply for permissions.
Note:
Search logic: Enter the name corresponding to the keyword to perform a fuzzy match search.
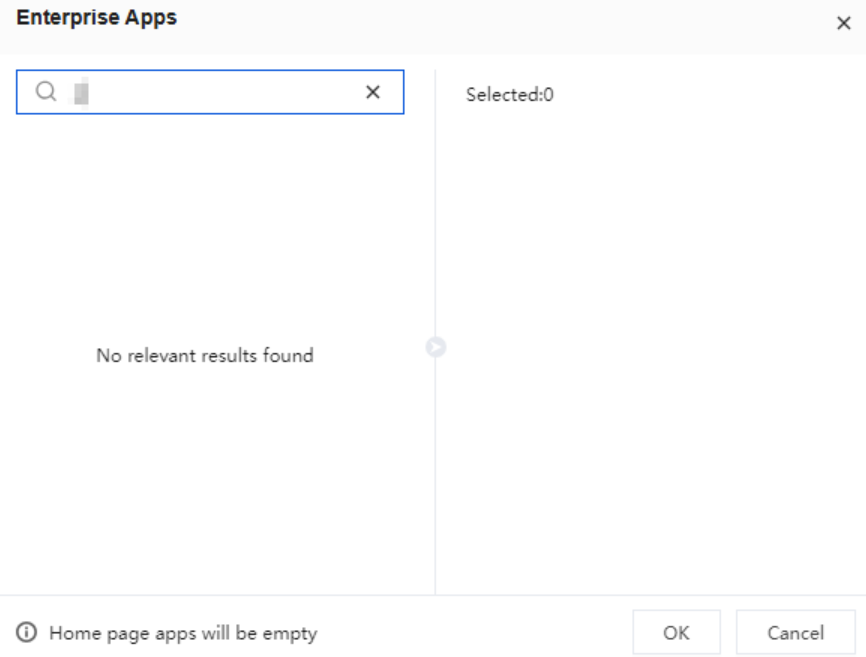
3. After confirming that the information is correct, click Save, and in the enterprise application, click Edit.
4. Use the search box to search for enterprise applications. Enter the name corresponding to the keyword to perform a fuzzy match search. If no search results are found, the configured message is displayed.
Common Tool Delivery
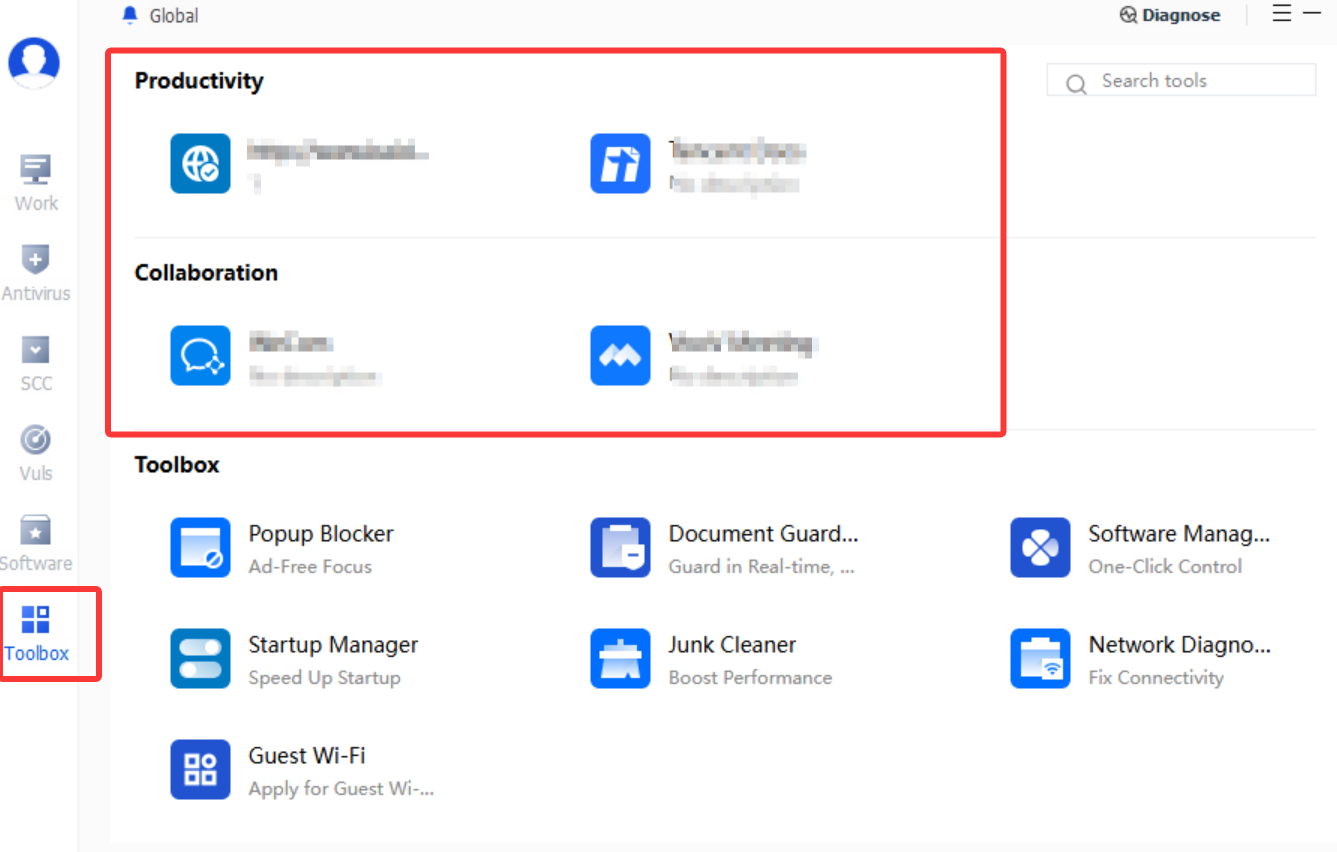
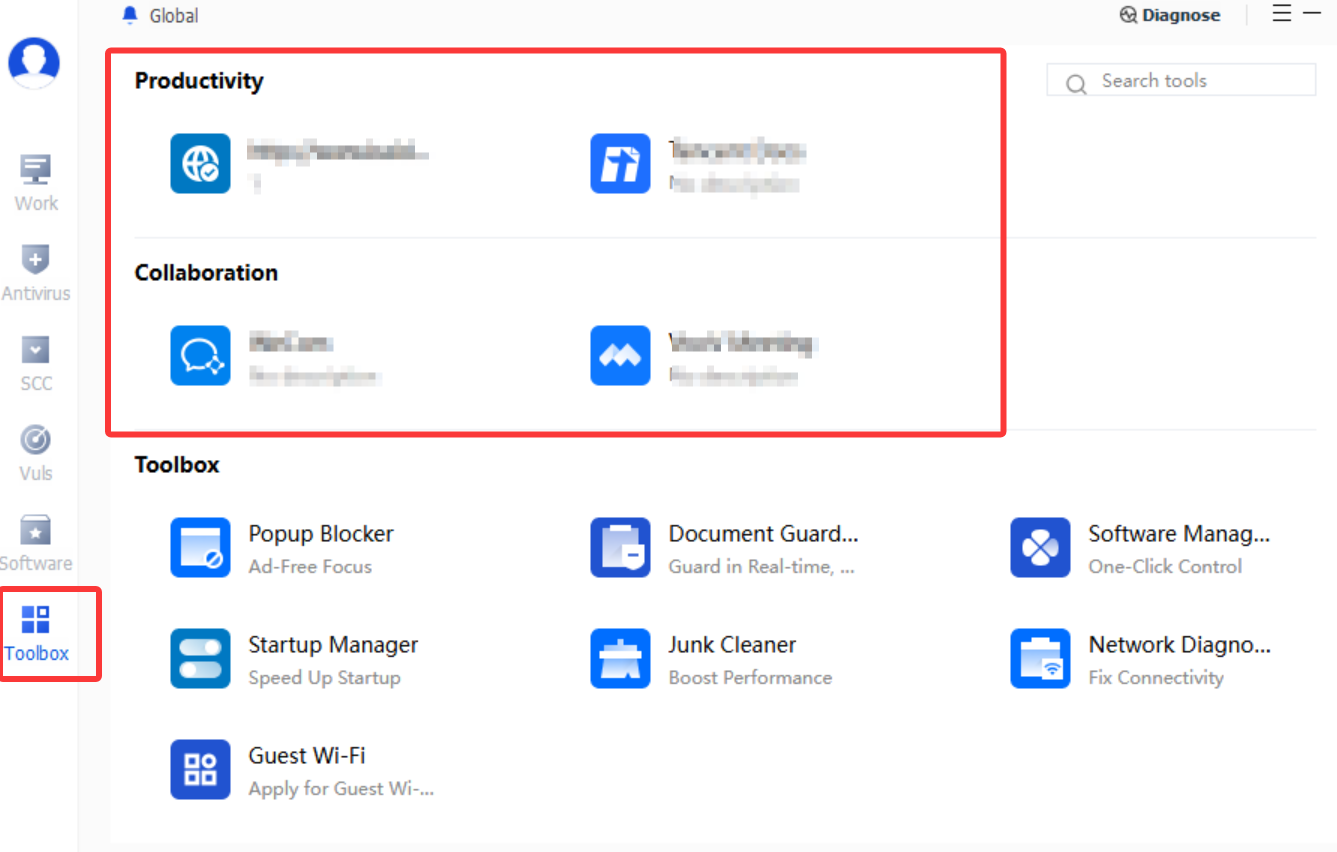
1. Go to Personalization Settings > Client Homepage to configure common tools. Common tools are visible to all users and will be displayed in the common tool area on the client.
2. Common tools support configuration in forms such as exe files and links, and can guide employees to download and install common tools.
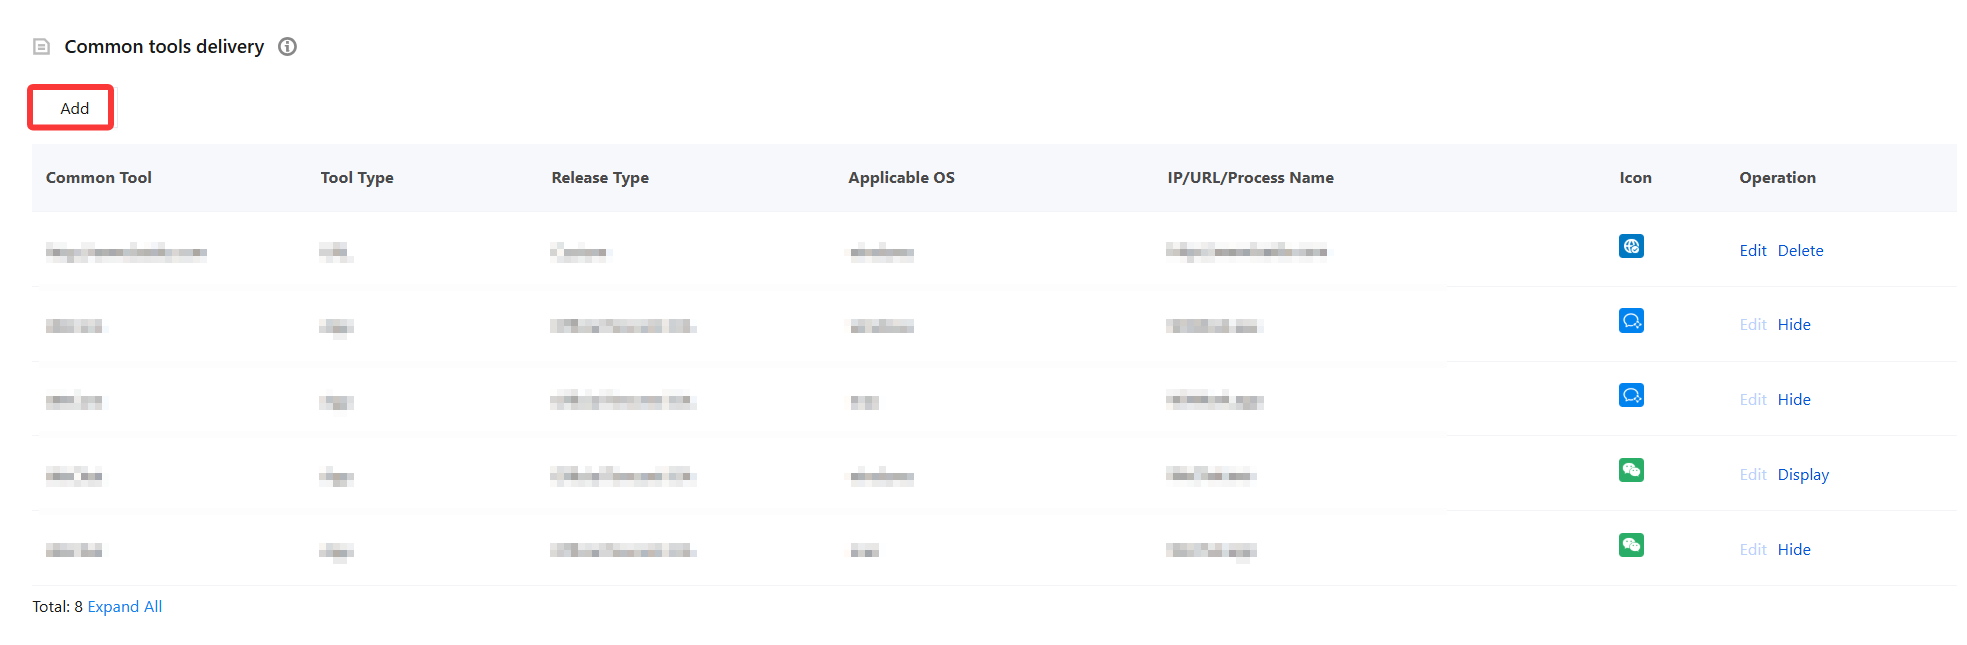
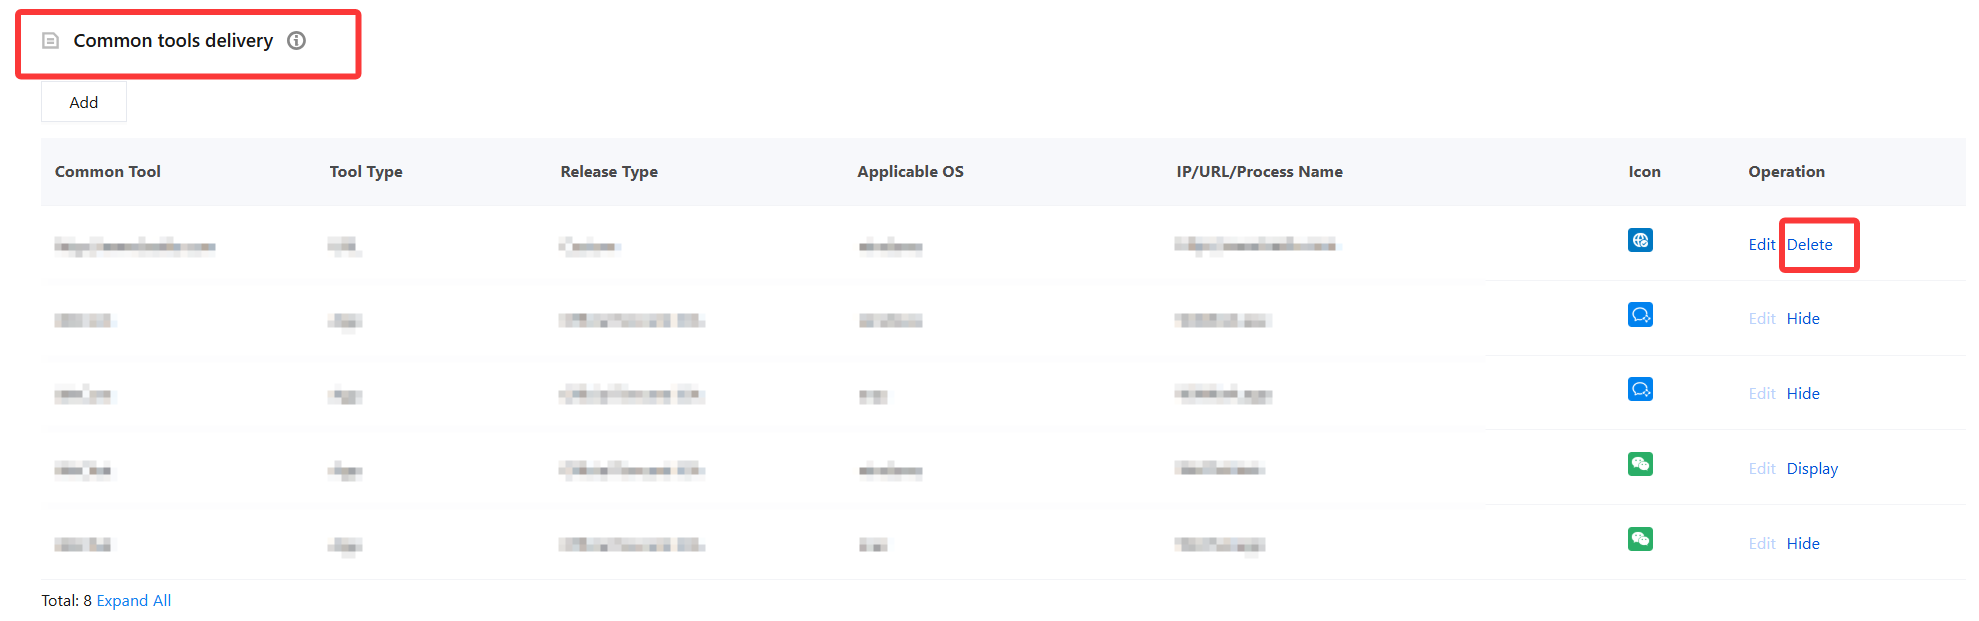
3. In the Common Tool Distribution module, click Add.
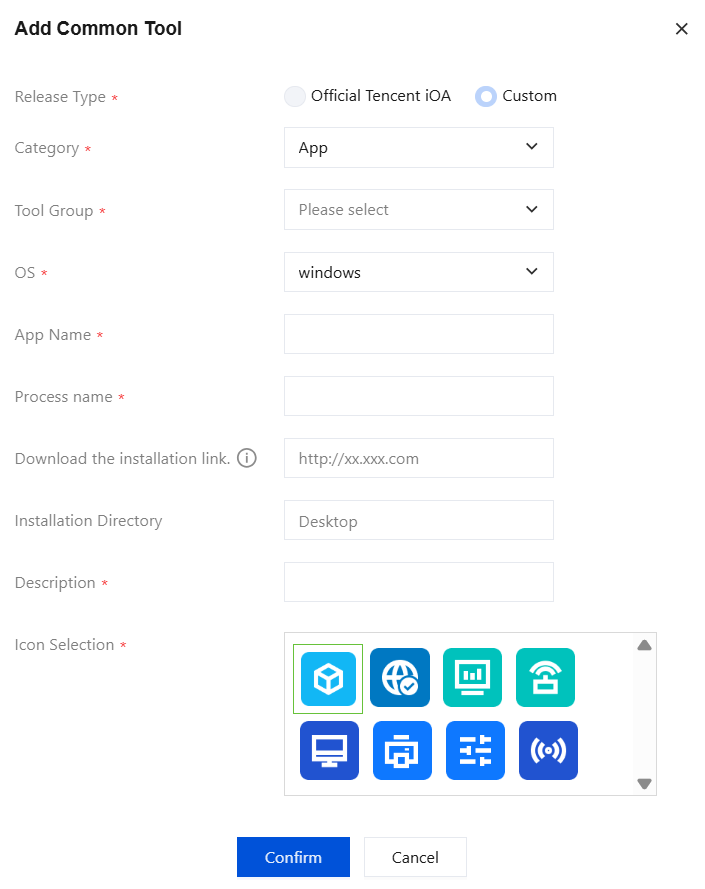
4. In the Add Common Tool dialog box, configure the parameters and click Confirm.
Category
Parameter Name
Description
Application
Tool Group
Select the corresponding tool group. After configuration, tools can be displayed by group on the tool tab page of the client computer.
Operating System
Configurations that support Windows and macOS.
Application name
Name of the application.
Process name
You can view the process name in Task Manager.
Download and installation link
The download and installation link must start with http:// or https://. If the application is not installed on a terminal, the client displays a pop-up window with a download link. Click Download to download the application.
Installation directory
Default desktop.
You can customize the application installation path.
The installation path may vary on each terminal. If the path set by the administrator does not match the actual path on the terminal, the client displays a pop-up message that allows the user to set the application path.
Icon selection
Provided by the official source, the selected icon will be displayed in the client.
URL
Tool Group
Select the corresponding tool group. After configuration, tools can be displayed by group on the tool tab page of the client computer.
Operating System
Configuration is supported for Windows and Mac systems. After configuration, the relevant URLs will be displayed on the configured systems. If a system is not configured, the URL will not be displayed on that system.
Multiple selection is supported.
URL name
URL name.
URL
The URL address must start with http:// or https://.
Icon selection
Provided by the official source, the selected icon will be displayed in the client.
5. After confirming that the content is correct, click Save.
6. Common tool style on the client.
7. To delete infrequently used tools from the iOA client, go to Personalization Settings > Client Home, select the tools in the Common Tool Distribution section, and click Delete.
Announcement release
Go to Personalization Settings > Client Homepage to configure announcements. In the Announcement Publishing module, announcements are divided into global announcements and content announcements.
Global Announcements
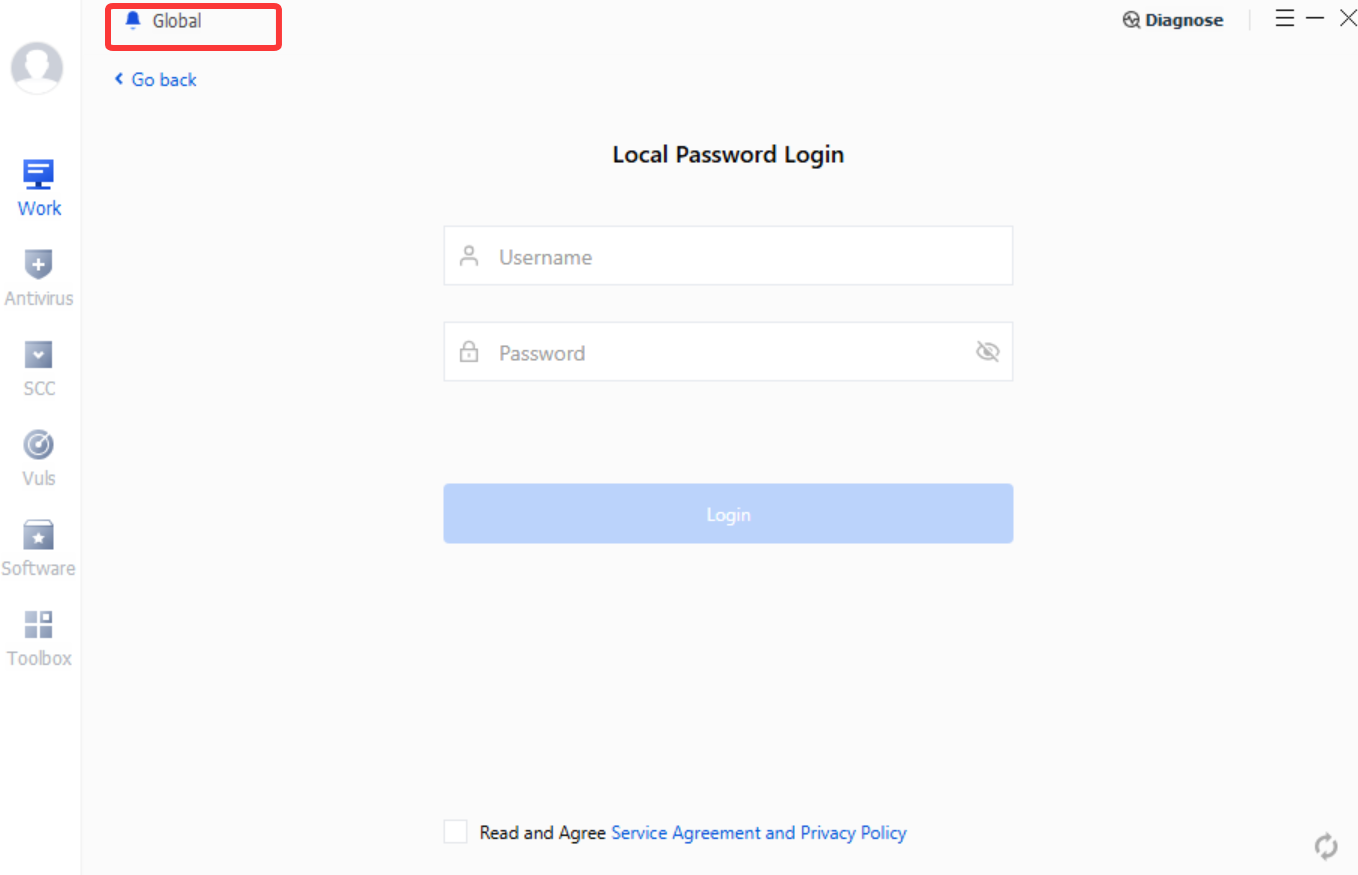
1. Located at the top of the client, it is visible to employees without login and is commonly used for client FAQ guidance. Only one global announcement can be added.
2. Click Edit, enter the title and link, and then click Save.
Content Announcements
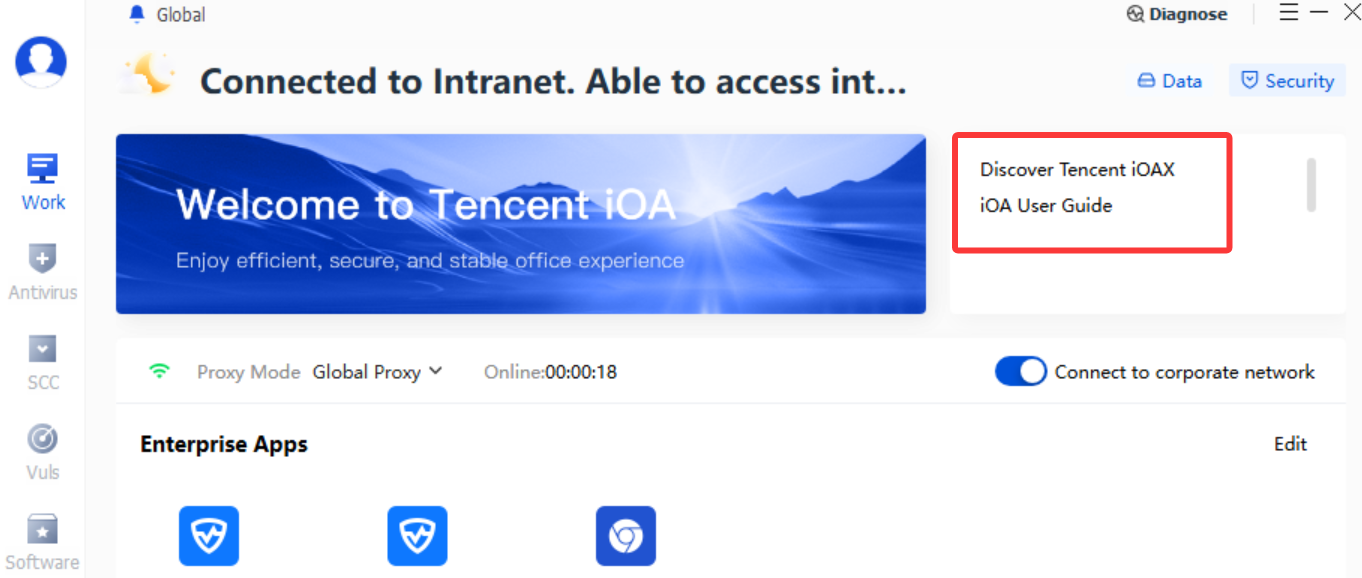
1. After employees log in, the announcement is displayed in the announcement bar on the homepage and is commonly used for administrative notices and business guidelines on the enterprise private network.
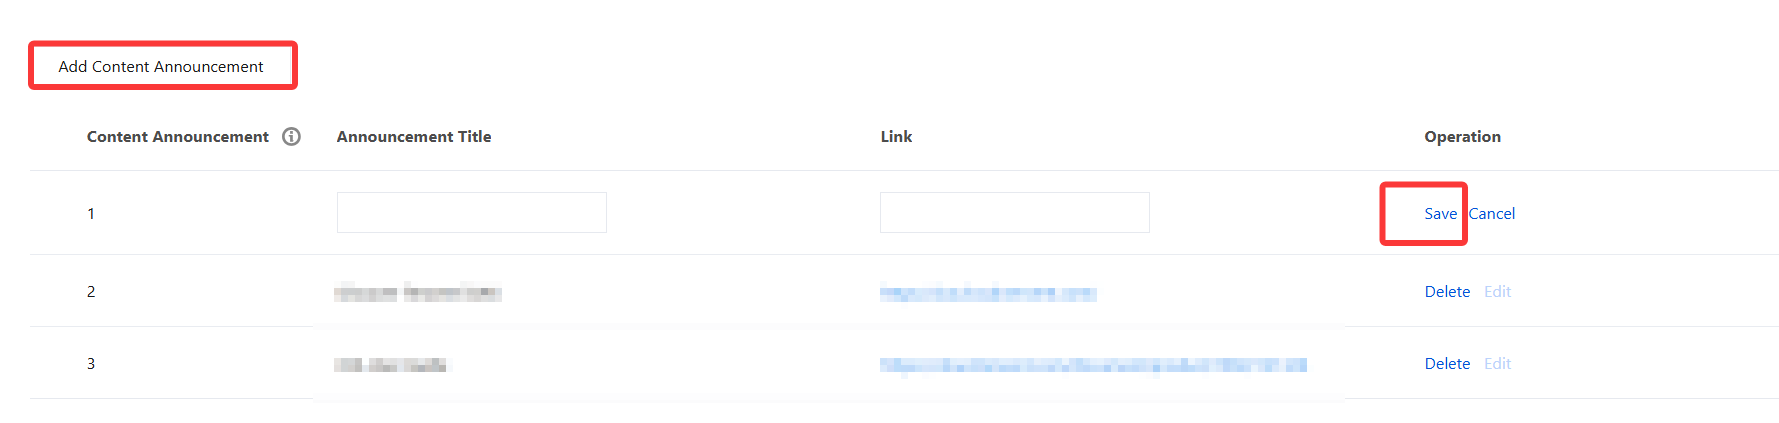
2. Click Add Content Announcement, enter the title and link, and then click Save.
Client Home Main wording
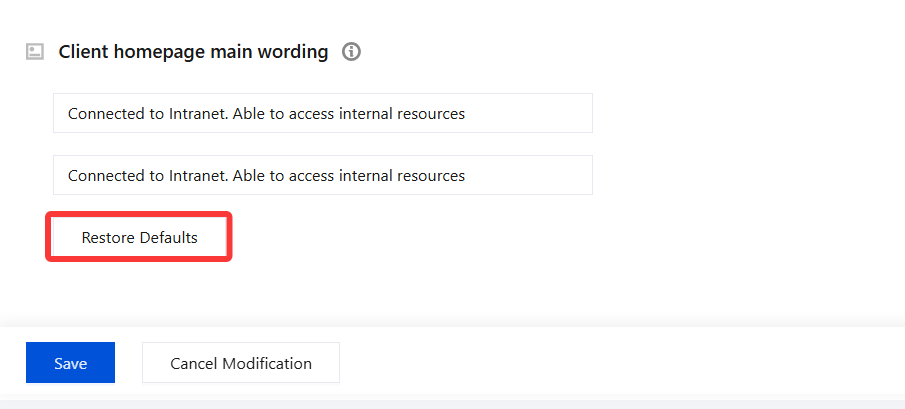
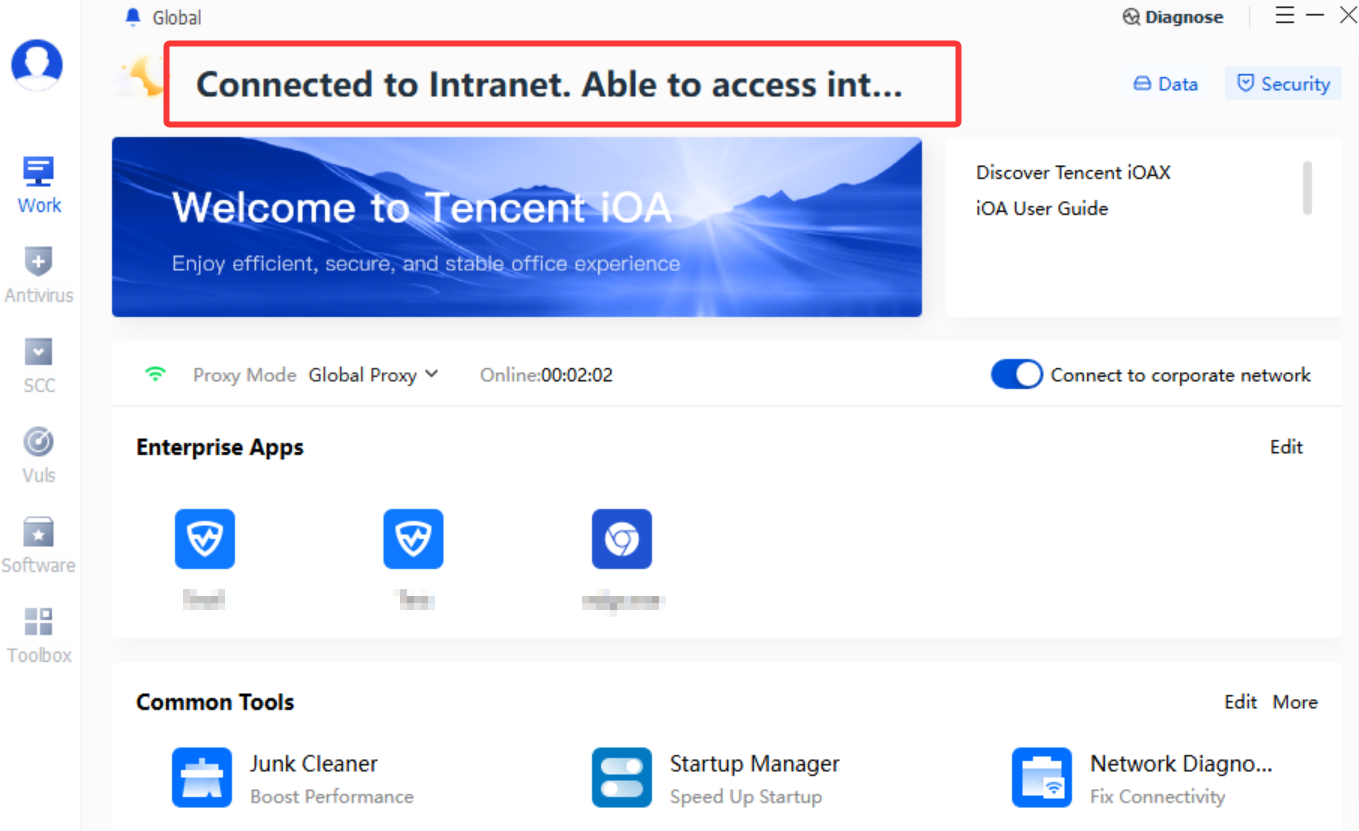
1. Go to Personalization Settings > Client Home to configure the main wording on the client home. Customization is supported. If no changes are needed, click Restore Default.
2. After confirming that the content is correct, click Save.