1. If you are a first-time user and have not created an enterprise self-built application:
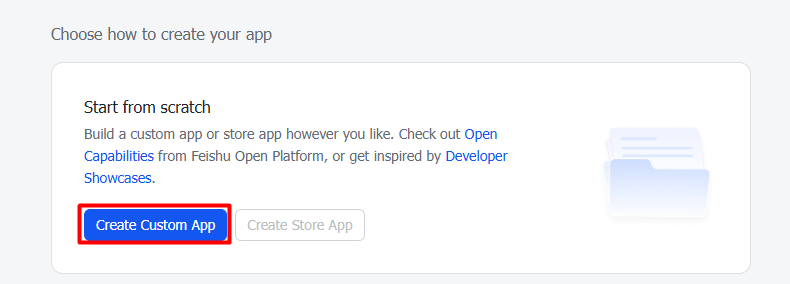
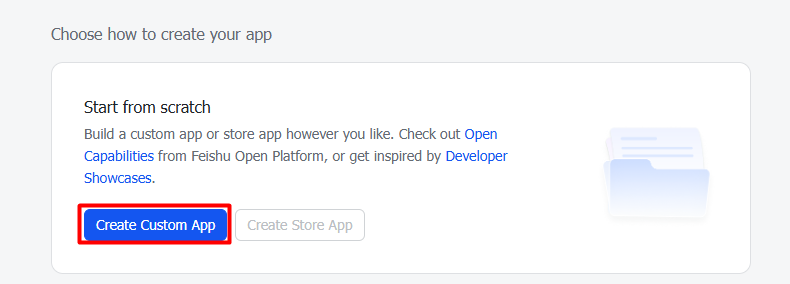
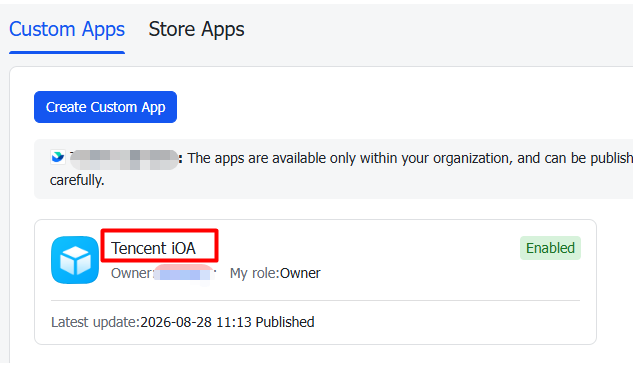
1.1 If you have not created an enterprise self-built application, you need to create one. Log in to the Feishu Open Platform, selecting Self-built Enterprise Application, and clicking Create Custom App.
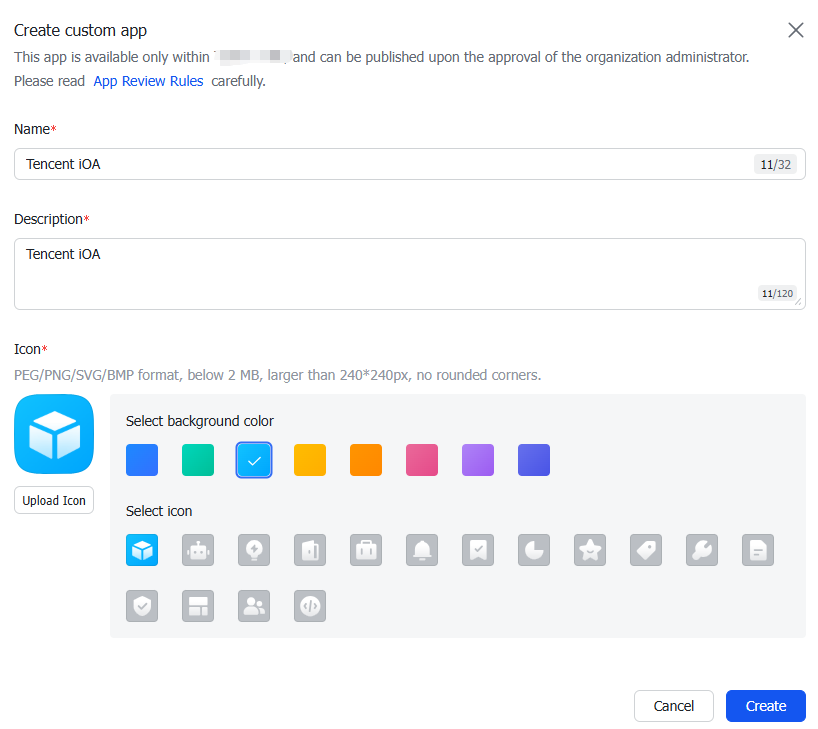
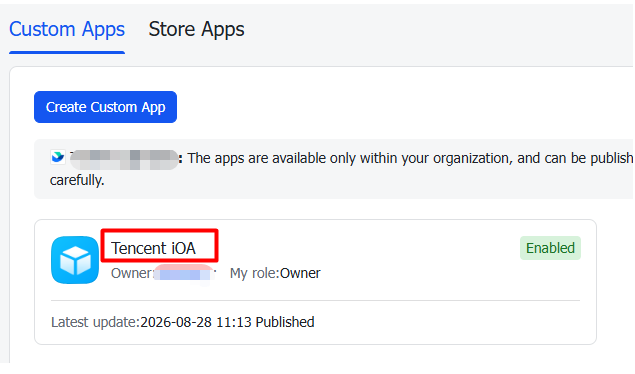
1.2 In the Create Enterprise Self-built Application window, configure the relevant parameters and click Create to complete the creation.
2. If you have not activated a Feishu developer account:
1. On the Enterprise Self-built Application page, click the self-built application you just created to go to the application details page.
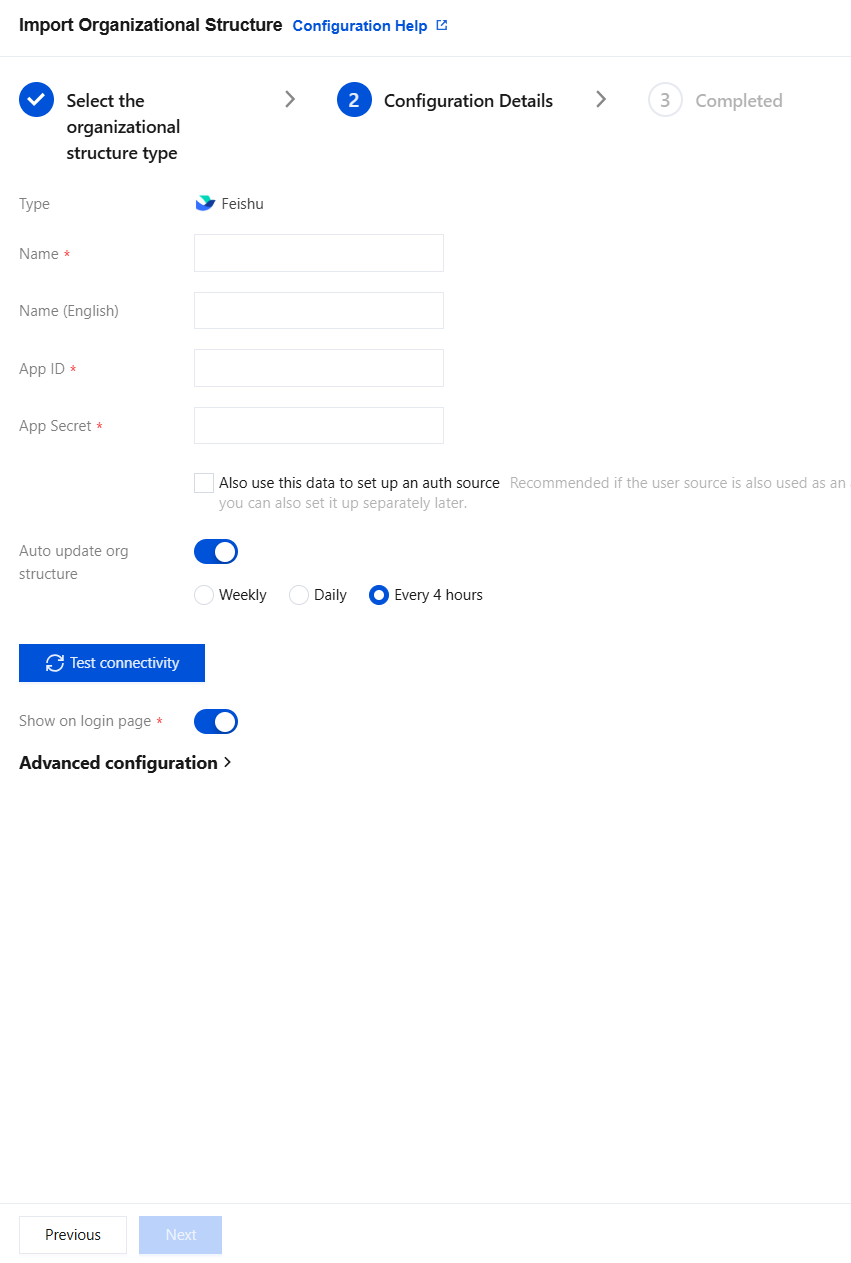
2. On the Credentials and Basic Information page, select Application Credentials to obtain the App ID and App Secret. Note: The Feishu App ID corresponds to the App ID in the iOA console, and the Feishu App Secret corresponds to the App Secret in the iOA console.
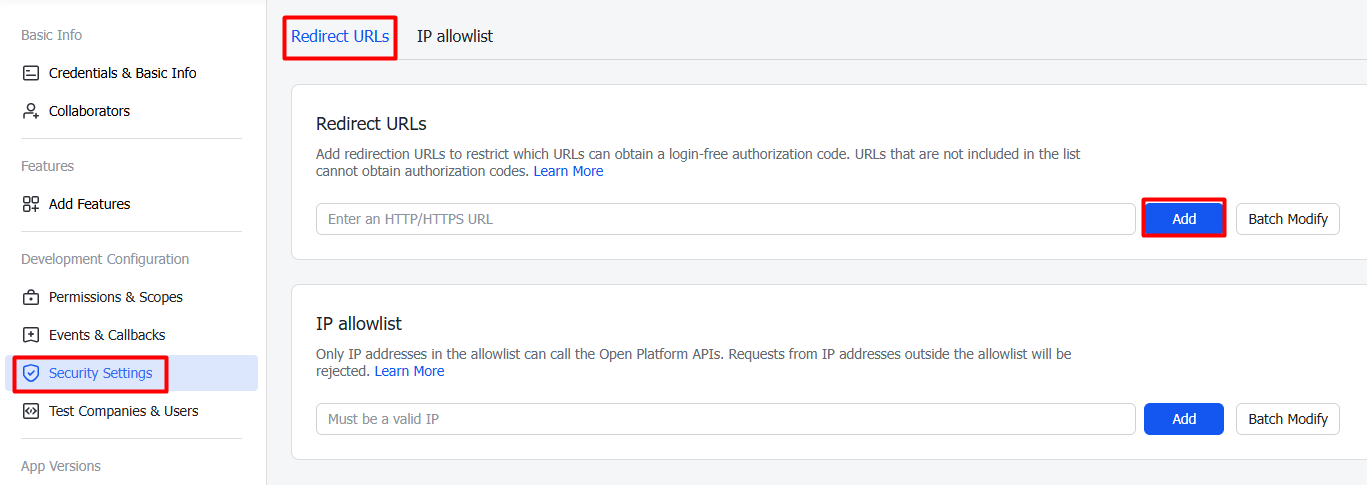
2.3 Configuring the Redirect URL
1. On the Credentials and Basic Information page, click Security Settings.
2. On the Redirect URL page, enter the iOA redirect address: https://service address:27800/akpage/sso/redirect.
3. Click Add to add it to the redirect URL list.
Attention:
In the Feishu authentication preparation steps for the OAuth 2.0 authentication scheme, all other steps are the same as those in the Feishu authentication scheme, except that the redirect URL is different.
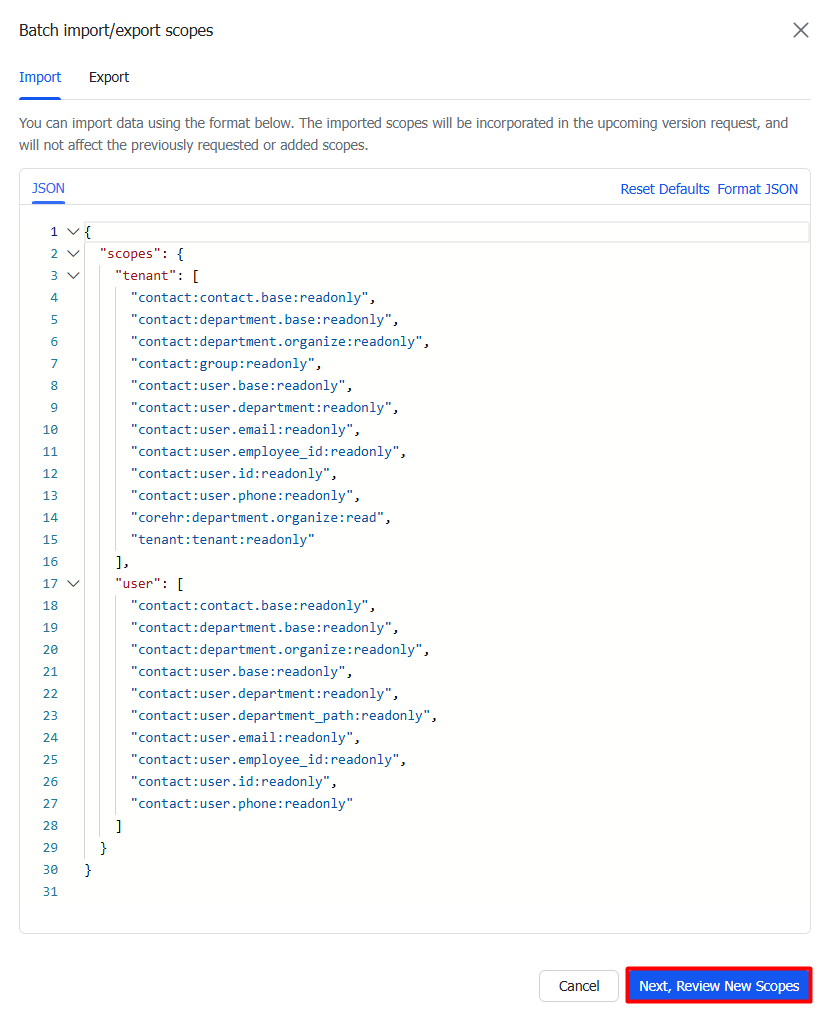
2. In the Batch Import/Export Permissions dialog, enter the following JSON and click Next, Review New Scopes.
{
"scopes":{
"tenant":[
"contact:contact.base:readonly",
"contact:department.base:readonly",
"contact:department.organize:readonly",
"contact:group:readonly",
"contact:user.base:readonly",
"contact:user.department:readonly",
"contact:user.email:readonly",
"contact:user.employee_id:readonly",
"contact:user.id:readonly",
"contact:user.phone:readonly",
"corehr:department.organize:read",
"tenant:tenant:readonly"
],
"user":[
"contact:contact.base:readonly",
"contact:department.base:readonly",
"contact:department.organize:readonly",
"contact:user.base:readonly",
"contact:user.department:readonly",
"contact:user.department_path:readonly",
"contact:user.email:readonly",
"contact:user.employee_id:readonly",
"contact:user.id:readonly",
"contact:user.phone:readonly"
]
}
}
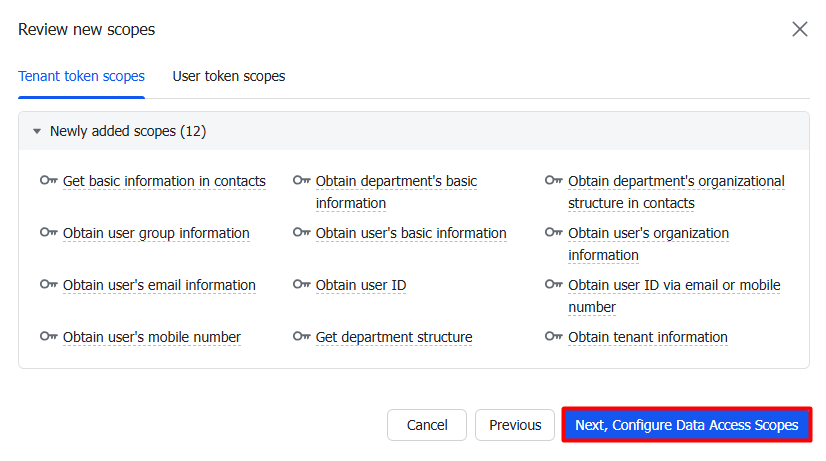
3. In the Confirm Permission Import dialog, click Next, Configure Data Access Scopes.
2.4.2 Manually Granting Permissions
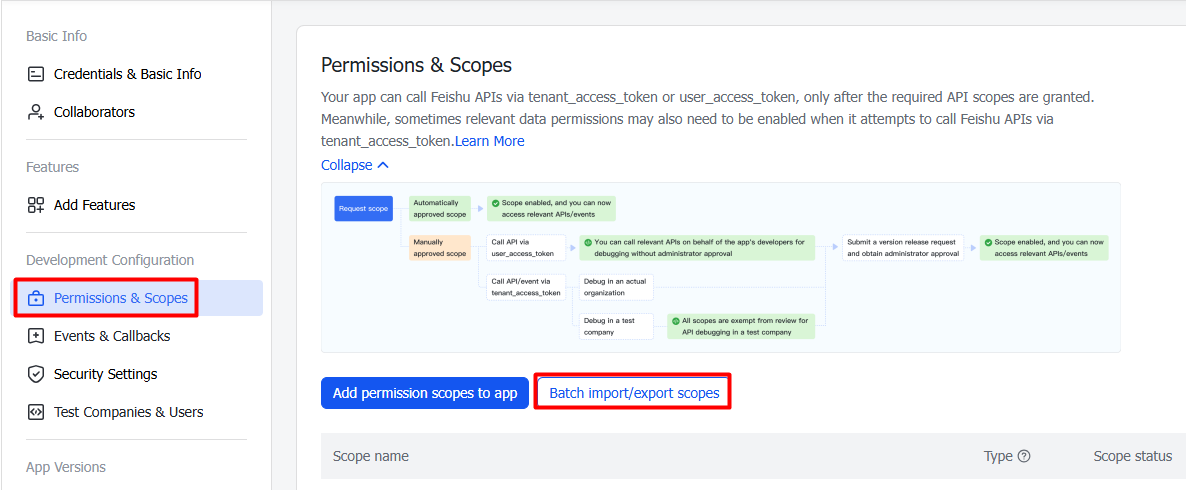
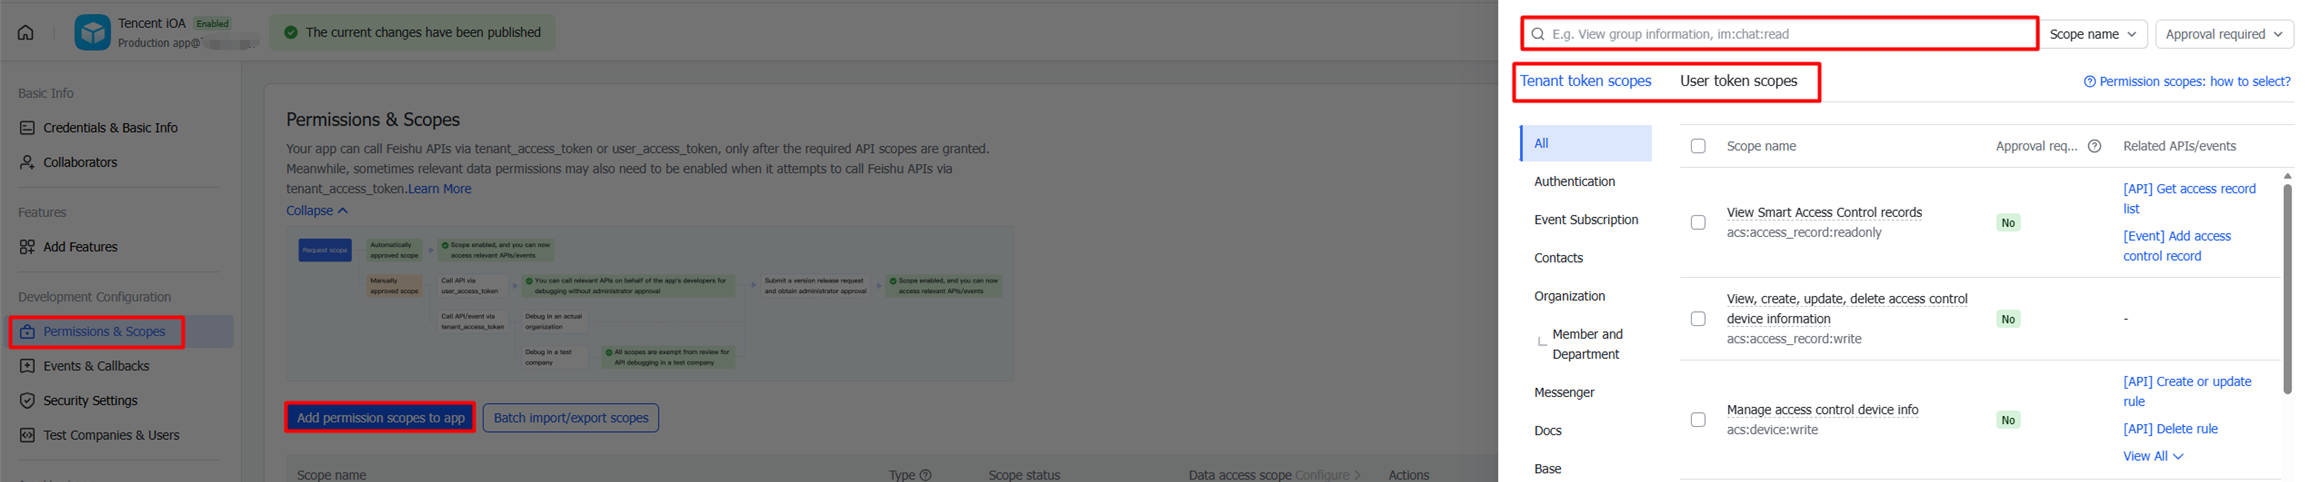
1. On the Permission Management page, click Add permission scopes to app, select the permissions required by the application, and it is recommended to search using the English version first:
Attention:
All of the following permissions must be activated. If any permission is not activated, configuration-related error messages may appear.
In Permissions & Scopes > Add permission scopes to app, if both application identity permissions and user identity permissions exist among the queried permissions, both must be selected.
Example: Search for contact:user.base:readonly. If contact:user.base:readonly exists in both application identity permissions and user identity permissions after the search, the permission must be activated for both.
Permission Name (English)
Permission Name (Chinese)
contact:user.department_path:readonly
Obtain the department path of a member
contact:user.base:readonly
Obtain basic user information.
contact:contact.base:readonly
Obtain basic contact information.
contact:department.organize:readonly
Obtain contact department organizational structure information.
contact:department.base:readonly
Obtain basic department information.
corehr:department.organize:read
Obtain department organizational structure information.
contact:group:readonly
Obtain user group information.
contact:user.department:readonly
Obtain user organizational structure information.
contact:user.email:readonly
Obtain user email information.
contact:user.employee_id:readonly
Obtain the user ID.
contact:user.id:readonly
Obtain the user ID by mobile number or email.
contact:user.phone:readonly
Obtain user mobile number.
tenant:tenant:readonly
Obtain enterprise information.
2. After selecting the target permission, click Confirm Permission Activation in the Operation column to grant the selected permission to the application.
Note:
After configuring permissions, you must republish the application for the changes to take effect.
2.5 Publishing an Application
1. On the Permission Management page, click Version Management and Release.
2. On the Version Management and Release page, click Create Version in the upper-right corner.
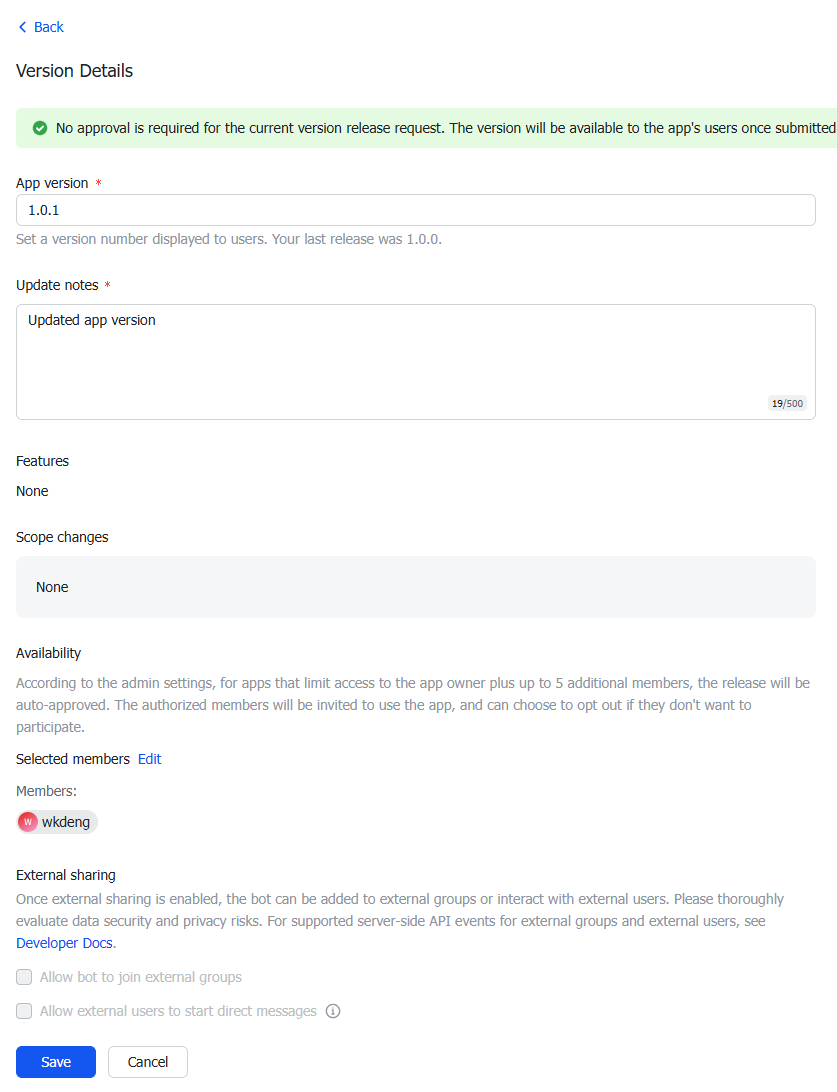
3. On the version details page, enter the application version number (for example, 1.0.0) and update description, set the availability status, and click Save.
Attention:
Availability scope: select all employees.
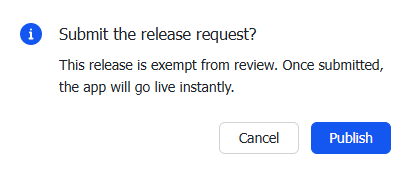
4. After saving, click Publish.
Note:
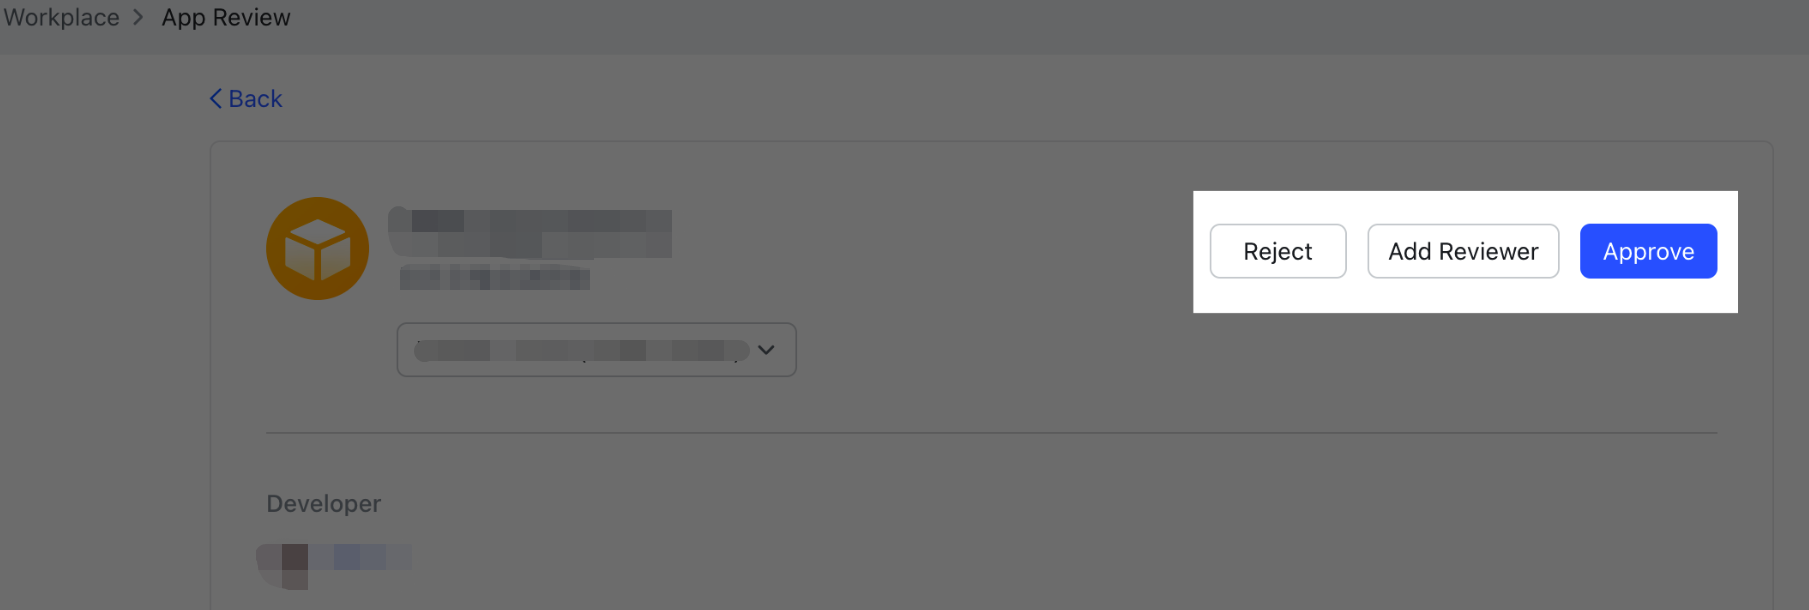
After the application is submitted, the enterprise administrator will review it.
The review result will be sent to you via Feishu and the developer console.
2.8 Enabling Email/Phone Number Account Identity Association (Optional)
Note:
If you need to enable Phone Captcha or Email Captcha as a second-factor or challenge authentication method, you should grant the sync permission for phone numbers or email addresses when synchronizing fields from Feishu. When SMS Captcha or Email Captcha is added in the iOA console, the phone number or email address synchronized from Feishu will be used as the basis for field mapping and identity authentication.
1. Log in to the Feishu Open Platform, select Custom Apps, and click the target self-built application.
2. On the application details page, click Permission Management and scroll down to Permission Configuration.
3. In the Permission Configuration module, enable the following two features:
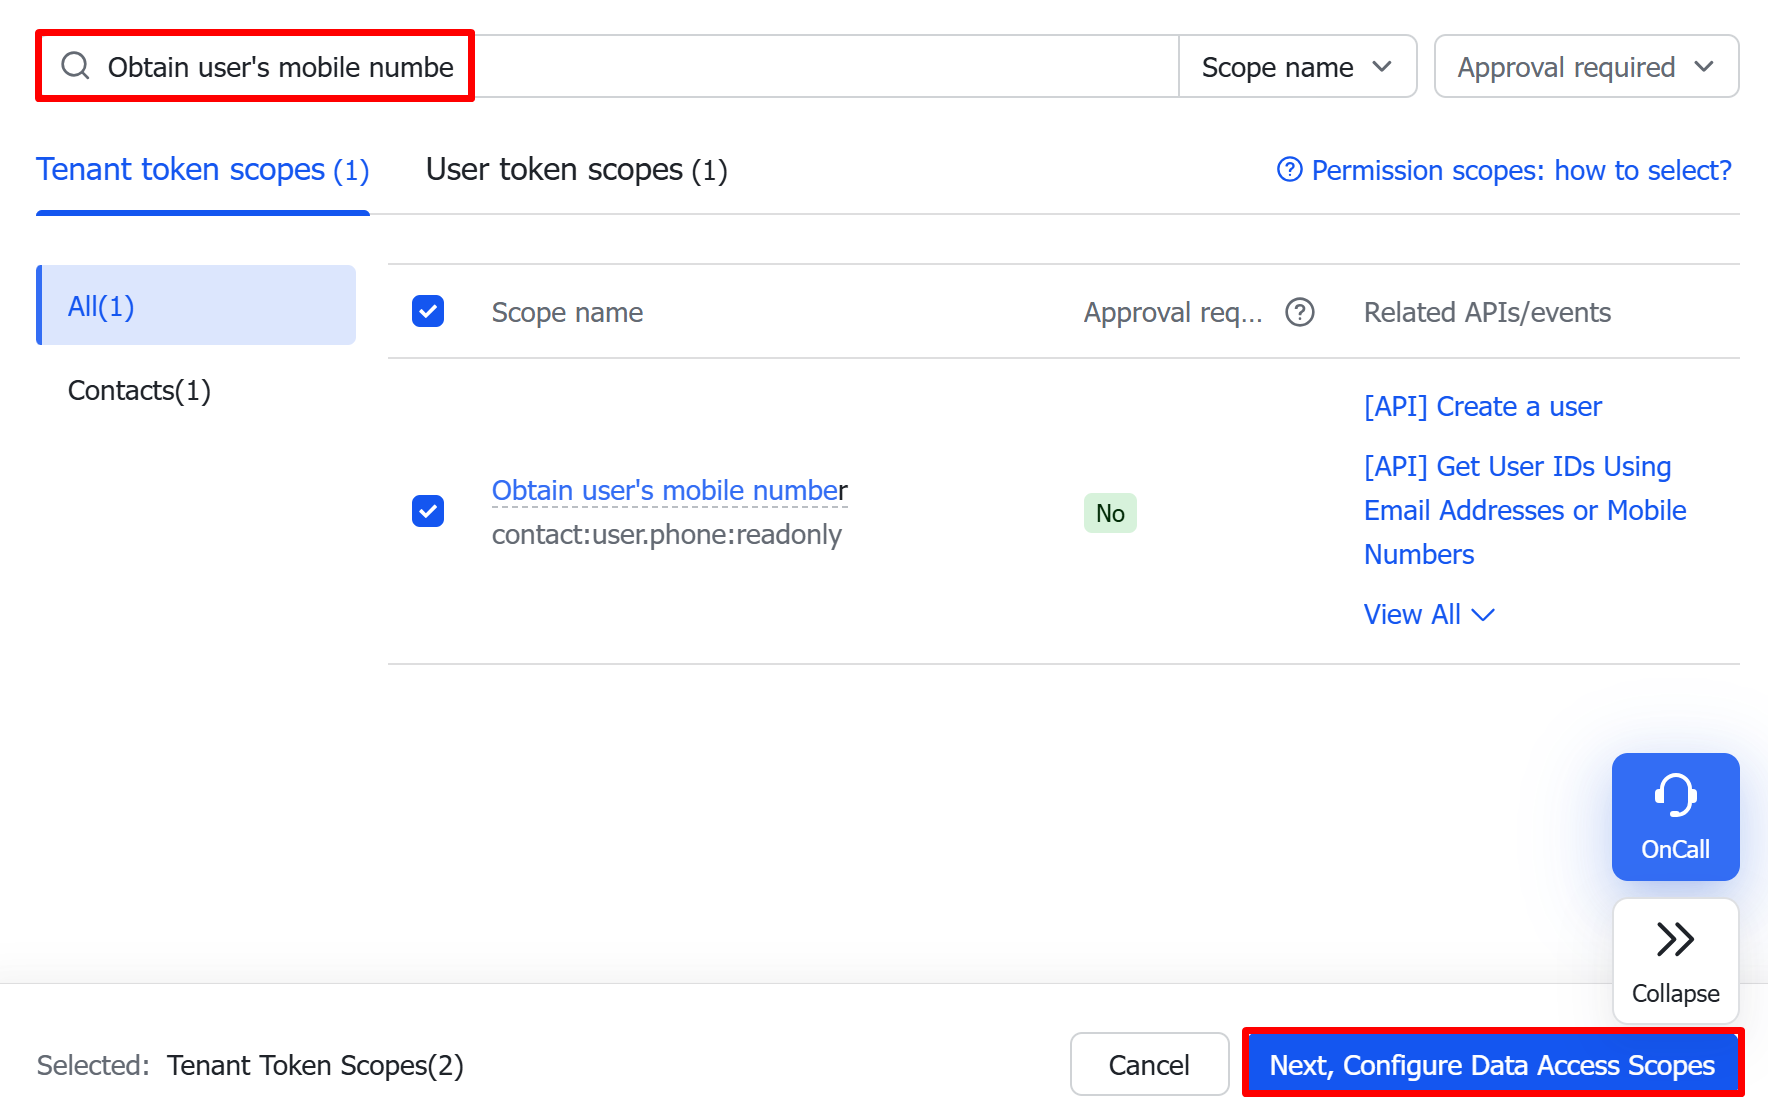
To enable the phone number account identity association feature, search for Obtain user's mobile number and click Next, Configure Data Access Scopes.
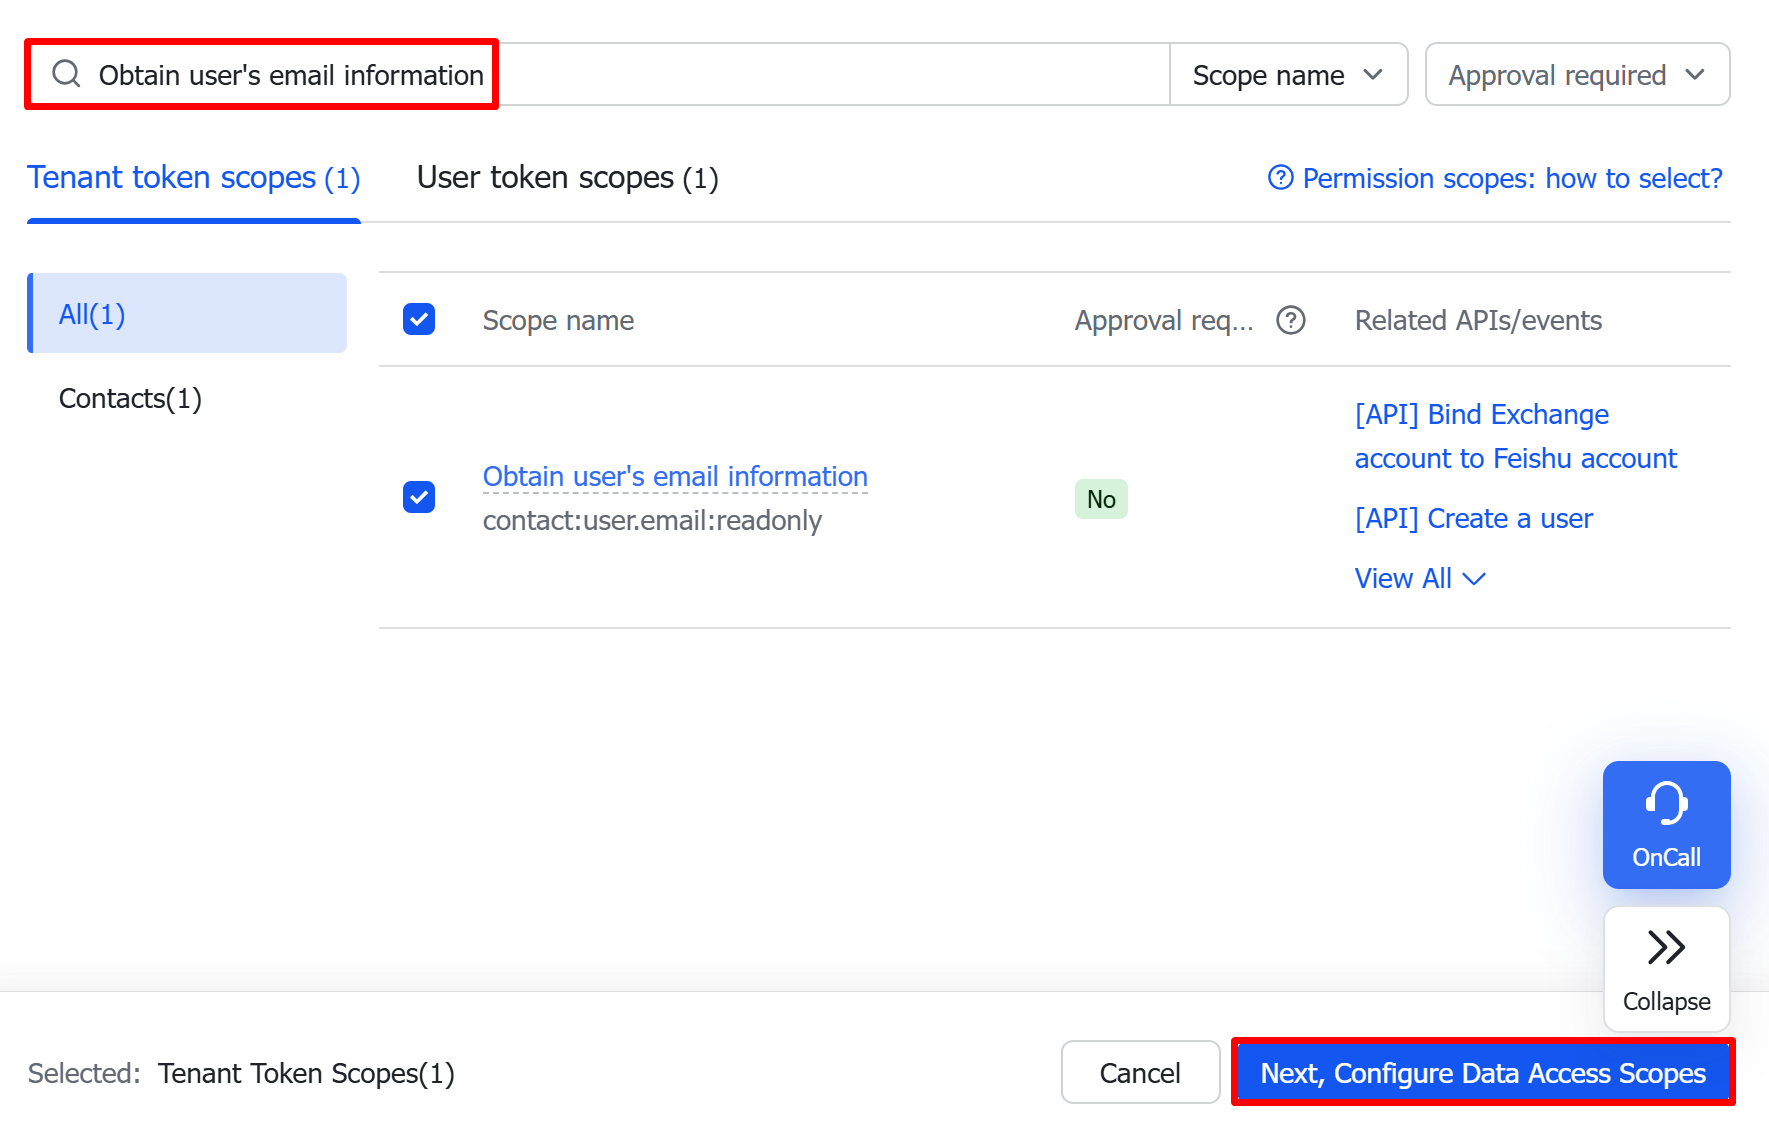
To enable the email account identity association feature, search for Obtain user's email information and click Next, Configure Data Access Scopes.
4. After configuring the above permissions, you need to republish the application version for the changes to take effect.
Custom cycle for pulling the latest organizational structure.
Performing a Connectivity Test
After entering the App ID and App Secret, you can perform a connectivity test, which also checks whether the basic configuration is valid.
Client Login Display
Configure whether to display the DingTalk organizational structure entry on the iOA client login page.
Enable: The iOA client login page displays the DingTalk login option, allowing users to log in with DingTalk.
Disabled: The iOA client login page does not display the DingTalk login option, and users cannot log in with DingTalk.
Sync Architecture Node
Supports on-demand synchronization of the organizational structure based on department IDs. Click Add to select the departments to synchronize, and then query and expand them level by level in real time. Synchronizing the entire organizational structure is not required.
Root department ID: If you only need a specific department, enter the correct department ID. Do not modify it unless necessary, because arbitrary changes may cause data exceptions when data synchronization is already working properly.
Department hierarchy completion: Click
to enable it. After it is enabled, the system automatically completes all parent department levels of the selected department. If it is disabled, only synchronized departments are mounted under the root node.
User Attribute Field Mapping
Do not modify unless special requirements exist.
If a field is not mapped, the system-defined status will be used, where 0 indicates an abnormal user status and 1 indicates a normal user status.
Mapping supports three data types, and the value for the normal status must be specified:
1. For Bool and String types, identical values are mapped to state 1, while different values are unified to 0.
2. For the Int type, identical values are associated with state 1, while other values are retained by default.
In attribute mapping, if a mapped field does not exist or you do not want to sync the corresponding field, enter any non-existent attribute name. The corresponding attribute will be set to empty during synchronization.
5. Click Test Connectivity. After the test is successful, click Next and Save.
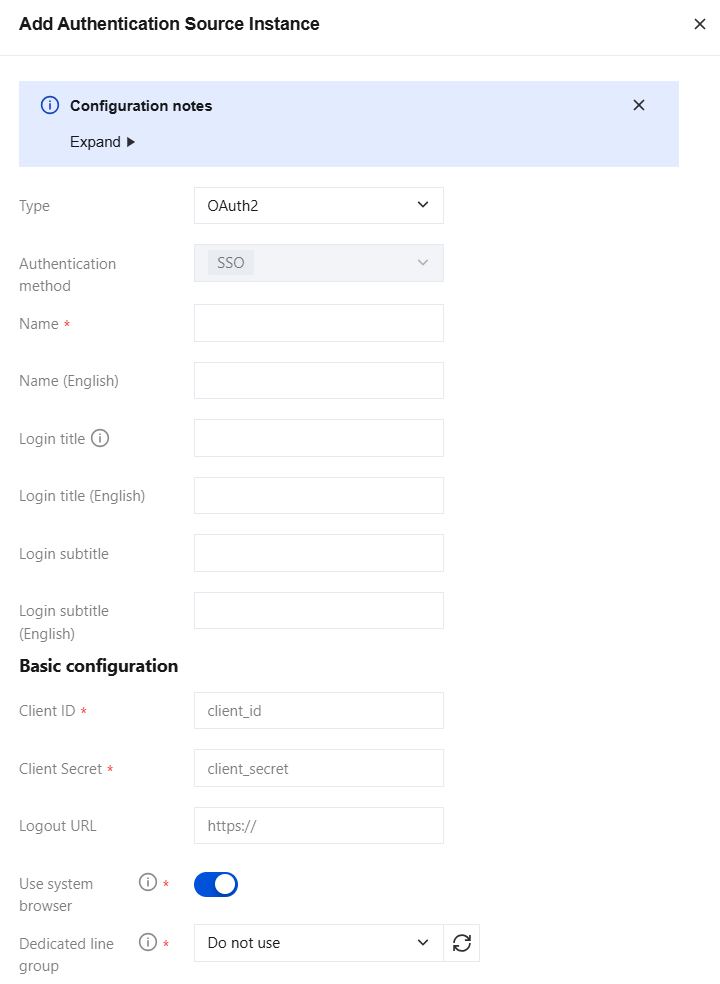
Optional. If filled in, it enables the ability to jump from iOA to a browser to clear the login state. Identification method: the URL ends with "logout".
Use System Browser
Disable this option.
If this feature is enabled, the system browser is used for authentication, allowing the existing SSO login state to be shared.
If this feature is disabled, SSO authentication is completed entirely within iOA.
Connection Group
Access service APIs via a connection group and select a connection group as needed.