Creating Indexes
Download
Mode fokus
Ukuran font
Prerequisites
A Tencent Cloud account has been created. For account creation, see Signing Up.
If logging in with a sub-account, ensure that the account has read and write permissions for ES.
Operation Steps
Logging In to Console
1. Log in to the Elasticsearch console.
2. In the top menu bar, select the region. Currently supported regions include Beijing, Shanghai, Guangzhou, Nanjing, Hong Kong (China), Singapore, Tokyo, and Virginia.
3. In the left sidebar, choose Log Analysis under the Serverless mode.
Creating a Project Space
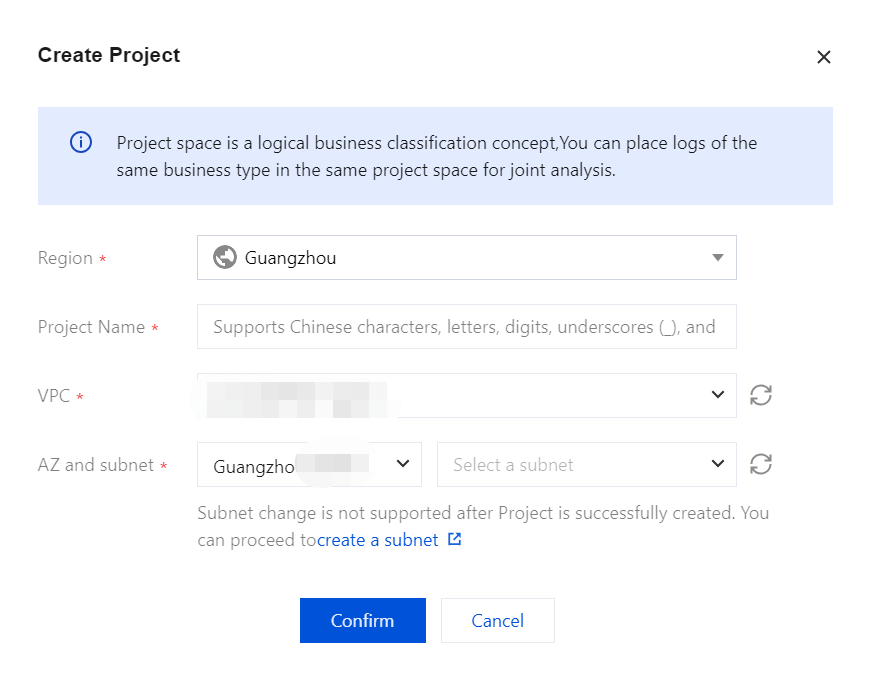
1. Click Create Project.
2. Enter the project space name, which can include 1 - 20 characters, including Chinese characters, letters, digits, underscores, or delimiters (-).
3. Click Confirm. Once validated, the project space will be created.
Note
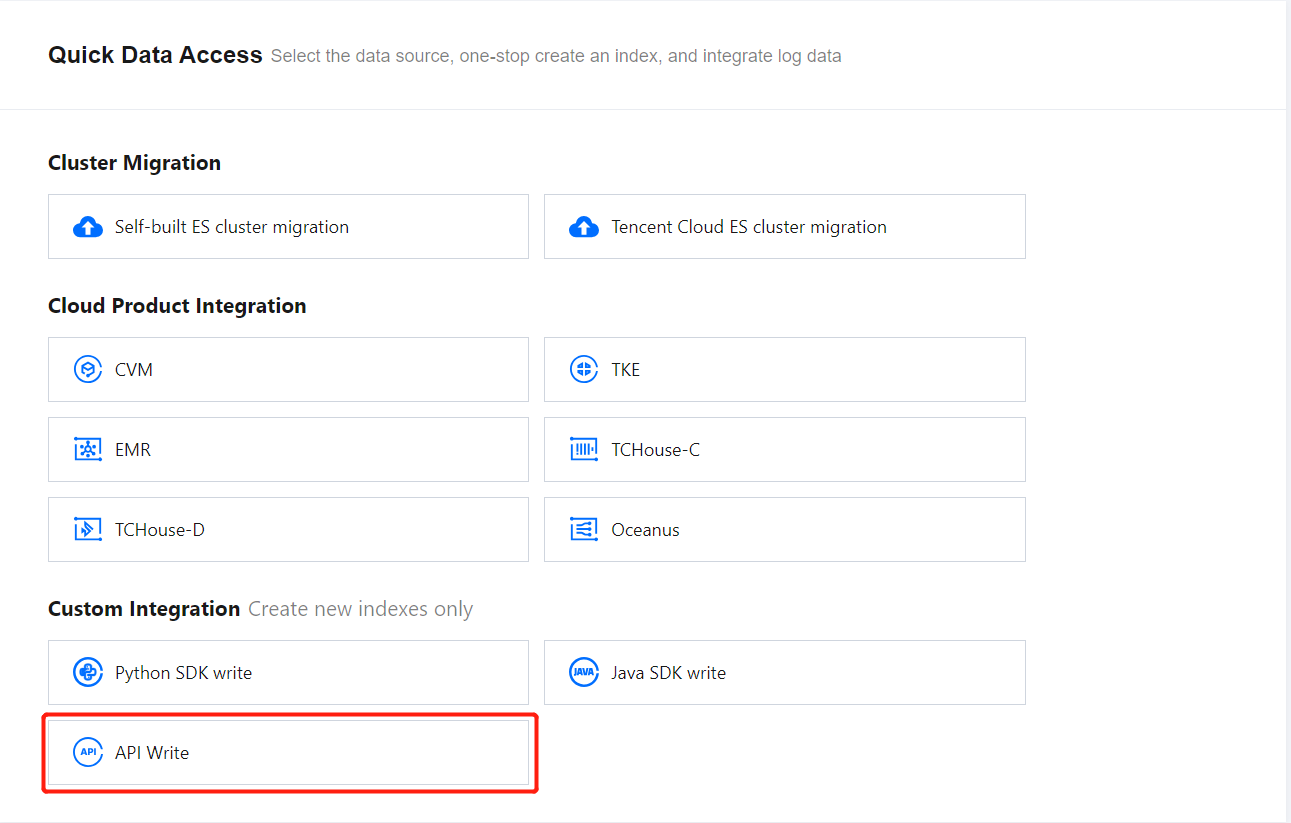
In Elasticsearch Serverless Log Analysis, you can create an index and subsequently write data via API or access data sources such as CVM and TKE via the Data Access tab of the corresponding index. You can also set up data access during index creation, enabling one-stop access for CVM Log Access, TKE Log Access, and more. The following section explains the index creation process for API-based data writing.
Creating an Index
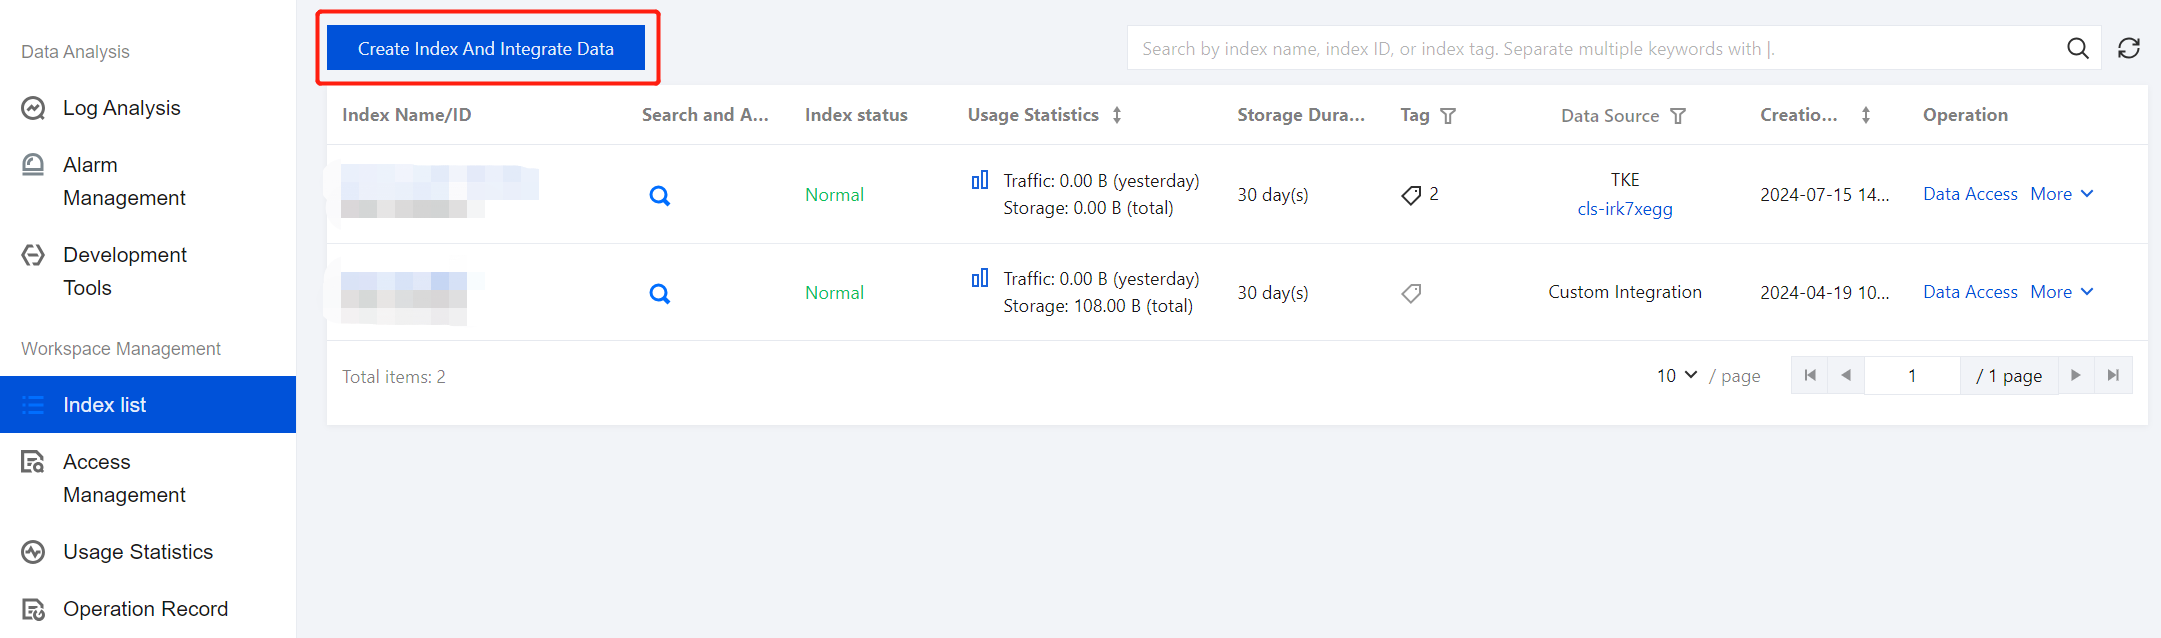
1. On the ES Serverless Log Analysis homepage, click the Project Name to enter the Index List page, then select Create Index And Integrate Data.
2. On the create index page, select API writing.
3. If you want to view how to write data to ES Serverless via API, click View Documentation. Then, click Next.

4. Enter the index settings page and fill in the basic information.
Region: Aligns with the region of project space.
Project Space: Defaults to the current project space.
Index Name: Length of 1 - 100 characters. Lowercase letters, digits, and the following symbols: -, _, ;, @, &, =, !, ', %, $, ., +, (, ) are supported.
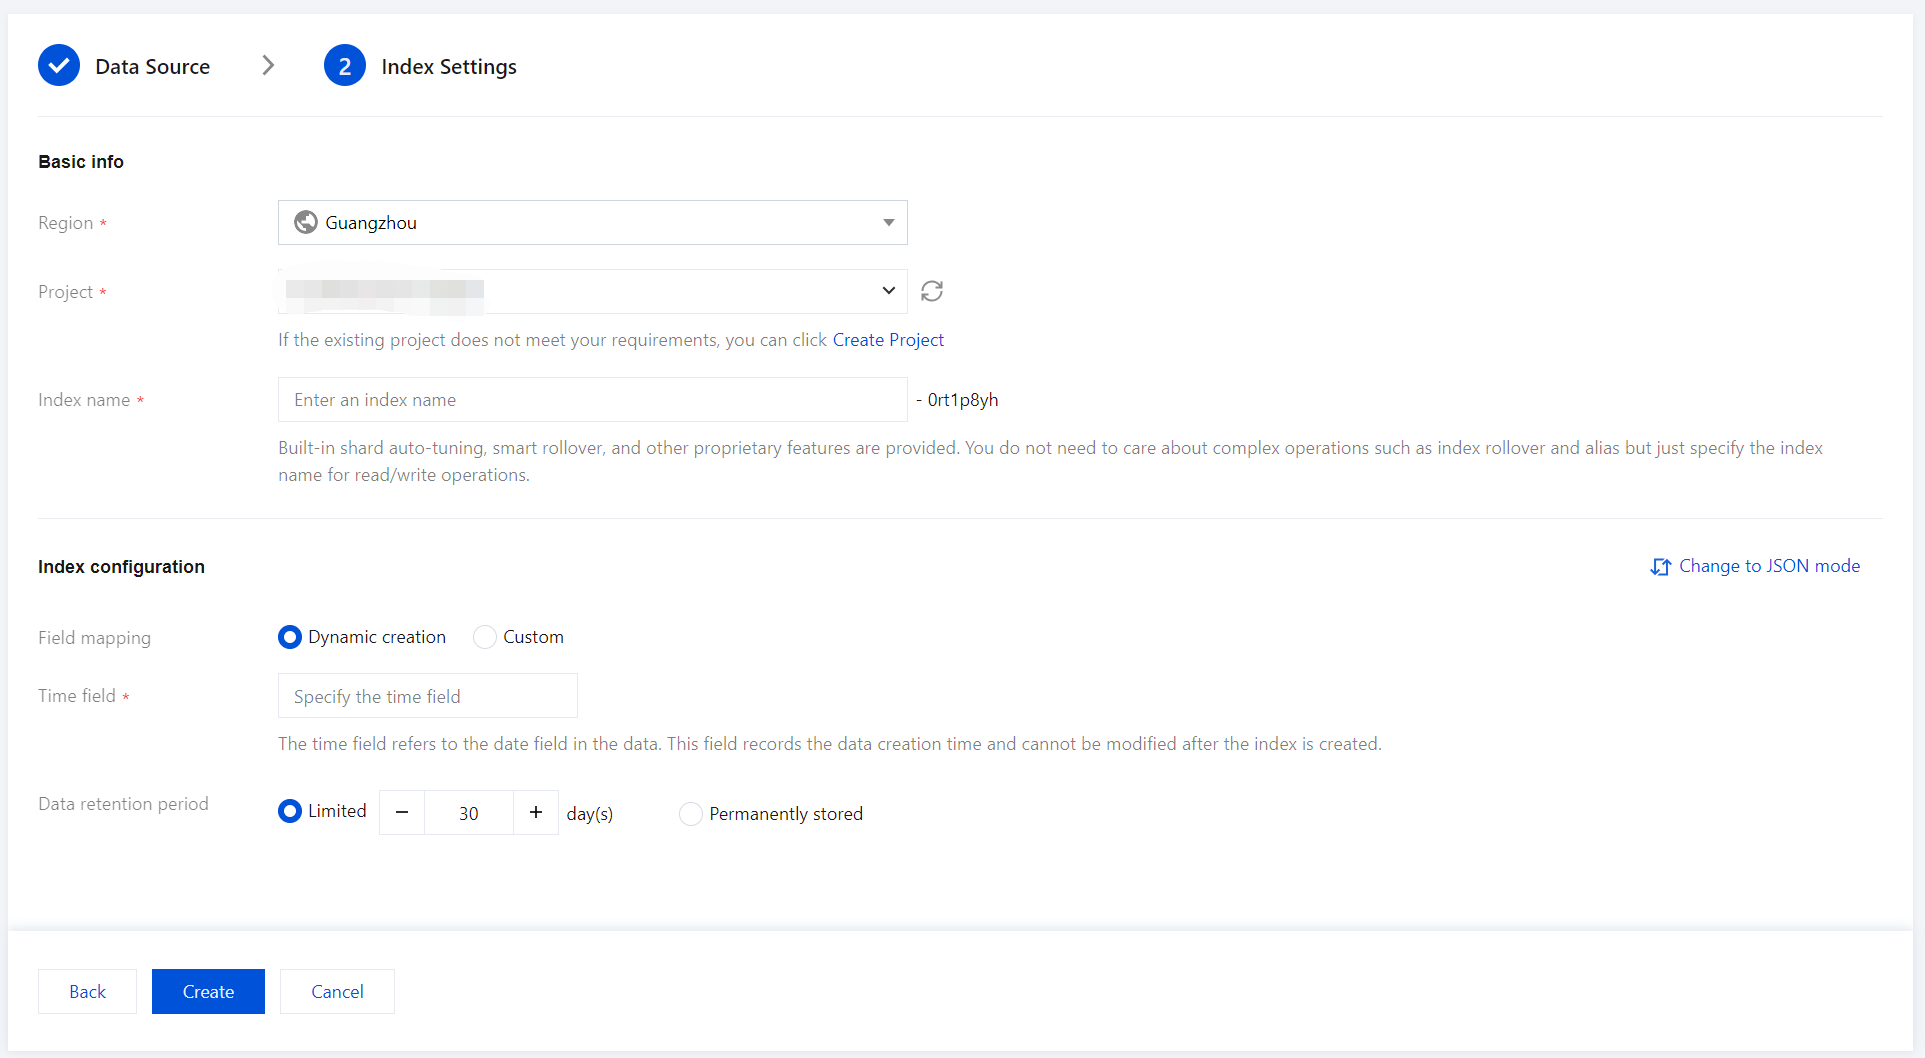
5. Fill in index configuration details.
Field Mapping
Dynamic Generation: Enabled by default. When enabled, it automatically parses written data and generates field settings for the index.
Input Sample Auto-Configuration: If Dynamic Generation is disabled, you can use Input Sample Auto-Configuration to generate field mappings for the index by entering a JSON-formatted data sample. After confirmation, the platform will validate the input; if the validation is successful, the relevant fields will be mapped in the field mapping table.
Field mapping divides the original data into multiple tokens based on fields (key:value) for indexing. Retrieval relies on this mapping, as detailed below:
Parameter | Description |
Field name | The field name in the written data. |
Field type | The data type of the field. The interface supports 9 types: text, date, boolean, keyword, long, double, integer, ip, and geo_point. Additional field types are supported in JSON mode. For details, see Official Documentation. |
Includes Chinese | Enable this option if the field includes Chinese text and requires Chinese retrieval. When it is enabled, the ik_max_word tokenizer is applied to the text field by default. |
Enable indexing | When it is enabled, this field will be indexed for search. |
Enable statistics | When it is enabled, this field's values can be analyzed statistically, which will increase index storage. |
Time Field
The time field refers to a field with the type date in the actual data. Once the index is created, this field cannot be modified.
Note:
By default, the time field enables indexing and statistics, and these settings cannot be disabled.
Data Storage Duration
You can set the data retention period, with a default of 30 days, or select an option for permanent storage.

6. Once the information is entered correctly, click Create to complete the index creation. For the instructions on data writing, see documentation.
Bantuan dan Dukungan
Apakah halaman ini membantu?
Anda juga dapat Menghubungi Penjualan atau Mengirimkan Tiket untuk meminta bantuan.
masukan