集群检查
Download
聚焦模式
字号
集群检查功能提供集群检查列表、集群风险统计、集群检查详情、检查项管理等功能,通过集群检查对指定集群安装检查组件并执行风险检查,查看集群风险详情。
安装集群检查组件
1. 登录 容器安全服务控制台,在左侧导航单击集群风险管理 > 集群检查。
2. 在集群检查页面,已内置每1小时定期同步集群资产;单击同步资产,可进行手动同步集群资产。
说明:
目前集群检查列表支持同步的集群资产为 TKE 托管集群 和 TKE 独立集群。
首次使用集群安全时,需要手动进行一次“同步资产”,后续系统会进行自动同步。

3. 在集群检查页面,支持为单个集群或多个集群安装组件。
单个:选择所需集群 ID,单击安装检查组件或安装组件,弹出“确认安装”窗口。

多个:选择多个集群 ID,单击安装组件,弹出“确认安装”窗口。

3. 在“确认安装”窗口中,单击确定,即可为指定集群安装组件。
4. 确认安装后,系统将在集群内所有节点部署 DamonSet 组件,安装成功后检查组件状态将变更为运行中状态。
说明:
集群安装检查组件会在该集群 kube-system 命名空间下安装名称为 cluster-security-defender 的 DaemonSet 类型负载,集群安全检查需确保该 DaemonSet 工作负载正常运行。
Daemonset 对集群运行和性能无影响,占用资源限制为:
cpu:100-250m。
mem:100Mi-250Mi。
若需要删除集群检查组件可登录 容器服务控制台 ,在集群详情页面单击工作负载,选择 Daemonset,在 kube-system 命名空间下选择 cluster-security-defender 操作单击更多 > 删除。
执行集群检查
说明:
集群检查组件默认为未安装状态,执行集群检查前需要先安装检查组件。
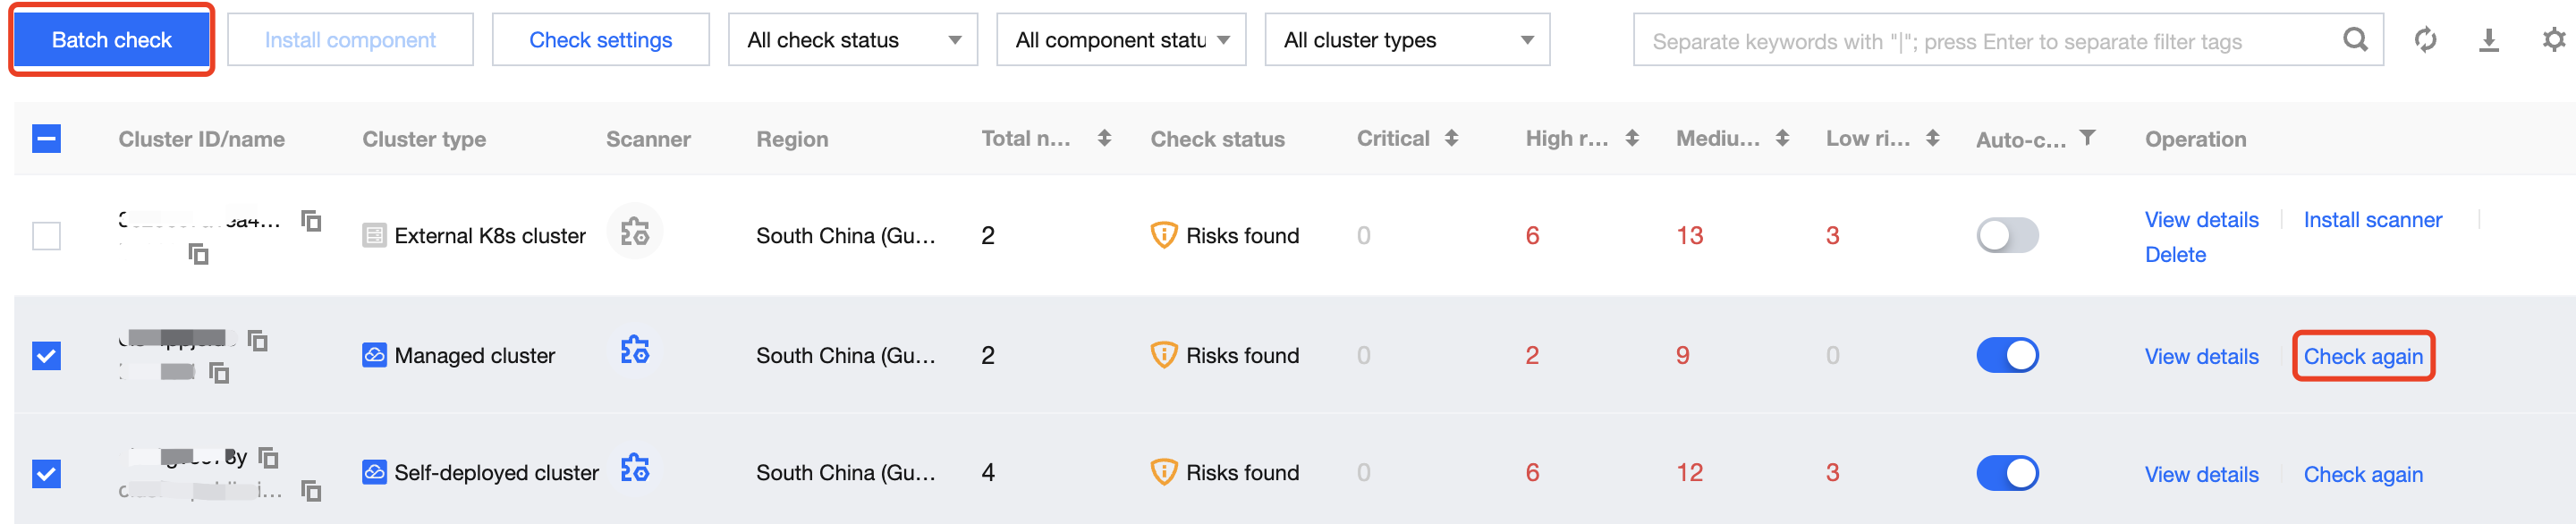
查看集群检查结果
1. 在 集群检查页面,集群统计卡片展示集群总数、无风险集群数量以及未检查集群数量。

2. 集群风险卡片展示已检查集群中存在风险的风险集群数量、严重风险的集群数量、高危风险的集群数量、中危风险的集群数量和低危风险的集群数量。

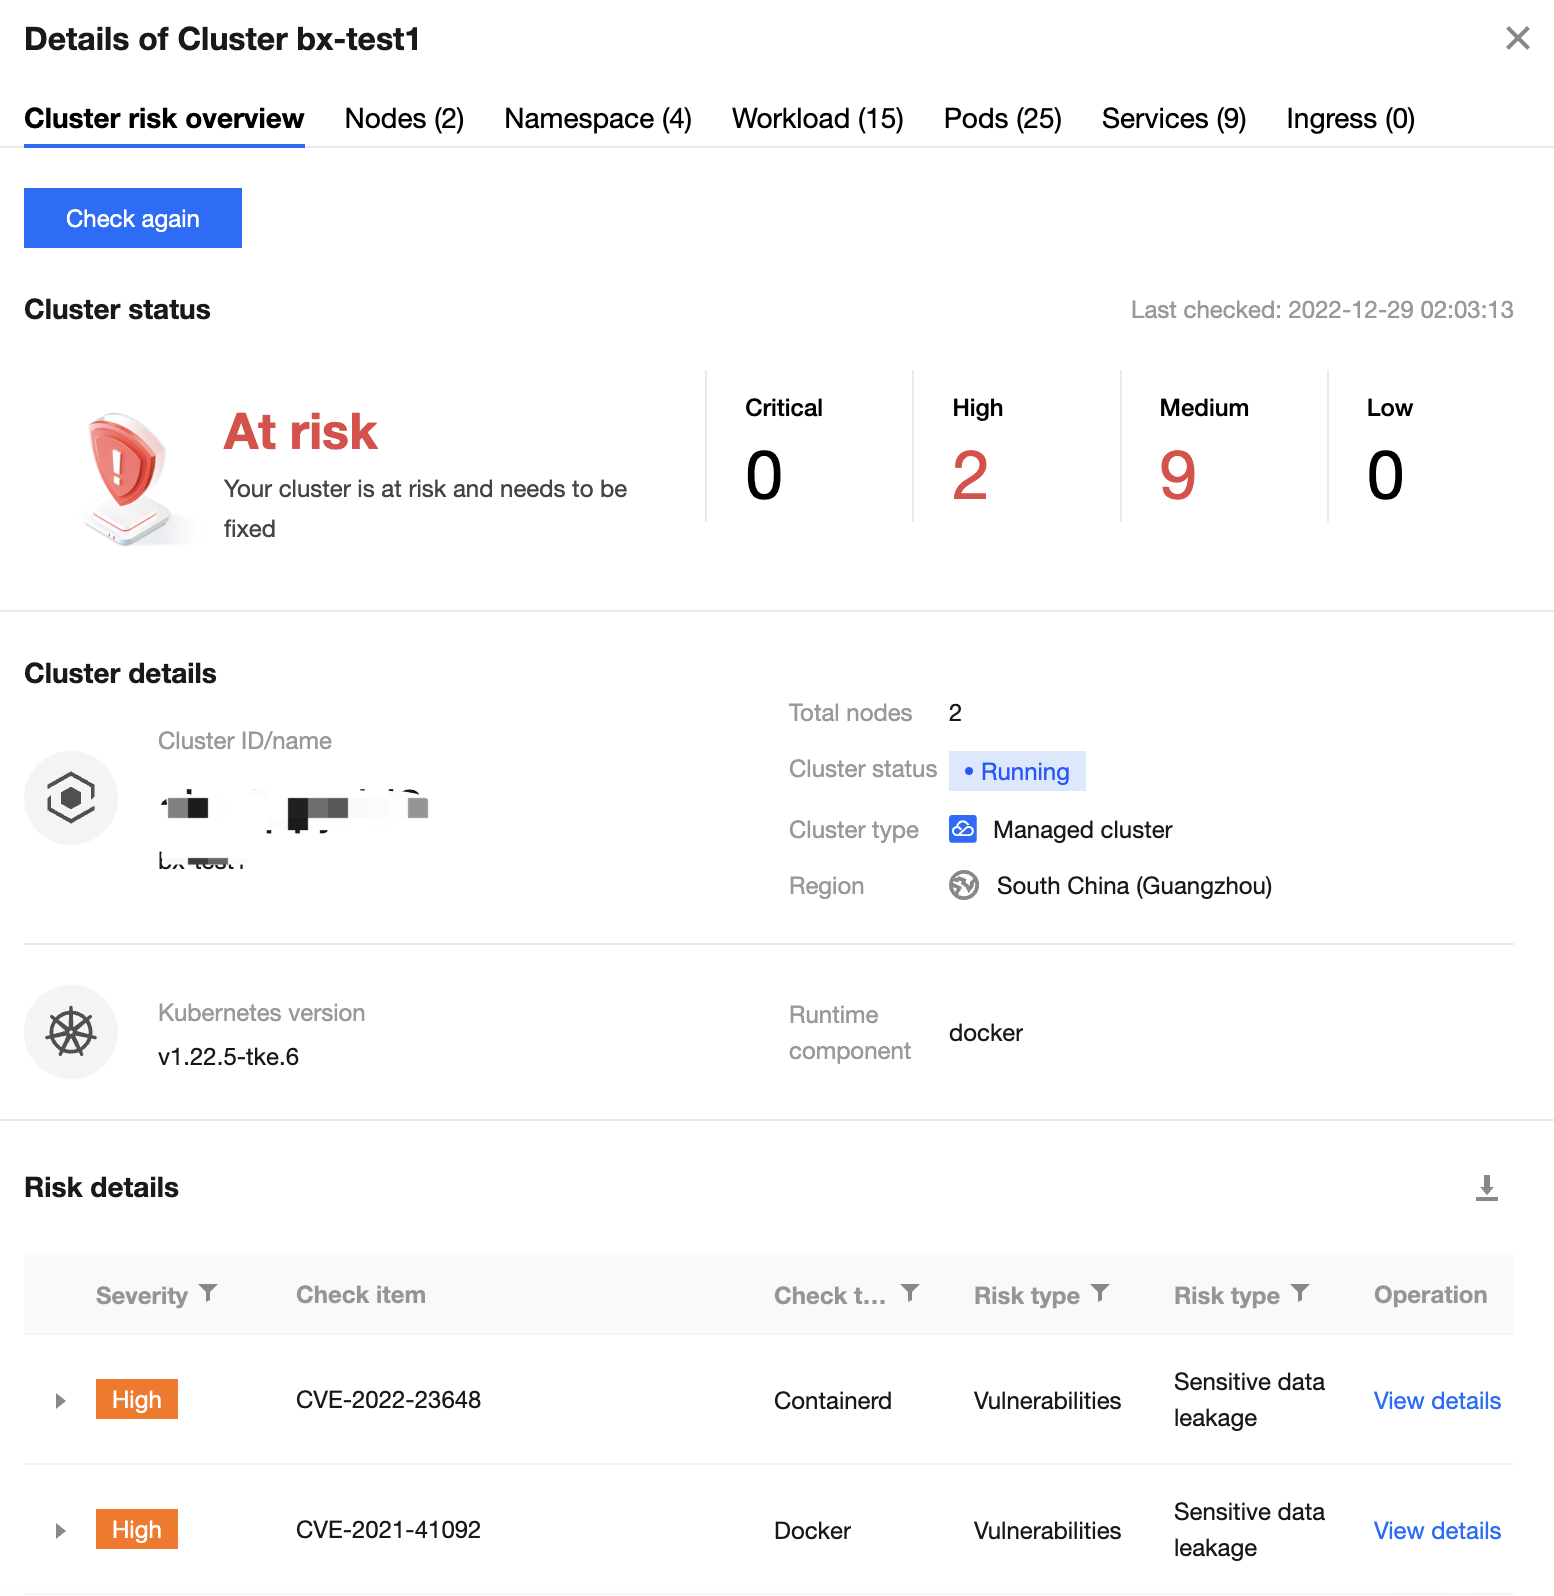
3. 在集群检查页面,单击集群列表操作列的查看详情,进入“集群风险详情”页面。

4. 在“集群风险详情”页面,展示了当前集群所有被检出的集群风险、集群详情和风险详情。
5. 在风险详情列表,选择所需风险检查项,单击查看详情,进入“风险检查项详情”页面。
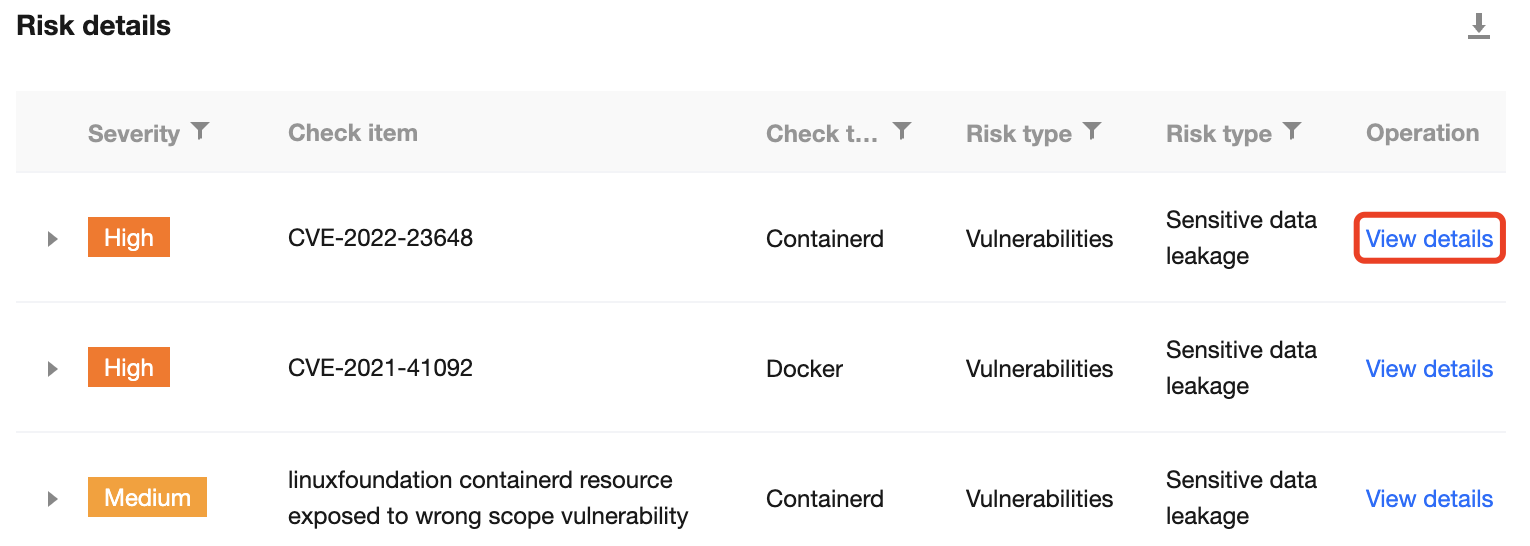
6. 在“风险检查项详情”页面,展示该风险检测项的风险详情、风险描述、解决方案以及当前集群的影响资产范围。
开启自动检查
单个开启自动检测
1. 在 集群检查页面,选择所需集群,单击自动检查的

2. 在“确认开启”窗口中,单击确定,即可为当前集群开启自动检查。
说明:
确认后,自动检查将开启。检测内容如下:
当集群节点有新增时,自动对集群新增节点进行一次检查。
每日凌晨将对集群所有节点进行一次检查。
批量开启自动检测
说明:
集群自动检查默认为关闭状态,集群自动检查说明如下:
当集群节点有新增时,自动对集群新增节点进行一次检查。
每日凌晨将对集群所有节点进行一次检查。
管理集群检查项
1. 在 集群检查页面,单击界面右上角的检测项管理,进入检查项设置页面。
2. 在检查项设置页面,检查项列表展示了系统执行集群检查的所有检查项,单击查看详情可查看检查项的详细信息。

文档反馈