User Management
Baixar
Modo Foco
Tamanho da Fonte
Scenarios
After the user directory and custom attributes are created, the administrator can create, view, edit, and delete users on the User Management page.
Operation Steps
Creating User
1. Log in to the IDSEC console, choose User Management > User Management in the left sidebar, and go to the User Management page.
2. On the User Management page, click Create User. A Create User dialog box will pop up.
3. After completing the information in the Create User dialog box, click OK.
Note:
A newly created user is disabled by default. After the user logs in, the status will change to normal.
View User Details
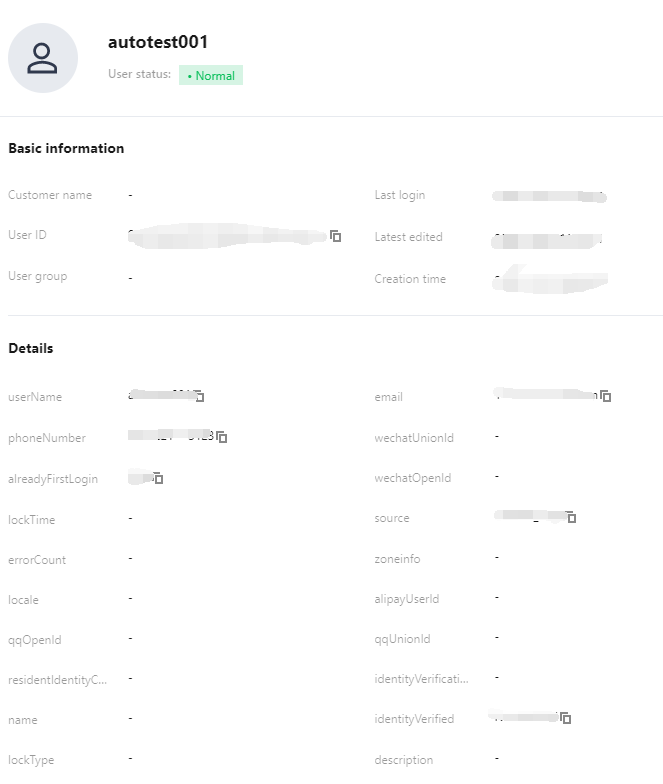
You can view a user's detailed information, including basic information and the user group to which the user belongs.
1. Log in to the IDSEC console, choose User Management > User Management in the left sidebar, and go to the User Management page.
2. On the User Management page, click the User Name of the target user to go to the User Information Details page.
3. On the User Information Details page, you can view user information and the user group to which the user belongs.
Editing User Attributes
You can modify user attribute information, such as user name, associated email, and phone number.
1. Log in to the IDSEC console, choose User Management > User Management in the left sidebar, and go to the User Management page.
2. On the User Management page, click Edit User in the Operations column. An Edit User dialog box will pop up.
3. After editing the user information in the Edit User dialog box, click OK.
Deleting User
You can delete one or multiple users.
Attention:
Once deleted, all data cannot be recovered. Proceed with caution.
1. Log in to the IDSEC console, choose User Management > User Management in the left sidebar, and go to the User Management page.
2. On the User Management page, you can delete one or multiple users.
Delete a Single User: Select the target user, click Delete in the Operations column, and then click OK in the confirmation dialog box.

Batch Delete Users: Select one or multiple users, click Delete above the list, and then click OK in the "Confirm Deletion" dialog box.

Ajuda e Suporte
Esta página foi útil?
Você também pode entrar em contato com a Equipe de vendas ou Enviar um tíquete em caso de ajuda.
comentários