步骤2:运行 RocketMQ 客户端(可选)
Download
聚焦模式
字号
操作场景
该任务指导您在购买 RocketMQ 服务后,使用 RocketMQ API。在腾讯云服务器上搭建 RocketMQ 环境后,本地下载并解压 RocketMQ 工具包,并对 RocketMQ API 进行简单测试。
操作步骤
步骤1:安装 JDK 环境
1. 检查 Java 安装
打开终端,执行如下命令:
java -version
2. 设置 Java 环境
设置
JAVA_HOME 环境变量,并指向您机器上的 Java 安装目录。
以 Java JDK 1.8.0_20 版本为例,操作系统的输出如下:操作系统 | 输出 |
Windows | Set the environment variable JAVA_HOME to C:\\Program Files\\Java\\jdk1.8.0_20 |
Linux | export JAVA_HOME=/usr/local/java-current |
Mac OSX | export JAVA_HOME=/Library/Java/Home |
将 Java 编译器地址添加到系统路径中:
操作系统 | 输出 |
Windows | 将字符串“;C:\\Program Files\\Java\\jdk1.8.0_20\\bin”添加到系统变量“PATH”的末尾 |
Linux | export PATH=$PATH:$JAVA_HOME/bin/ |
Mac OSX | not required |
使用上面提到的
java -version 命令验证 Java 安装。步骤2:下载 RocketMQ 工具包
步骤3:RocketMQ API 测试
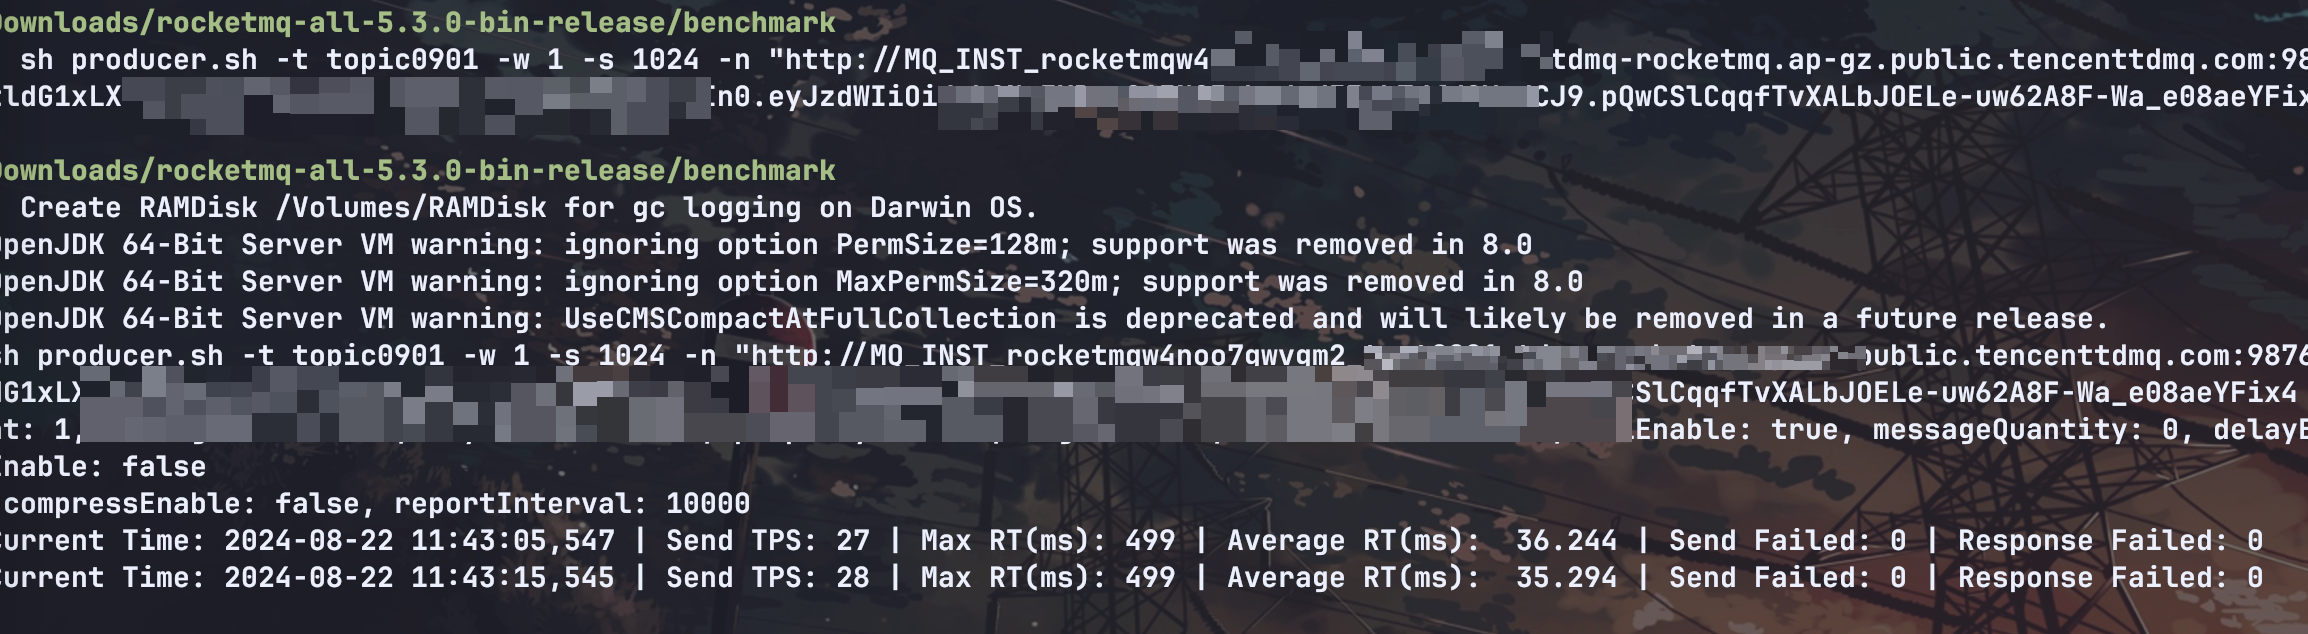
通过 CLI 命令生产和消费消息,去到
./benchmark目录下。单条消息发送,可以使用云上管控台的发送功能。1. 打开终端启动消费者
sh consumer.sh -t "topic的名称" -n "rocketmq接入地址" -g "group的名称" -a true -ak xxx -sk yyy
说明:
将 rocketmq接入点 替换成 VPC 网络访问的域名与端口,如果在本地上测试,不能联通 VPC,可以替换成公网的(注意放开对应的安全组),在控制台实例详情页面的接入方式模块获取。

topic:在控制台 Topic 管理 页面获取的 topic 的名称。
group: 在控制台 Group 管理 页面获取的 group 的名称。
2. 另外开一个终端窗口启动生产者
sh producer.sh -t "topic的名称" -w 1 -s 1024 -n "rocketmq接入地址" -a true -ak xxx -sk yyy -m true
说明:
将 rocketmq接入点 替换成 VPC 网络访问的域名与端口,如果在本地上测试,不能联通 VPC,可以替换成公网的(注意放开对应的安全组),在控制台实例详情页面的接入方式模块获取。

topic:将 XXXX 替换成 topic 名称,在控制台 Topic 管理页面获取。
启动后即可看到生产消费正常生产:

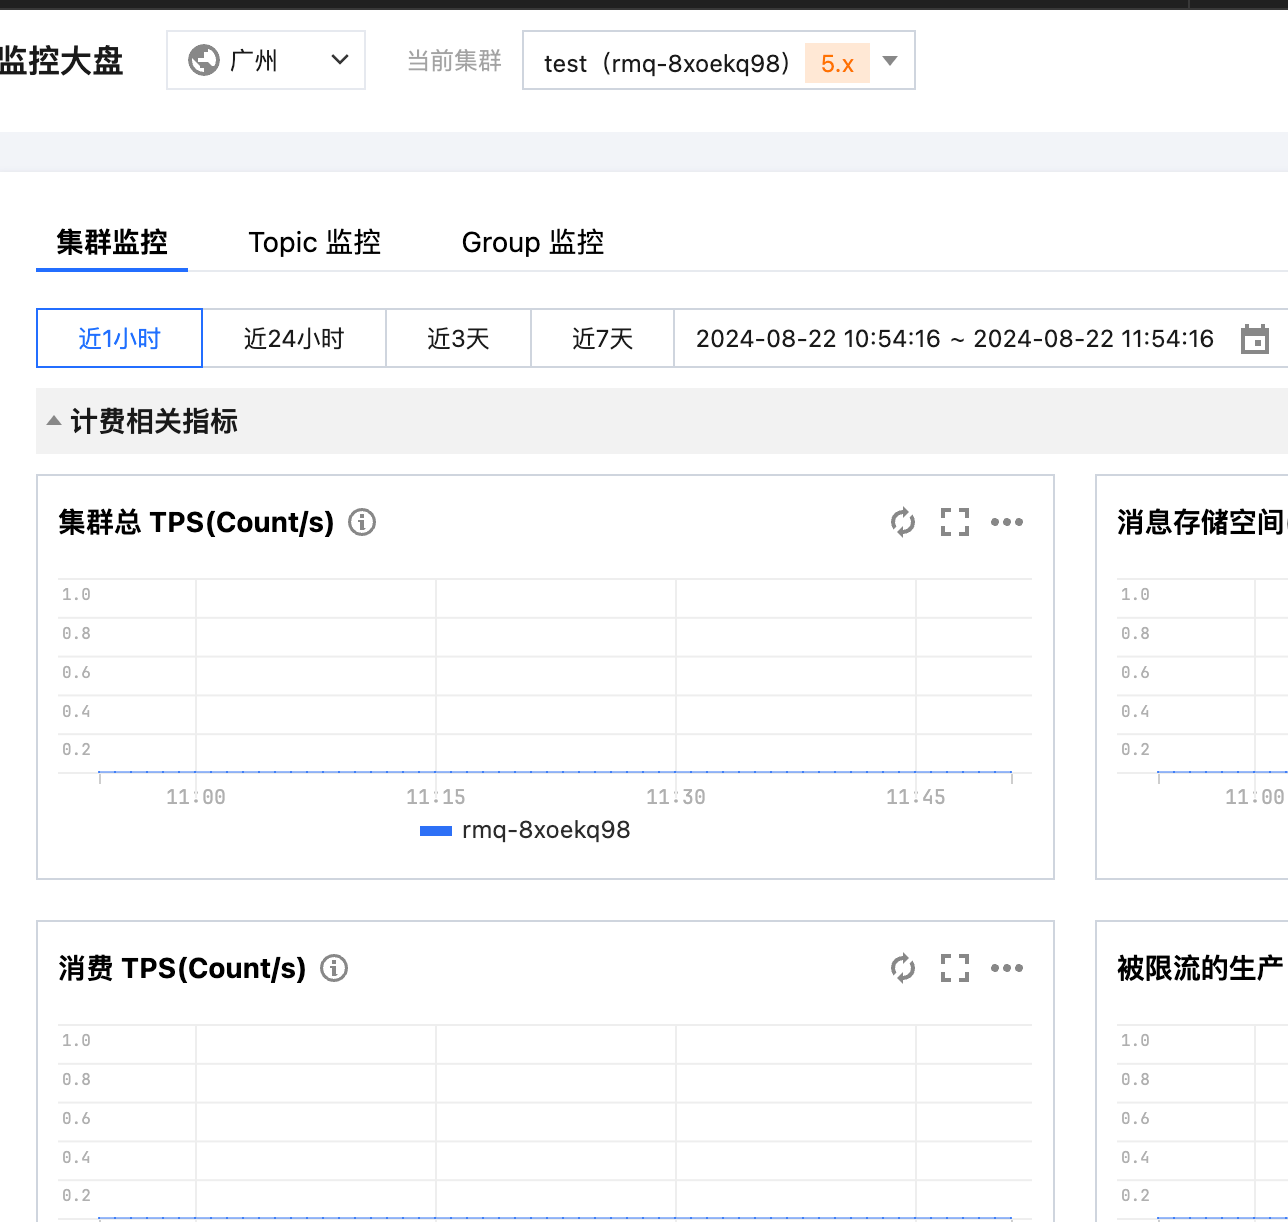
也可以在监控大盘查看监控指标:
文档反馈