概览
Download
聚焦模式
字号
用途
基于 Topic 进行通信时,您可以使用规则引擎对 Topic 中的数据进行处理,然后转发到腾讯云其它服务或用户的业务后台服务。您无需购买服务器部署分布式架构,只需通过规则引擎在控制台上进行配置即可实现采集 + 计算 + 存储等全栈服务。以下是支持转发的类型:
数据转发到另一个 Topic。
数据转发到第三方服务。
数据转发到消息队列 CKafka。
数据转发到消息队列 CMQ-Topic。
数据转发到消息队列 CMQ-队列模型。
数据转发到时序数据库 CTSDB。
数据转发到云数据库 MySQL。
数据转发到云数据库 MongoDB。
创建规则
1. 登录 物联网通信控制台, 选择左侧菜单规则引擎。
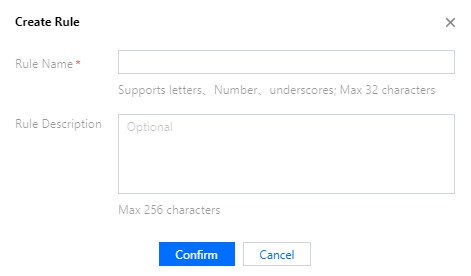
2. 进入规则引擎页面,单击创建规则,填入规则名称后,单击确定。
规则名称:支持英文、数字、下划线的组合,最多不超过32个字符。(名称新建后无法修改,请谨慎填写。)
规则描述:0 - 256个字的描述,可修改。
3. 创建成功后,即可自动进入规则详情页面。
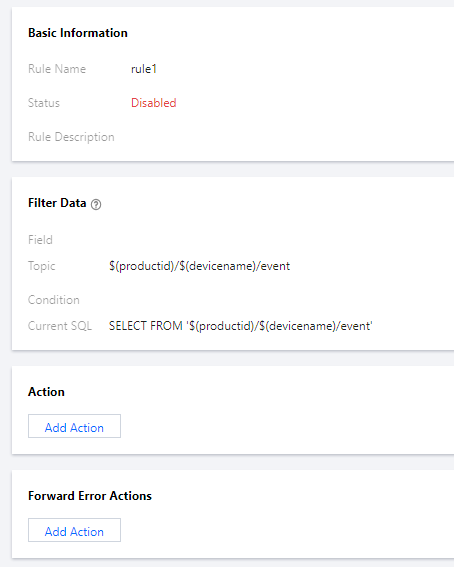
至此您可以编写不同的转发规则。
文档反馈